English Русский
Български
Беларускі
Український
Српски
Hrvatski
Română
Polski
Slovenský
Magyar
Bookmark Contacts Articles Sitemap
Company vehicles Peugeot Company vehicles Opel Company vehicles Skoda Company vehicles Land Rover Company vehicles Mitsubishi Company vehicles Volkswagen Company vehicles Honda
RenaultBook.ru


Duster   Fluence   Kangoo   Laguna   Logan   Megane   Sandero   Scenic   Symbol   Clio   Other
Megane 1 (1995-2002) Megan 2 (2002-2009, petrol)

Front seat safety belts (Renault Megane 1)

  • Main
  • Megane
  • Megane 1 (1995-2002)
  • Body and interior
  • Interior (internal elements)
  • Front seat safety belts
0
Contents: Sedan and hatchback models 🠛 Coupe models 🠛 Installation 🠛
Attention! On models equipped with a seat belt tensioning system, before starting work, read the materials in Section Removal and installation seats.


Sedan and hatchback models


1. Disconnect the negative cable from the battery.

2. To ensure sufficient free space, remove the corresponding front seat (see section Removal and installation seats).
2. To ensure sufficient free space, remove the corresponding front seat (see section Removal and…


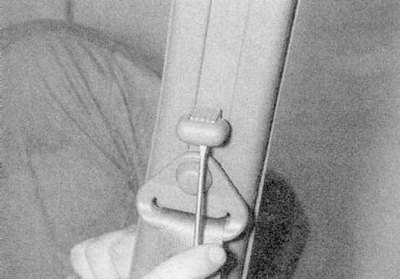
3. Using a flat-blade screwdriver, separate the inner and outer sections of the upper seat belt anchor height adjustment lever button by releasing the button from the clips (refer to the accompanying illustration).
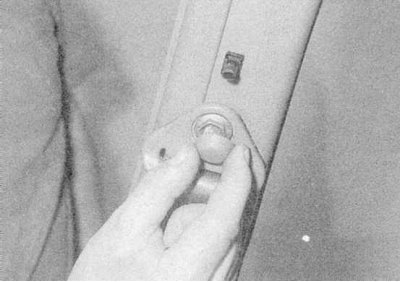
3. Using a flat-blade screwdriver, separate the inner and outer sections of the upper seat belt…


4a. Release the clamps.

4a. Release the clamps.


4b. Then unscrew the upper anchor support mounting bolt and separate the seat belt from the door pillar (refer to the illustrations).


5. Release the front and rear sealing strips from the center door pillar.
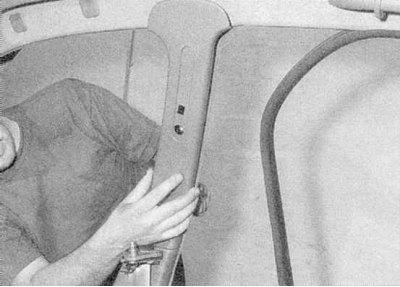
5. Release the front and rear sealing strips from the center door pillar.


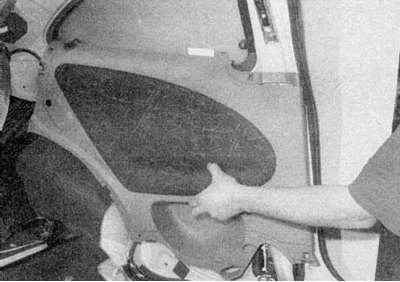
6. Release the center pillar trim panel clips (move from top to bottom). Remove the panel (refer to the accompanying illustration).
6. Release the center pillar trim panel clips (move from top to bottom). Remove the panel (refer to…


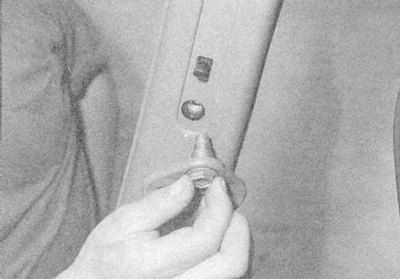
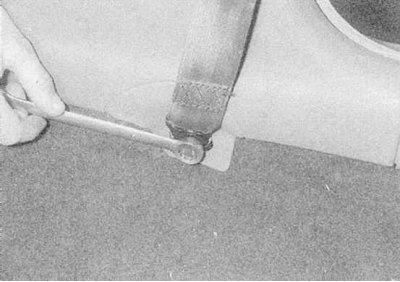
7. Remove the decorative cover, then unscrew the lower seat belt anchor bolt (refer to the accompanying illustration).
7. Remove the decorative cover, then unscrew the lower seat belt anchor bolt (refer to the…


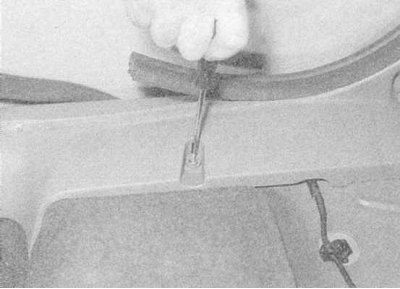
8. Carefully release the front portion of the rear door sill trim panel from its clips to gain access to the rear mounting screw. If necessary, lift the rear seat cushion and remove the mounting screw to allow more complete separation of the panel (refer to the accompanying illustration).
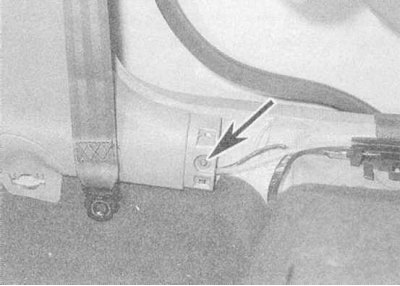


8. Carefully release the front portion of the rear door sill trim panel from its clips to gain…


9a. Remove the rear mounting screw.

9a. Remove the rear mounting screw.


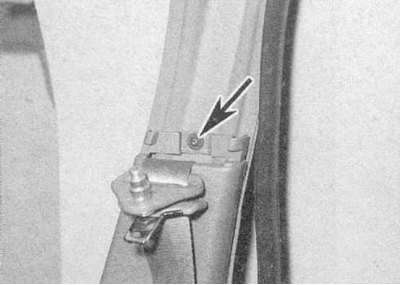
9b. Remove the top mounting screw.
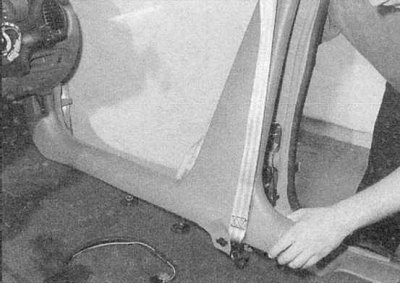
9b. Remove the top mounting screw.


9c. Starting from the rear and working forward, release and remove the pillar/sill trim panel. Release the strap from the panel and remove it from the vehicle (refer to the illustrations).

10. Remove the inertia drum mounting bolt of the return device and remove the seat belt assembly from the vehicle.


11. If necessary, the mechanism for adjusting the height of the upper anchor position can be removed after loosening its mounting bolts.

Coupe models


1. Remove the rear seat (see section Removal and installation seats) and move the front one forward until it stops.
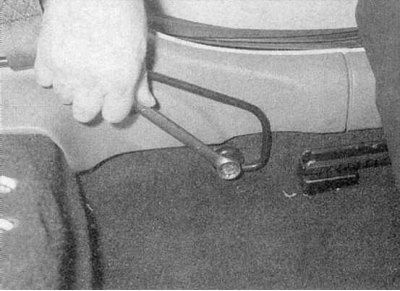
1. Remove the rear seat (see section Removal and installation seats) and move the front one forward…


2a. Remove the decorative cover of the lower seat belt anchor bracket mounting screw. Unscrew the bolt.
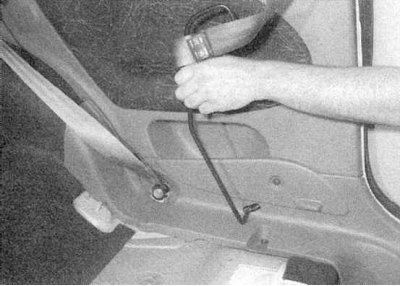
2a. Remove the decorative cover of the lower seat belt anchor bracket mounting screw. Unscrew the…


2b. Separate the bracket from the body panel and release it from the seat belt loop (refer to the illustrations).
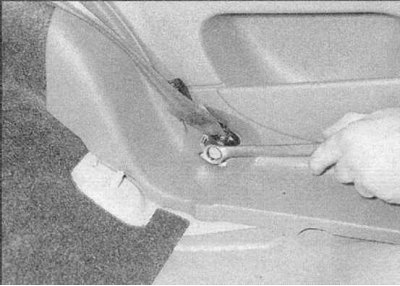
2b. Separate the bracket from the body panel and release it from the seat belt loop (refer to the…


3. Remove the lower rear seat belt anchor bolt, then release the belt from the interior trim panel (refer to the accompanying illustration).


4. Release the sealing strip from the rear door opening of the vehicle.
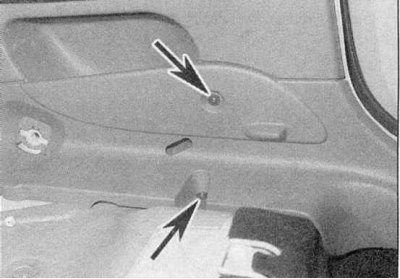
4. Release the sealing strip from the rear door opening of the vehicle.


5a. Remove the mounting screws.
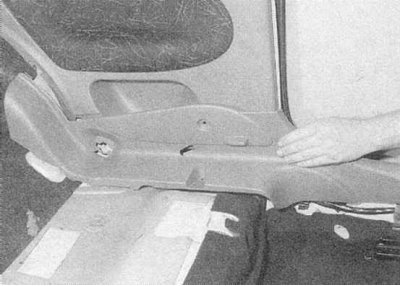
5a. Remove the mounting screws.


5b. Release the lower section of the rear seat side trim panel from its clips and remove it from the vehicle (refer to the accompanying illustration).
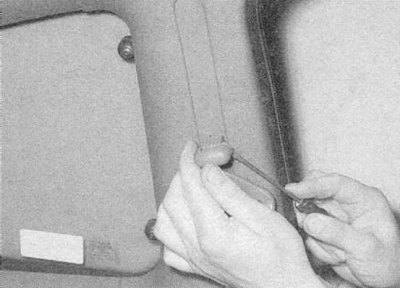
5b. Release the lower section of the rear seat side trim panel from its clips and remove it from…


6. Insert a flat-blade screwdriver between the inner and outer sections of the upper seat belt anchor height adjustment lever button (refer to the accompanying illustration). After separating the sections, remove the button.


6. Insert a flat-blade screwdriver between the inner and outer sections of the upper seat belt…


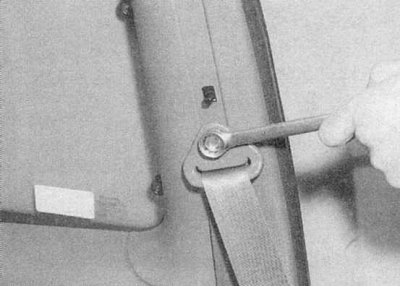
7. Remove the decorative cover, then unscrew the mounting bolt and disconnect the seat belt from the upper anchor support (refer to the accompanying illustration).
7. Remove the decorative cover, then unscrew the mounting bolt and disconnect the seat belt from…


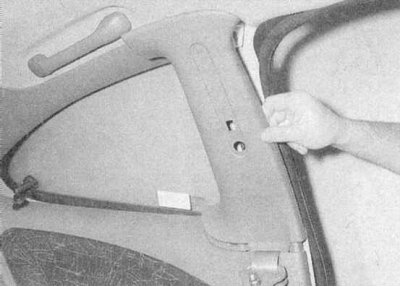
8. Moving from top to bottom, release the fastening clips of the decorative trim panel of the pillar and remove the panel (refer to the accompanying illustration).

9. Remove the rear pillar trim (see below).
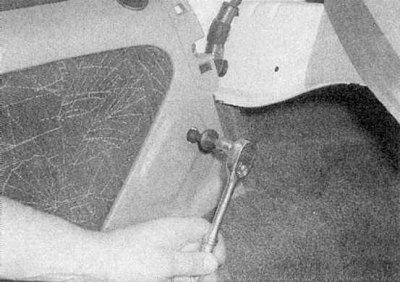
9. Remove the rear pillar trim (see below).


10. Remove the rear seat back retaining pin from the side wall of the vehicle interior (refer to the accompanying illustration).
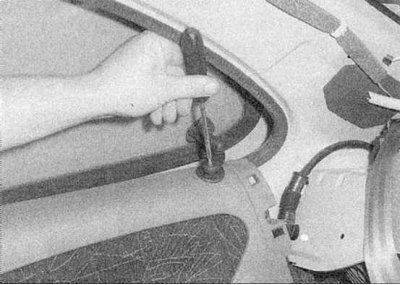


10. Remove the rear seat back retaining pin from the side wall of the vehicle interior (refer to…


11. Open the rear side window, then unscrew the screw securing the actuator rod to the window opening drive electric motor (refer to the accompanying illustration). Carefully release the tie rod from the spindle.
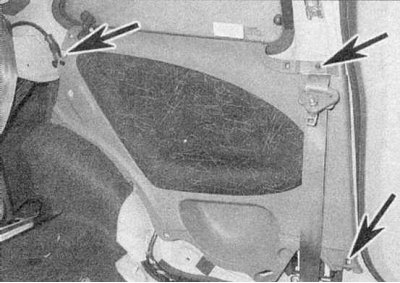
11. Open the rear side window, then unscrew the screw securing the actuator rod to the window…


12a. Remove the mounting screws

12a. Remove the mounting screws


12b. Release the fasteners and remove the side trim panel, passing the front seat belt strap through it (refer to the illustrations).


12b. Release the fasteners and remove the side trim panel, passing the front seat belt strap…


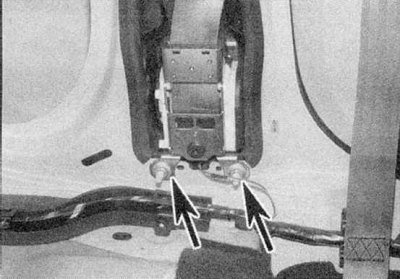
13. Loosen the nuts securing the inertia drum of the return device and remove the seat belt from the vehicle (refer to the accompanying illustration).

Installation


1. Installation is carried out in the reverse order. Check the correctness of the fastening of the inertial drum assemblies of the return devices on the body panels of the car, as well as the reliability of tightening the fasteners. Assess the reliability of fastening with your screws and fasteners of the panels and covers of the decorative trim of the interior.

[You can find the original at this link: renaultbook.ru]
This article is available on: russian, bulgarian, belarusian, ukrainian, serbian, croatian, romanian, polish, slovak, hungarian
Article has been reviewed by editor: Fedoseev Denis
Share with friends:
Previous
Megane 1: Interior (internal elements)
Next

Front seat belt tensioner system
Removal and installation seats
Caring for upholstery and carpets
Rear seat safety belts
Removal and installation of interior trim elements
Removal and installation the center console
Removal and installation the instrument panel assembly
Other articles on other Renault models

➽ Front seat belts Renault Logan 2 (2012-2020)
➽ Replacing the front seat belts Renault Sandero 1 (2007-2012, petrol)
➽ Front seat assembly Renault Fluence 1 (2009-2020, petrol)
➽ Seat belts Renault Kangoo 1 (1997-2007)
➽ Seat belts Renault Laguna 2 (2001-2007)
Link to this article in different formats
Reviews and comments of visitors
No comments yet


Add two numbers 37 + 20


Megan 2 (2002-2009, petrol) 
  • User manual
  • Introduction to manual
  • Controls and instruments
  • Salon equipment
  • Operation and driving
  • Maintenance and care
  • Power unit
  • Engine repair
  • Fuel system
  • Injection system
  • Intake and exhaust system
  • Starting and charging system
  • Cooling system
  • Decreased toxicity
  • Transmission
  • Clutch
  • Mechanical gearbox
  • Automatic gearbox
  • Wheel drive mechanism
  • Chassis, running gear
  • Suspension and wheels
  • Steering
  • Brake system
  • Body and interior
  • Exterior (external elements)
  • Interior (internal elements)
  • Doors, locks and windows
  • Heating and air conditioning
  • Electrical equipment
  • Equipment and devices
  • Headlights and lighting
  • Electrical circuits
Megane 1 (1995-2002) 
  • General information
  • User manual
  • Maintenance
  • Power unit
  • Petrol engines 1.4/1.6 l
  • Petrol engines 2.0 l
  • Diesel engines 1.9 l
  • Overhaul of engines
  • Cooling system
  • Fuel system (petrol)
  • Fuel system (diesel)
  • Decreased toxicity
  • Charge and launch systems
  • Ignition system (petrol)
  • Preheat system (diesel)
  • Transmission
  • Clutch
  • Mechanical gearbox
  • Automatic gearbox
  • Drive shafts
  • Chassis, running gear
  • Brake system
  • Car suspension
  • Steering
  • Body and interior
  • Exterior (external elements)
  • Interior (internal elements)
  • Doors, locks and windows
  • Electrical equipment
  • Equipment and devices
  • Electrical circuits
RenaultBook.ru © 2018–2026 | Mobile version | News and articles | Sitemap: EN BG BY UA RS HR RO PL SK HU | Administration | Site search | Bookmark
Duster 1 (2009-2017) | Fluence 1 (2009-2020, petrol) | Kangoo 1 (1997-2007) | Laguna 2 (2001-2007) | Logan 1 (2004-2012, petrol) | Logan 2 (2012-2020) | Megane 1 (1995-2002) | Megan 2 (2002-2009, petrol) | Sandero 1 (2007-2012, petrol) | Scenic 1 (1996-2003) | Symbol 1 (1999-2008, petrol) | Symbol 2 (2008-2013, petrol) | Renault 19 (1988-1996) | Espace I and II (1984-1996) | Espace III (1996-2002) | Clio 1 (1990-1998) |
We want your visit to be comfortable 😌 and use cookies 🍪 to do so.