
The catalytic converter operates at high temperatures and therefore must never be located in a place where it can come into contact with flammable materials (this may cause them to ignite).
A damaged heat shield must be replaced.
ATTENTION. Tightness from the exhaust manifold gasket to the catalytic converter (inclusive), must be perfect. Removed gaskets are not subject to reuse and are replaced with new ones.
ATTENTION. During removal and installation, the catalytic converter must not be subjected to impacts that could damage it.
Cutting the exhaust pipe
The exhaust pipeline is one-piece, i.e. there are no joints in the section from the entrance to the catalytic converter to the entrance to the main silencer (except vehicles with L7X engine).
Therefore, if one of the parts is replaced by after-sales service, it is necessary to cut the exhaust pipe.
For this you need:
- correctly determine the cutting zone;
- use cutting tool Mot. 1199-01;
- correctly install the coupling used for after-sales service.
Definition of cutting zone
The cutting zone is determined by two punched marks on the exhaust pipe between the catalytic converter and the additional silencer (on K4M engines. F4R, F5R).
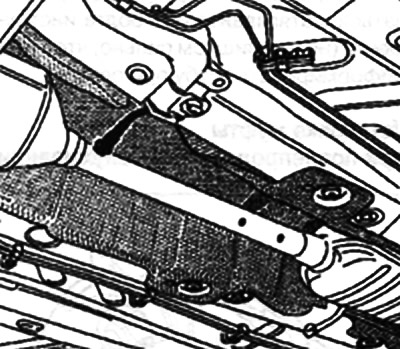
There is no cut zone on the F9Q engine exhaust pipe; because it is removed and installed as a single unit.
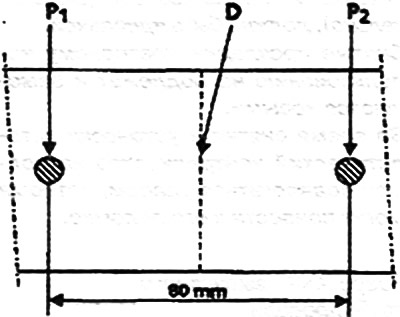
The distance between the two marks is 80 mm.
In order to cut the pipe, you need to draw a line in the middle (D) between two marks (P1 and P2).
Using tool Mot 1199-01
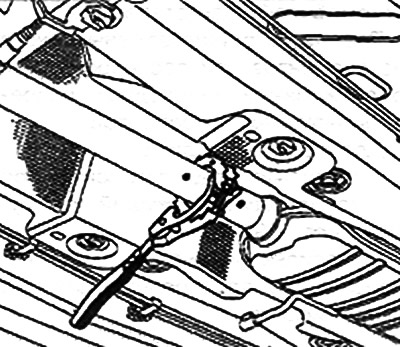
Install the tool in place on the exhaust pipe.
Tighten the two tool bolts as follows. so that the pipe is blocked.
Rotate the cutter with the handle. leaning on the exhaust pipe.
As the pipe is being cut, tighten both tool bolts (but not too much so as not to deform the pipe when cutting).
Aftermarket Coupling Installation
It is very important to correctly install the coupling on both parts of the exhaust pipe in order to avoid exhaust gas leakage. This means that the pipe must reach to the stop against the protrusions inside the coupling.
The coupling should first be put on the already used part of the pipe, and then adjust the diameter of the coupling by slightly tightening it.
Check the position of the pipe in relation to the projections.
Replace the replaced item.
To prevent leakage of exhaust gases, before installing the coupling on the pipe, mastic should be applied to the inner ring of the coupling (for exhaust gases).
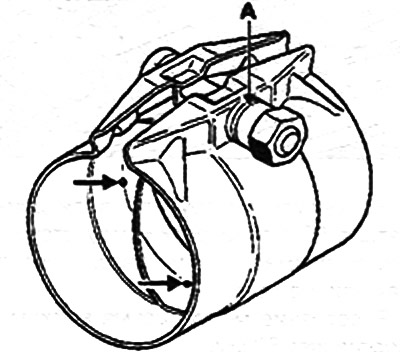
Coupling nut has a groove (A), which serves to determine the correct tightening torque.
In the process of tightening, when this groove disappears, a characteristic click is heard. This means that the nut is tightened to the required torque (2 5 Nm).
Note. Couplings are available in different diameters.
Note. Reuse of a previously installed coupling is not allowed.