



Contents: Removal 🠛 Installation 🠛
Removal
Cars of the 1st and 2nd stages of production
1. If your vehicle has power outside mirrors, disconnect the ground cable from the battery, and then remove the door trim (see Chapter 7). Disconnect the connector from the mirror switch.
2. If your vehicle is equipped with mirrors with manual adjustment, unscrew the nut securing the adjustment handle.
3. Remove the triangular corner trim, having first unscrewed the fastening screw.
4. Unscrew the three screws securing the mirror to the door (see illustration).
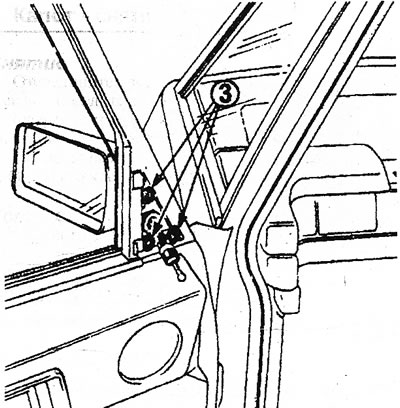
17.4 Bolts (3) for fastening the outside mirror to the door
5. Carefully remove the mirror from the outside of the car;sometimes this is not easy to do because the sealant will prevent removal.
6. Remove the electric drive coupling and take out the mirror together with the wires.
7. Further disassembly of the mirror is not allowed. It is sold only as a set.
Cars of the 3rd stage of production
8. If your vehicle has power outside mirrors, disconnect the ground cable from the battery..
9. Carefully remove the speaker grille from the corner of the instrument panel.
10. Remove the four screws, disconnect the wire and remove the main speaker.
11. Remove the side panel next to the instrument panel by unscrewing the front bolt located under the plastic cap (see illustration). Remove the side panel by pulling it towards you.
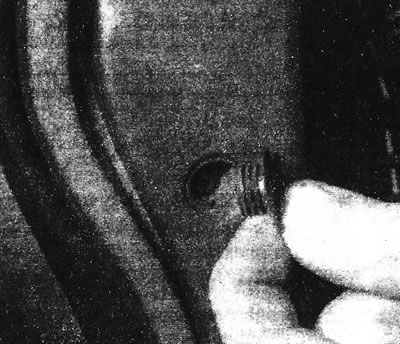
17.11 Front side panel mounting bolt
12. Disconnect the connector from the mirror electric drive switch on the side panel. If the mirror has manual adjustment, remove the adjustment knob, unscrew the fastening nut and remove the adjustment roller (see illustrations).
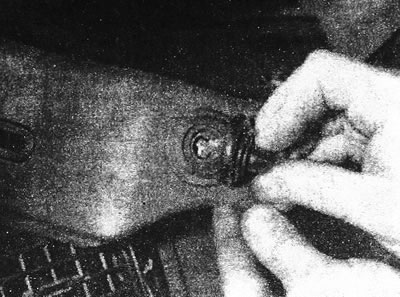
17.12a Remove the adjustment handle,...
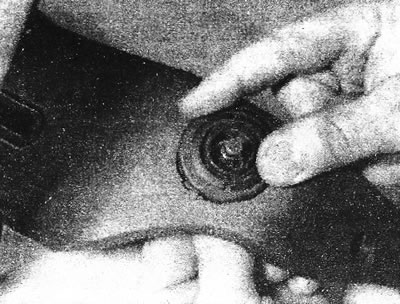
17.12b...unscrew the fastening nut...
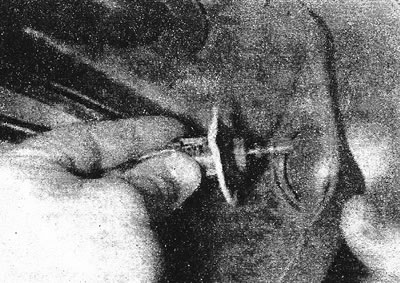
17.12s...and remove the adjusting roller
13. Remove the side mount plug and tube.
14. Loosen the mirror mounting bolt near the speaker hole on the front panel (see illustration).
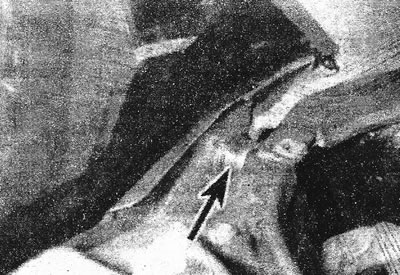
17.14 Unscrew the mirror mounting bolt near the speaker hole on the front panel
15. Open the hood and unscrew the bolt in front of the mirror trim (see illustration).
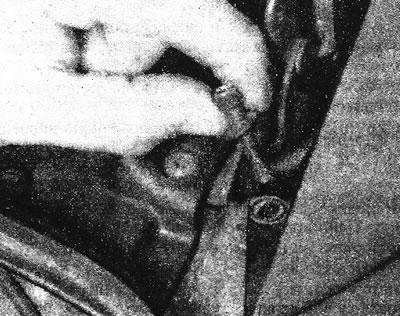
17.15 Unscrew the bolt at the front of the mirror trim
16. Remove the mirror from its socket by pulling the electrical wires through the hole in the body (see illustration).
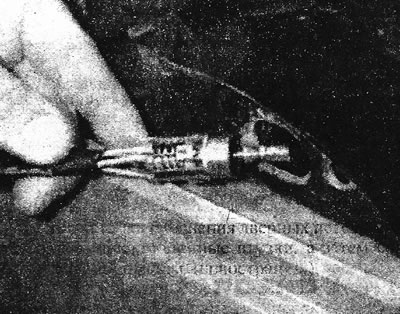
17.16 Pull the wires through the body hole
Installation
17. Installation is carried out in the reverse order. In cars of the 1st and 2nd stages of production, apply a layer of special sealant to the door in the contact area of the mirror.