



Contents: Removal 🠛 Installation 🠛
| Tightening torques | |
| Turbocharger outlet mounting studs | 9 Nm |
| Nuts securing the catalytic converter to the turbocharger | 28 Nm |
| Bolts securing the upper brace to the engine | 44 Nm |
| Bolt and nut for fastening the lower brace to the gearbox | 21 Nm |
| Bolts for fastening the upper brace to the catalytic converter | 26 Nm |
| Bolt securing the lower brace to the catalytic converter | 21 Nm |
| Exhaust manifold flange mounting bolts | 21 Nm |
Removal
Place the vehicle on a two-post lift.
Disconnect the battery.
Remove the air filter housing.
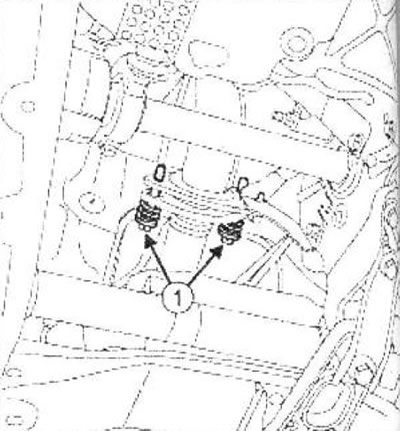
Loosen the bolts (1) securing the exhaust pipe flange.
Move the exhaust pipe aside.
Secure the exhaust pipe to the front left lower control arm.
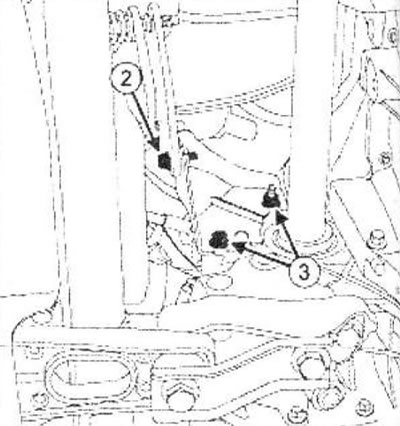
Loosen the bolt of the lower catalytic converter brace (2).
Loosen the bolt and nut securing the lower brace to the gearbox (3).
Remove the lower brace.
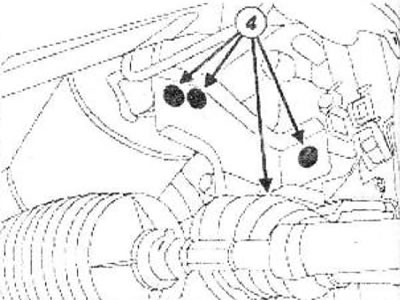
Remove:
- upper brace mounting bolts (4),
- front brace.
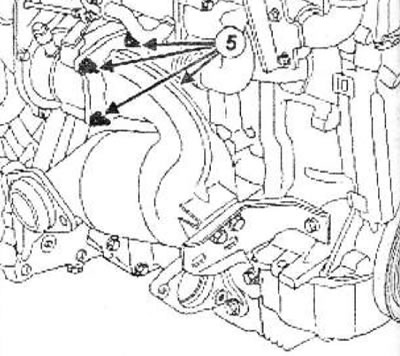
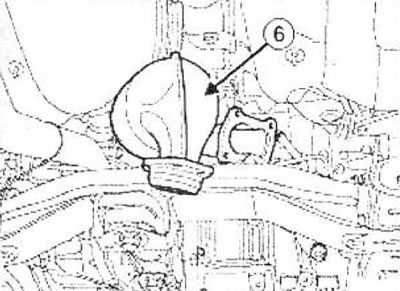
Loosen the nuts (5) securing the catalytic converter to the turbocharger.
Remove:
- catalytic converter (6),
- gasket between the catalytic converter and the turbocharger,
- exhaust pipe flange.
Installation
Caution! To ensure sealing, mating surfaces must be clean, dry and free of oil (don't touch them with your fingers).
Using grey matting pads, clean the mating surface:
- intermediate pipe,
- catalytic converter in case of its reuse,
- turbocharger.
Using a surface cleaner and a clean cloth, clean and degrease the following mating surfaces:
- intermediate pipe,
- catalytic converter in case of its reuse,
- turbocharger.
The sealing ring of the exhaust pipe flange must be replaced.
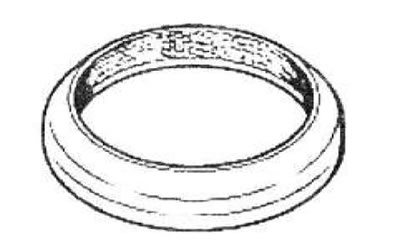
Parts that must be replaced: gasket between the compressor and the catalytic converter.
Note:
- If the mounting stud comes loose during this operation, lubricate it with high strength locking compound.
- Tighten the turbocharger outlet mounting studs to the specified torque (9 Nm).
Install:
- a new gasket between the catalytic converter and the turbocharger,
- catalytic converter for turbocharger.
Roll until touching in the order shown:
- bolt and nut for fastening the upper brace to the engine,
- bolt and nut for fastening the lower brace to the gearbox,
- bolts for fastening the upper brace to the neutralizer,
- bolts for fastening the lower brace to the neutralizer,
- nuts securing the catalytic converter to the turbocharger.
Tighten in the order shown to the specified torque:
- nuts securing the catalytic converter to the turbocharger (28 Nm),
- bolts for fastening the upper brace to the engine (44 Nm),
- bolt and nut for fastening the lower brace to the gearbox (21 Nm),
- bolts for fastening the upper brace to the catalytic converter (26 Nm),
- bolt for fastening the lower brace to the catalytic converter (21 Nm).
Make sure the neutralizer and turbocharger oil return line do not touch each other.
Installation is carried out in the reverse order of removal.
Tighten the exhaust manifold flange mounting bolts to the specified torque (21 Nm).
Check:
- the presence and reliable fastening of all heat shields of the exhaust pipeline,
- no contact with the bottom of the car body.
Start the engine.
Check for leaks and fix any that are found.