



Removal
1. Remove the timing belt and crankshaft sprocket, see Chapters 5 and 6.
2. Remove the tray (see Chapter 10).
3. Remove the woodruff key (where is it installed) from a groove in the crankshaft (see illustration).
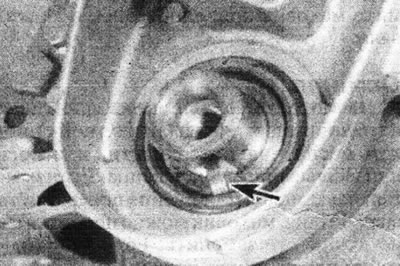
11.3 Remove the key (marked with an arrow) from the front end of the crankshaft. On later models it is part of the sprocket.
4. Unscrew the front cover from the cylinder block (see illustration).
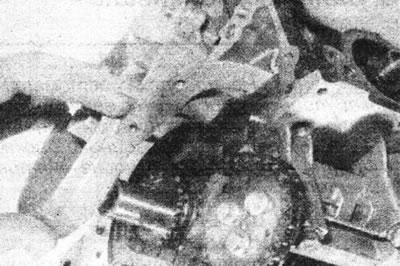
11.4. Remove the front cover from the cylinder block.
5. Remove the oil seal spacer gasket.
6. Remove the bolts securing the sprocket to the oil pump hub. To hold the sprocket, insert a screwdriver through one of the holes in it (see illustration).
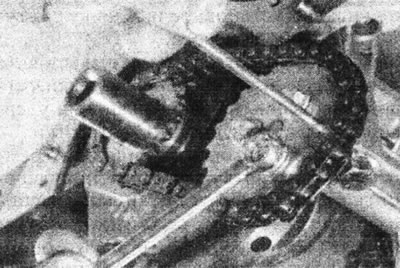
11.6. Unscrew the oil pump sprocket.
7. Remove the oil pump sprocket and release the chain from the drive sprocket on the crankshaft.
8. Remove the drive sprocket from the crankshaft.
9. Unscrew the two mounting bolts and remove the oil pump from the crankcase(see illustration).
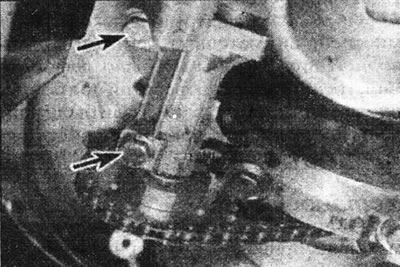
11.9. Oil pump mounting bolts (marked with arrows).
If two dowel pins have been removed, reinsert them into the crankcase.
Inspection
10. Unscrew the four mounting bolts and remove the pump cover and suction tube.
11. Using a feeler gauge, check the clearance between each gear and the oil pump housing. Also check the axial clearance of both gears (between the gears and the parting surface of the cover). If any gap is outside the tolerances given in Specifications, the oil pump needs to be replaced (see illustration).
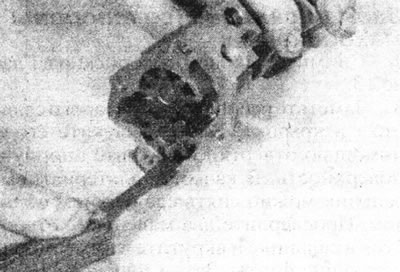
11.11. Check the clearance between the oil pump gears and the housing.
12. Clamp the cover in a vice, then press the end stop of the safety valve and remove the spring clip. Release the stopper and remove the spring and piston (see illustration).
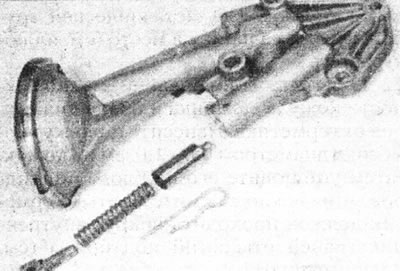
11.12. Components of the pressure reducing oil valve.
13. Inspect the piston and the walls of the relief valve channel for signs of wear and damage. If such damage is detected, replace the oil pump.
14. If the components are suitable for further use, clean them and reassemble them in the reverse order of disassembly. Before installing the cover, fill the pump with engine oil. The new pump must also be filled with oil.
15. Inspect the chain for signs of wear and replace it if necessary. Check the stars too.
Installation
16. Wipe the contact surfaces of the oil pump and crankcase.
17. Make sure there are two locating pins in the cylinder block, then place the oil pump on them and insert the two mounting bolts. Tighten the mounting bolts securely.
18. Place the drive sprocket onto the crankshaft.
19. Place the chain on the oil pump sprocket, then on the crankshaft drive sprocket and install the sprocket on the oil pump hub.
20. Align the holes, then insert the bolts and tighten them to the specified tightening torque Specifications, holding the sprocket with a screwdriver.
21. The seal on the drive belt side should be replaced every time the cover is removed. Note the correct position of the old oil seal, then remove it with a screwdriver and wipe the bearing surface. Lubricate the outer edge of the new seal and position it on the housing, closed side out. Place the housing on a block of wood, then use a socket or metal pipe to hammer the seal into place (see illustrations).
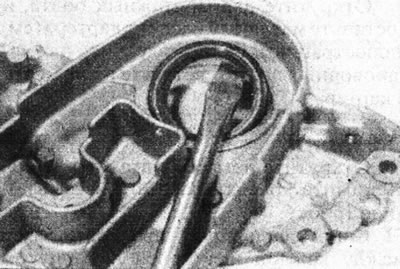
11.21a. Remove the oil seal from the front cover.
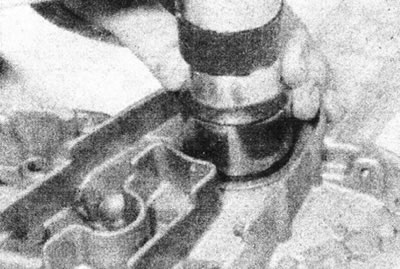
11.21b. Hammer the new seal into the front cover.
[Original version on our portal: RenaultBook]
22. Clean the mating surfaces of the oil seal housing and the cylinder block from sealant. Apply a bead of sealant with a diameter of 0.6-1.0 mm to the housing, then install it on the cylinder block and tighten the bolts securely. The sealant should go around the inside edges of the bolt holes (see illustration).
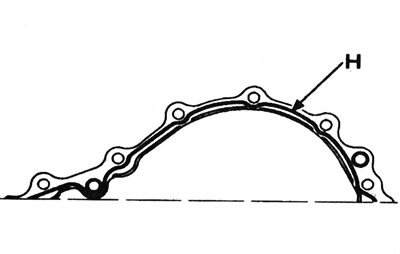
11.22. Apply a bead of sealant (H) around the perimeter of the front cover.
23. Lubricate the oil seal, then position the spacer on the end of the crankshaft(see illustration).
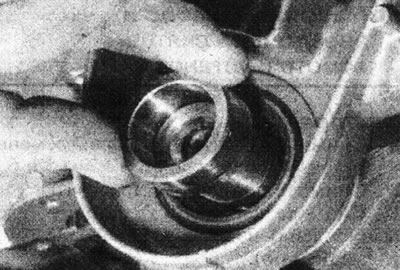
11.23. Place the spacer gasket on the front end of the crankshaft.
If the spacer gasket is worn where it contacts the seal, it can be turned so that the new seal contacts the unworn area.
24. Install the woodruff key (if any) into the groove on the crankshaft.
25. Install the tray, see Chapter 10.
26. Install the crankshaft sprocket and timing belt, see Chapters 5 and 6.