



Special tool required
- T. Ag. 960-02 Bearing ring and bushing puller.
- T. Ag. 960-05 Device for replacing needle bearings.
Removal
1. The operation is performed after removing the rear axle and separating both beam rods.
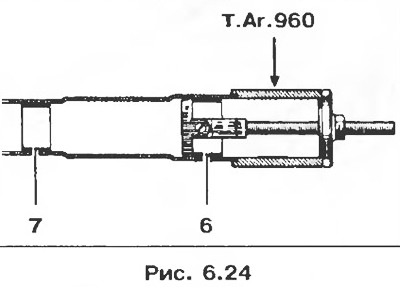
2. Remove the outer ring of bearing 6 from the beam (left) enclosing rod using the T. Ag. 960 puller.
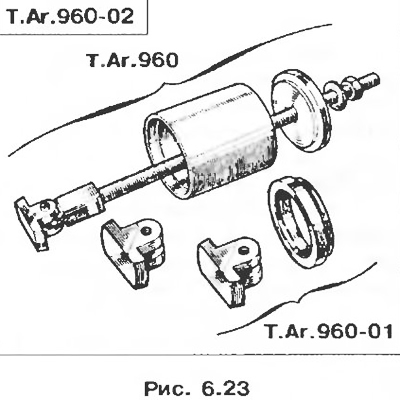
3. Remove the inner ring of bearing 7 using the small tip of the T. Ag. 960 puller.
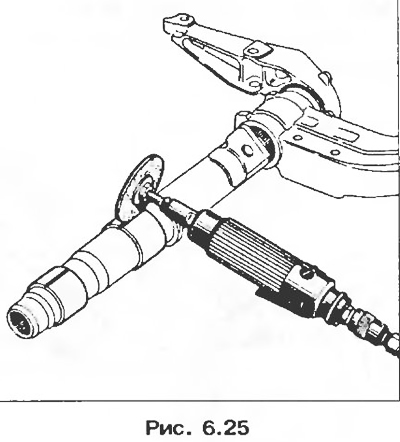
4. Cut the bearing rings on the male beam rod (right) using a flat abrasive wheel, without allowing it to touch the surface of the rod.
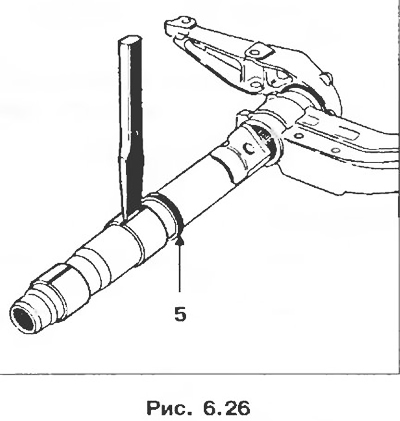
5. Widen the slot on the bearing rings with a chisel, then remove the rings.
6. Cut and remove sealing ring 5.
Installation
1. Use the T.Ag. 960-05 device to install needle bearings and bearing rings.
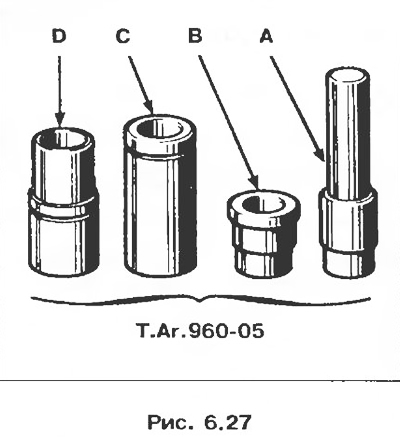
2. Install the small needle bearing on the mandrel A.
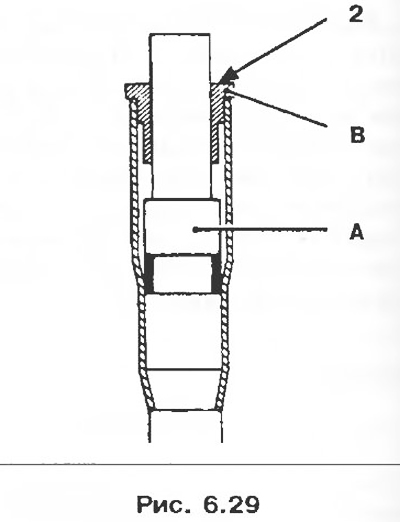
3. Install mandrel A into the beam rod using mandrel B as a guide.
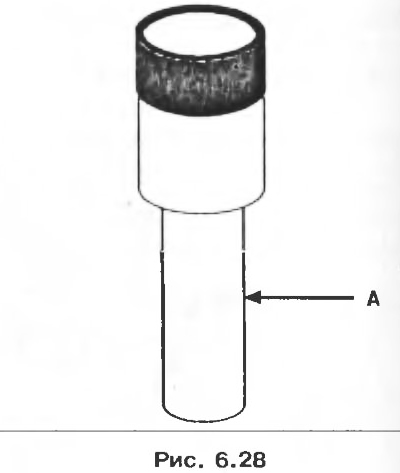
4. Using a press, press mandrel A flush with plane 2 of mandrel B.
5. Install the large needle bearing onto mandrel B.
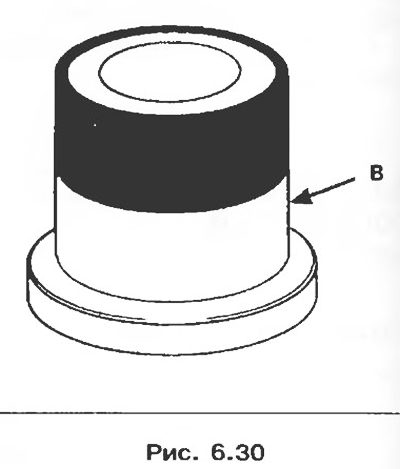
6. Install mandrel B into the beam rod using mandrel A as a guide.
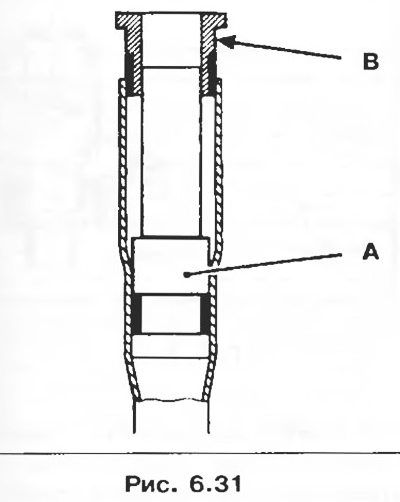
7. Using a press, press the bearing ring until the shoulder of the mandrel B touches the end of the beam rod.
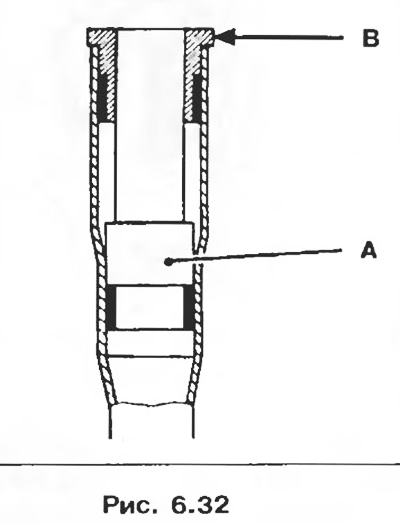
8. Remove mandrels B and A.
9. Install a new sealing ring 5 onto the male beam rod.
10. The bearing rings have a lead-in chamfer on one side. It is important to observe the direction of installation of the rings: chamfer 4 must be oriented as shown in the figure to ensure sufficient support area when pressing on the ring.
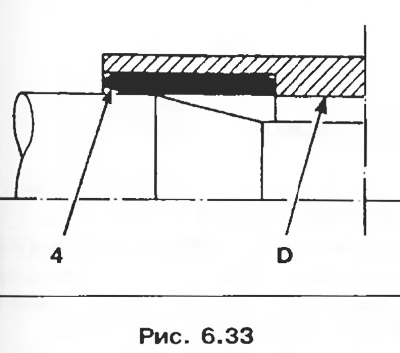
11. Install the large bearing ring into the mandrel D.
12. Install the assembly consisting of mandrels D and C onto the beam rod.
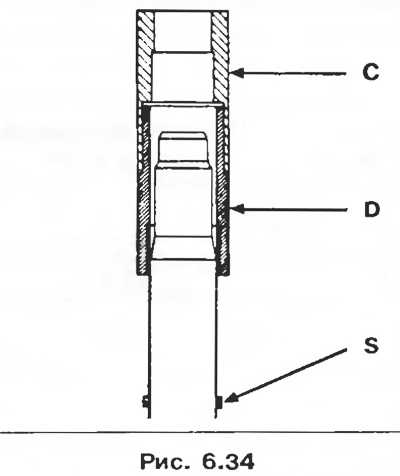
13. Press mandrel C together with mandrel D flush with end 3 of the beam rod.
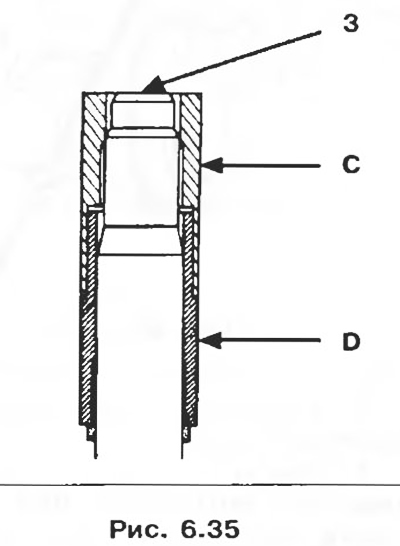
14. Install the small bearing ring into the C mandrel.
15. Mount mandrel C on the rod using mandrel D as a guide.
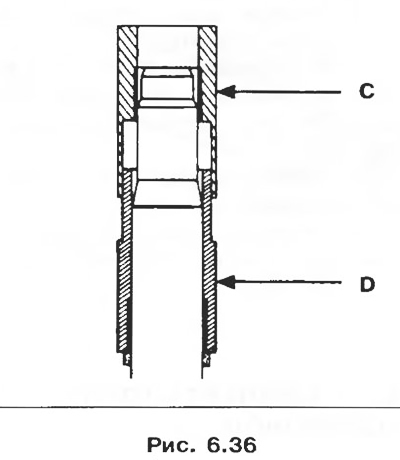
16. Using a press, press the mandrel C flush with the end 3 of the beam rod.
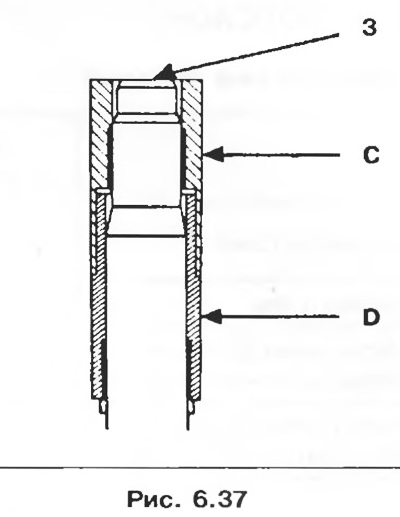
17. Remove mandrels C and D.
Attention! When pressing in parts, if the load was applied to the beam supports, it is necessary to ensure that the beam rods are correctly positioned in their supports (because they can be displaced). If necessary, restore their alignment.
18. Connect both beam rods.
Note: Needle bearings are lubricated for life and do not require any further lubrication.
This note was copied from the resource [renaultbook]
19. Connect and install the rear axle beam to the vehicle.