



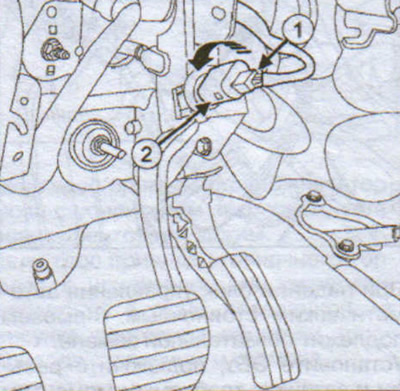
Disconnect the brake light switch connector (1).
Turn the brake light switch (2) one eighth of a turn counterclockwise.
Remove the brake light switch.
Disconnect the brake light switch ring (3).
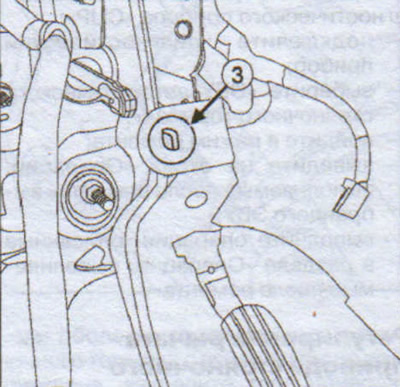
Secure the new brake light switch ring (3) to the pedal assembly.
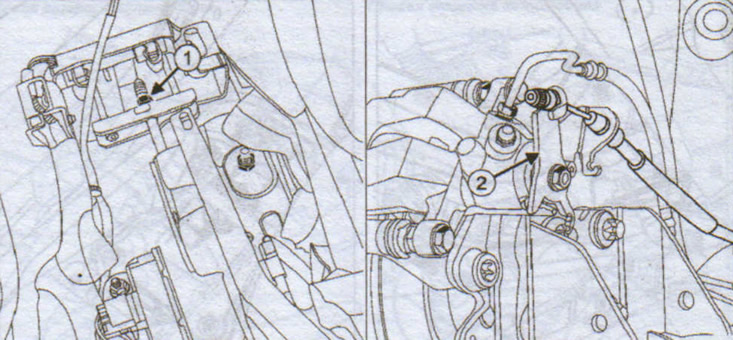
Set the brake pedal to the top position.
Note: To perform this operation, the vacuum booster rod must be connected to the brake pedal.
Insert the new brake light switch (2) into the ring (3).
Install the sensor with the end facing the pedal body.
Note: Incorrect adjustment may result in premature wear of the brakes.
Lock the brake light switch by turning it one eighth of a turn clockwise.
Adjusting the brake light switch
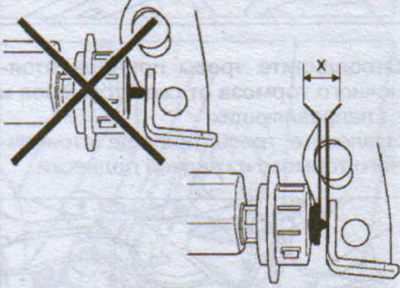
The distance between the switch housing and the mating surface of the rod in the brake pedal housing is indicated in the figure by the letter (X).
Using a set of feeler gauges, check that the distance (X) is 1-2.5 mm. With the brake pedal held in the upper position:
- it is necessary to install a 1 mm thick lining between the switch and the brake pedal;
- do not install a 2.5mm thick shim between the switch and the brake pedal.
Connect the brake light switch connector.
Turn on the ignition.
Check the operation of the brake light switch.
Connect the diagnostic tool.
Depress the brake pedal 3 mm.
Make sure the first signal from the switch does not work (the first signal does not turn on the lights).
Turn off the ignition.