
English Русский
Български
Беларускі
Український
Српски
Hrvatski
Română
Polski
Slovenský
Magyar
Bookmark Contacts Articles Sitemap
Company vehicles Peugeot Company vehicles Opel Company vehicles Skoda Company vehicles Land Rover Company vehicles Mitsubishi Company vehicles Volkswagen Company vehicles Honda
RenaultBook.ru


Duster   Fluence   Kangoo   Laguna   Logan   Megane   Sandero   Scenic   Symbol   Clio   Other
Clio 1 (1990-1998)

Front pillar — dismantling, inspection and assembly (Renault Clio 1)

  • Main
  • Clio
  • Clio 1 (1990-1998)
  • Chassis, running gear
  • Car suspension
  • Front pillar — dismantling, inspection and assembly
0
Contents: Dismantling 🠛 Inspection 🠛 Assembly 🠛
Warning: Before disassembling the front suspension strut, have an adjustable spring compressor available that is capable of compressing the spring and holding it in that position. Attempting to disassemble the rack without such a tool will result in damage to components or injury.


Dismantling


1. Remove the rack (see Chapter 4) and clean off all external dirt from it. Clamp the stand vertically in a vice.

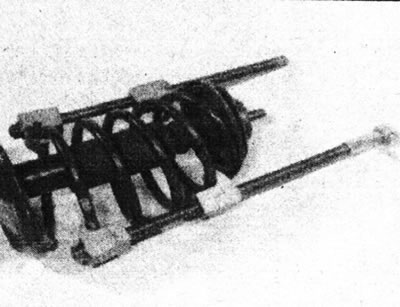
2. Remove the rubber part of the upper mount. Install a spring compressor and compress the spring to relieve pressure from its upper seat (see illustration).
5.2. Compress the suspension strut spring using a special puller...

5.2. Compress the suspension strut spring using a special puller...


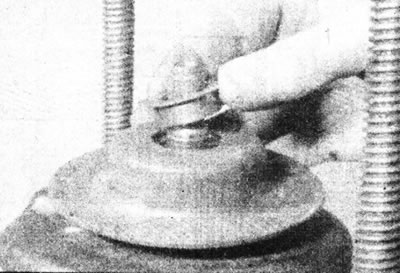
3. Carefully press the mounting bracket out of the piston rod groove with a screwdriver, then pull out the locking rim, remembering its correct position (see illustrations).
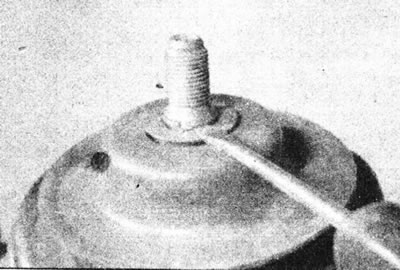
5.3a.... then press the fastening bracket...
5.3a.... then press the fastening bracket...


5.3b.... and remove the locking bezel.

5.3b.... and remove the locking bezel.


Throw away the staple - it needs to be replaced.

4. Remove the upper mount plate, bearing and upper spring seat. Remove the spring and the rubber piston dust boot.

Inspection


5. Inspect all components for damage, signs of wear and deformation, and ensure that the bearing rotates freely and smoothly. Replace components as necessary.

6. Inspect the rack for leaks and damage. Check the strut piston rod for pitting. Place the rack in a vertical position and test its operation by moving the piston rod through its full stroke and then through a short stroke (50-100 mm) several times. In both cases, the resistance should be even and consistent. If the piston moves erratically or the strut tension changes during the test, or if there is any visible sign of wear or damage, replace the strut

7. If there is any doubt about the condition of the spring, carefully release the puller and inspect the spring for deformation and cracks. Renault does not provide data on the spring's elasticity, so the only way to check the condition of the spring is to compare its free length with the length of a new component. Replace the spring if it is damaged, deformed or weak.


8. Inspect all other components for damage and replace any that appear to be faulty.

Assembly


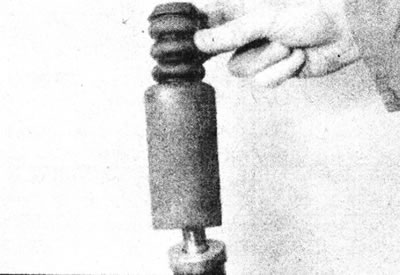
9. Make sure all components are clean and dry. Install the dust cover on the piston rod (see illustration).
5.9. Install the rubber dust boot onto the piston rod.

5.9. Install the rubber dust boot onto the piston rod.


10. Install the spring and then its upper support. Make sure both ends of the spring are seated correctly on the supports (see illustrations).
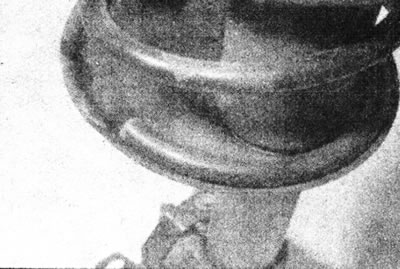
5.10a. Correct position of the lower end of the spring in the support.
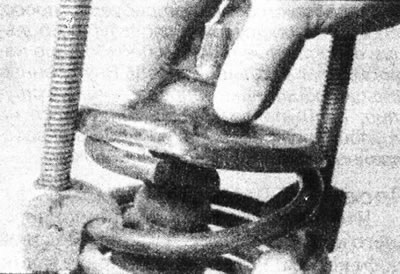
5.10a. Correct position of the lower end of the spring in the support.


5.10b. Install the upper spring support.

5.10b. Install the upper spring support.


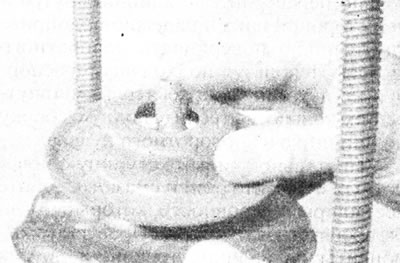
11. Install the strut bearing with the flat surface facing down, then place the upper mount plate in its working position (see illustrations).
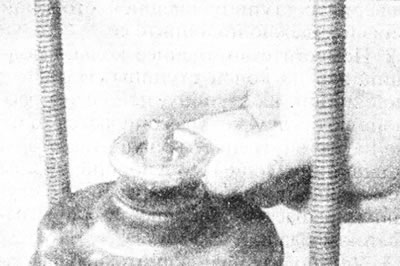
5.11a. Install the strut bearing with the flat side down...
5.11a. Install the strut bearing with the flat side down...


5.11b.... then install the top mount plate.

5.11b.... then install the top mount plate.


12. Install the locking ring onto the piston rod and secure it with a new mounting bracket (see illustration).
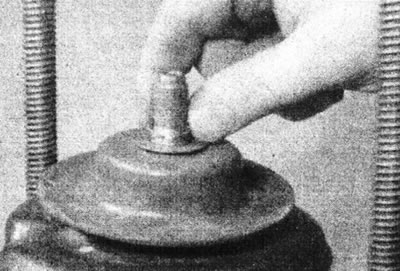
5.12. Install the locking bezel and secure it with a new bracket.

5.12. Install the locking bezel and secure it with a new bracket.


Make sure the bracket fits into the groove. Slowly and carefully release the spring compressor so that both ends of the spring are properly seated in the supports.

13. Install the rubber part of the upper mount onto the mounting plate (see illustration).
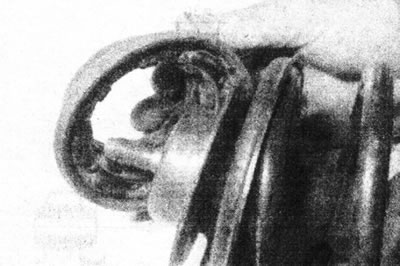
5.13. Install the rubber cushion onto the top mount plate.

5.13. Install the rubber cushion onto the top mount plate.


14. Install the stand (see Chapter 4).
This article is available on: russian, bulgarian, belarusian, ukrainian, serbian, croatian, romanian, polish, slovak, hungarian
Article has been reviewed by editor: Fedoseev Denis
Share with friends:
Previous
Clio 1: Car suspension
Next

Front strut — removal and installation
Front wheel bearings — inspection, removal and installation
Front steering knuckle assembly — removal and installation
General description of suspension and steering
Suspension and steering specifications
Front anti-roll bar — removal and installation
Lower control arm of the front suspension — removal, overhaul and…
Front lower control arm ball joint — removal and installation
Rear wheel hub bearings — inspection, removal and installation
Rear shock absorber — removal, inspection and installation
Other articles on other Renault models

➽ External decorative trim for front door pillar Renault Fluence 1 (2009-2020, petrol)
➽ Removal and installation the outer decorative trim of the front… Renault Laguna 2 (2001-2007)
➽ Removal and installation the front pillar Renault Megane 1 (1995-2002)
➽ Front Pillar Trim/Cover — Removal and Installation Renault Scenic 1 (1996-2003)
➽ Front seats Renault Duster 1 (2009-2017)
Link to this article in different formats
Reviews and comments of visitors
No comments yet


Add two numbers 32 + 42


Clio 1 (1990-1998) 
  • General information
  • Maintenance
  • Troubleshooting
  • Power unit
  • Petrol engines 1.1 l (C)
  • Petrol engines 1.2 l (D)
  • Petrol engines 1.2/1.4 l (E)
  • Petrol engines 1.8 l (F)
  • Diesel engines
  • Overhaul of engines
  • Cooling and heating
  • Fuel system (carburetor)
  • Central fuel injection
  • Distributed fuel injection
  • Fuel system (diesel)
  • Starting and charging system
  • Ignition system (transistor)
  • Ignition system (electronic)
  • Pre-heating of diesel engines
  • Transmission
  • Clutch
  • Manual gearbox
  • Automatic gearbox
  • Drive shafts
  • Chassis, running gear
  • Brake system
  • Car suspension
  • Steering system
  • Body and interior
  • Exterior (external elements)
  • Doors, locks and windows
  • Electrical equipment
  • Equipment and devices
  • Electrical circuits
RenaultBook.ru © 2018–2026 | Mobile version | News and articles | Sitemap: EN BG BY UA RS HR RO PL SK HU | Administration | Site search | Bookmark
Duster 1 (2009-2017) | Fluence 1 (2009-2020, petrol) | Kangoo 1 (1997-2007) | Laguna 2 (2001-2007) | Logan 1 (2004-2012, petrol) | Logan 2 (2012-2020) | Megane 1 (1995-2002) | Megan 2 (2002-2009, petrol) | Sandero 1 (2007-2012, petrol) | Scenic 1 (1996-2003) | Symbol 1 (1999-2008, petrol) | Symbol 2 (2008-2013, petrol) | Renault 19 (1988-1996) | Espace I and II (1984-1996) | Espace III (1996-2002) | Clio 1 (1990-1998) |
We want your visit to be comfortable 😌 and use cookies 🍪 to do so.