



Contents: Removal 🠛 Installation 🠛
Removal
1. Block the rear wheels, apply the handbrake, then jack up the front of the car and place it on axle stands. Remove both front wheels.
2. Remove the exhaust outlet pipe (see Section 4).
3. On models equipped with a manual transmission, disconnect the gear selector rod from the gearbox (see Section 7A).
4. Remove the nuts and bolts securing the ends of the stabilizer bar to the lower control arms, noting the positions of the rubber pads (see illustration).
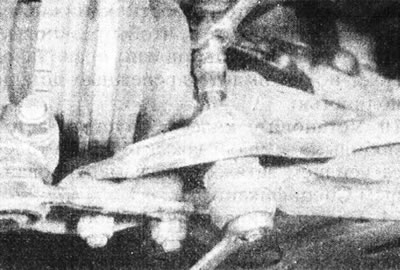
6.4 Remove the front anti-roll bar mounting bolt.
5. Unscrew the stabilizer mounting clamp bolts (see illustration).
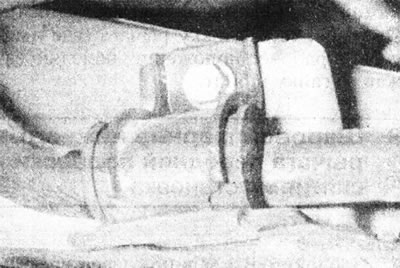
6.5. Front anti-roll bar mounting clamp.
6. Remove the stabilizer from under the car and remove the rubber mounting bushings.
7. Carefully inspect the stabilizer components for damage and signs of wear, paying particular attention to the mounting bushings. Replace worn components as necessary.
Installation
8. Lubricate the rubber bushings with molybdenum grease and install them on the stabilizer.
9. Move the stabilizer into working position under the vehicle. Place the bushings with the gaps facing the subframe, then install the mounting clamps. Do not fully tighten the clamp nuts or bolts yet.
10. Attach the ends of the stabilizer to the lower suspension arms, making sure that the rubber pads are in place. Install the nuts and bolts, but do not tighten them completely yet.
11. On models with manual transmission, connect the gear selector mechanism (see Section 7A).
12. Install the exhaust outlet pipe (Section 4).
13. Install the wheels, lower the vehicle to the ground and tighten the wheel bolts to the specified tightening torque Specifications.
14. Tighten the stabilizer fasteners to the specified tightening torque Specifications, starting with the clamps.