



- elevated (compared to the usual) noise;
- difficult gear shifting;
- spontaneous disengagement or unclear engagement of gears;
- oil leakage through seals and gaskets.
In addition, the gearbox is removed to replace the clutch, flywheel and rear crankshaft oil seal of the engine.
Helpful tips:
- The work of removing and installing the gearbox is very labor-intensive, so first make sure that its malfunctions are not caused by other reasons (insufficient oil level, defects in the clutch release drive, loose gearbox mounts, etc.).
- The gearbox is quite heavy and has an awkward shape to hold, so we recommend removing it with an assistant.
You will need: keys "13", "18", a screwdriver with a flat blade.
1. Place the vehicle on a lift or inspection pit.
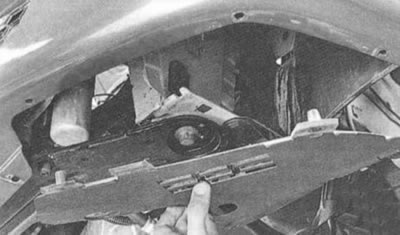
2. Remove the crankcase guard and the lower part of the left engine splash guard (see "Removal and installation mudguards and engine crankcase protection").
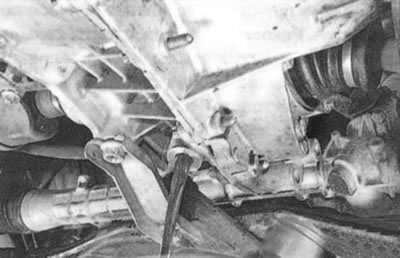
3. Drain the oil from the gearbox.
4. Remove the battery (see "Removal and installation the battery").
5. Remove the plastic gasket from the battery shelf.
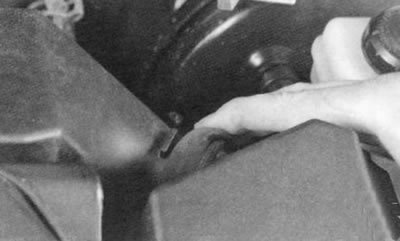
6. Remove the air filter air supply hose.
7. Remove the engine control unit (see "Removal and installation of the electronic engine control unit").
8. Remove the mounting block.
Note: It is not necessary to remove the electronic engine control unit and the mounting block. Their absence simply makes it easier to access the left support mount of the powertrain suspension.
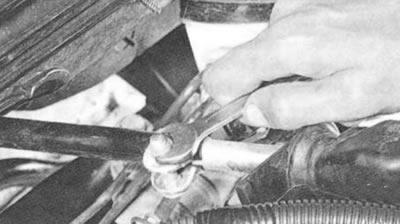
9. Loosen the tightening clamp securing the gearbox control rod to its lever.
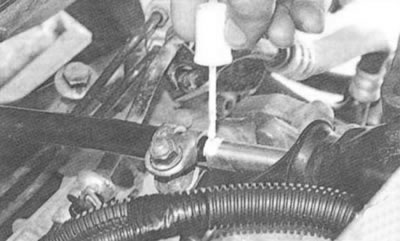
10. Mark in any way possible (for example, with paint) the relative position of the rod and lever so as not to disturb the drive adjustment during reassembly...
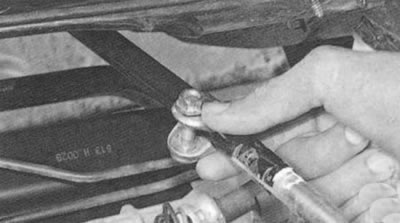
11. ...slide the clamp along the rod...
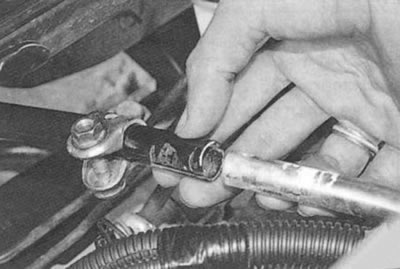
12. ...and disconnect the rod and lever.
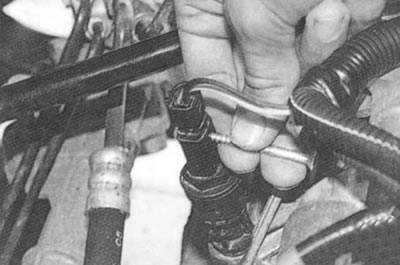
13. Press the locking clip of the speed sensor wiring harness connector with a pointed object...
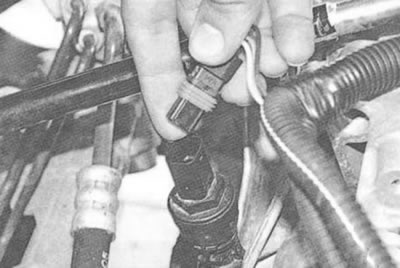
14. ...and disconnect the connector from the sensor.
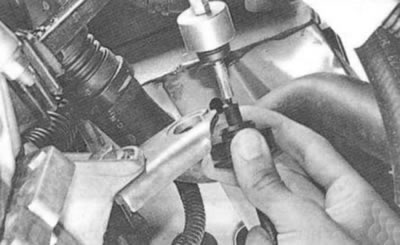
15. Disconnect the clutch release cable from the clutch release fork and the bracket on the gearbox (see "Replacing and adjusting the clutch release cable").
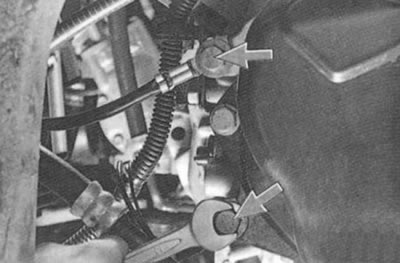
16. Unscrew the two bolts securing the ground wires to the gearbox and disconnect the wires.
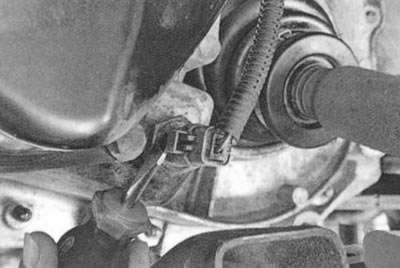
17. Use a screwdriver to pry up the retainer on the reverse light switch wiring harness connector...
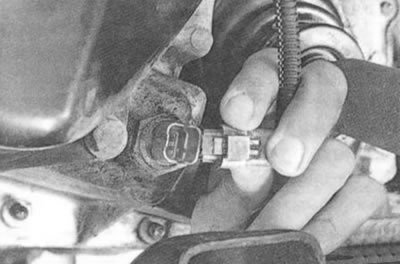
18. ...and disconnect the block from the switch.
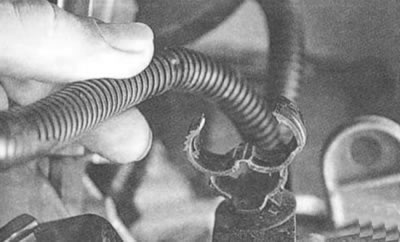
19. Remove the engine harness from the holder on the gearbox and move it to the side.
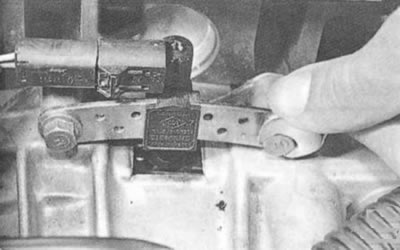
20. Remove the two bolts securing the top dead center sensor to the clutch housing...
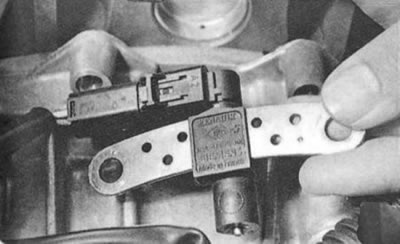
21. ...and move the sensor together with the wiring harness to the side.
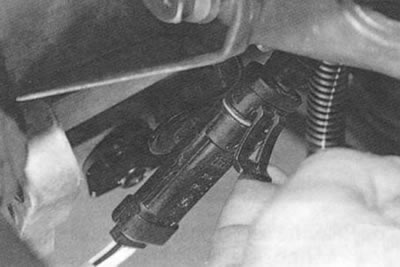
22. By pressing the lock of the oxygen concentration sensor wiring harness block...
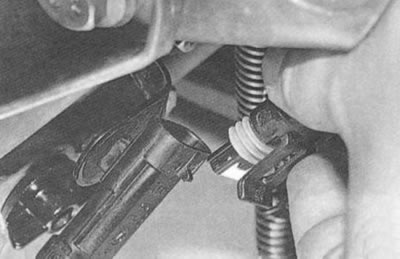
23. ...disconnect the connector...
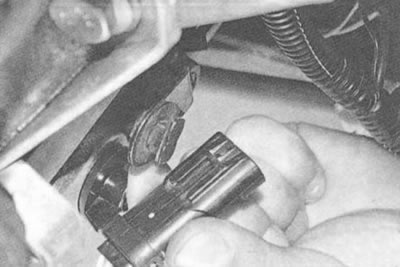
24. ...and remove the wiring harness connector from the holder on the gearbox.
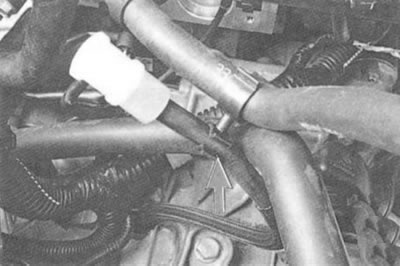
25. Remove the gearbox breather hose from the holder.
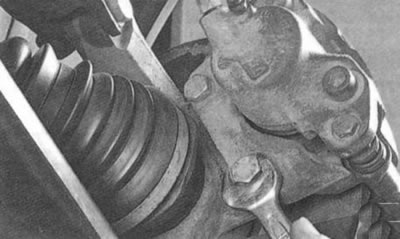
26. Remove the wheels from both sides of the car, unscrew the two bolts securing the front brake calipers to the steering knuckles...
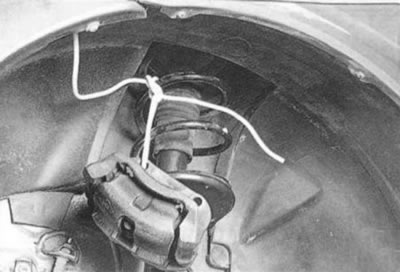
27. ... move the calipers to the side without disconnecting the brake hoses from them, and secure them in any way possible (for example, by tying it with wire to the front suspension springs)...
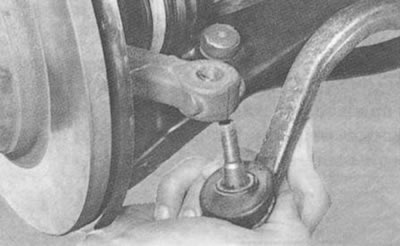
28. ...disconnect the steering rods from the steering knuckle arms (see "Replacing the outer tie rod end")...
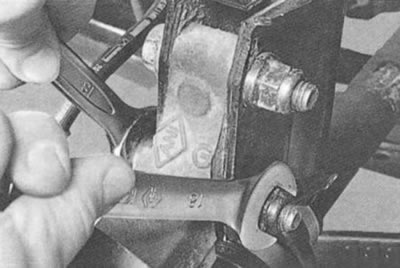
29. ...unscrew the two nuts on the bolts securing the shock absorber struts to the steering knuckles and remove the bolts from the holes in the knuckles and struts.
Note: Disconnecting the front brake calipers, steering rods and shock absorber struts is necessary in order to be able to disconnect the inner joints of the front wheel drives from the gearbox without removing the drives themselves.
30. Move the steering knuckles to the sides and disconnect the inner joints of the front wheel drives from the gearbox (see "Removal and installation front wheel drives").
Warning: When disconnecting the left front inner drive joint from the transmission, be careful not to drop the joint rollers into the transmission housing if they are not tightly seated on the three-pin joint hub journals.
31. Remove the starter (see "Removal and installation the starter").
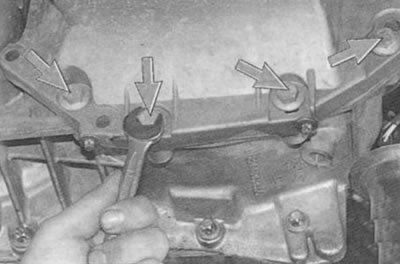
32. Remove the four bolts securing the engine oil pan to the clutch housing.
33. Remove the subframe see. "Removal and installation the subframe").
Note: When removing the subframe from the gearbox, the rear support of the powertrain suspension is disconnected.
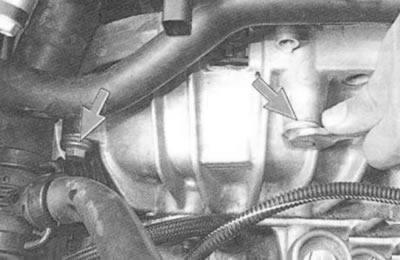
34. Remove the two upper bolts securing the gearbox to the engine.
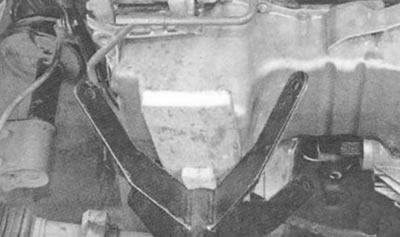
35. Install reliable supports under the engine...
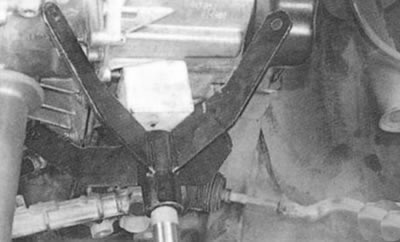
36. ...and gearbox.
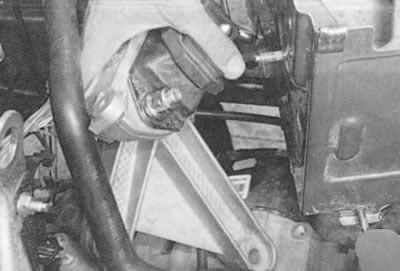
37. Remove the left support of the power unit suspension (see "Replacing the left support of the powertrain suspension").
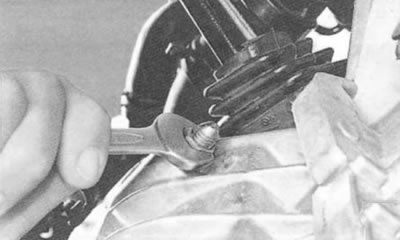
38. Unscrew the nuts securing the lower gearbox to the engine on the left and right.
39. Remove the front wheel drives (see "Removal and installation front wheel drives").
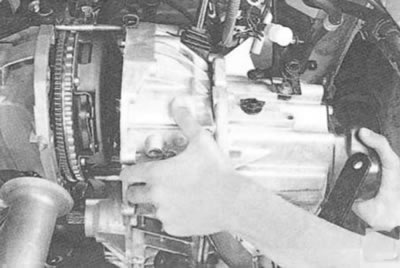
40. Move the gearbox back until the clutch housing studs come out of the cylinder block holes. At the same time, the gearbox input shaft should come out of the clutch driven disk hub.
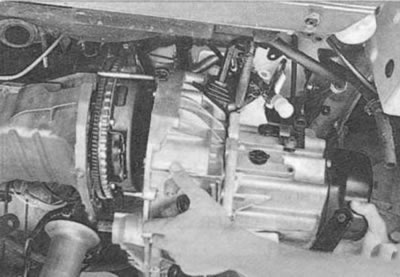
41. Move the gearbox as far back as possible, remove the support from underneath it and, tilting the rear of the gearbox down, remove it from the car.
Warning: When removing the gearbox, do not rest the end of the input shaft against the diaphragm spring petals to avoid deforming them.
42. Install the gearbox and all removed parts and assemblies in the reverse order of removal.
Helpful tips:
- Before installing the gearbox, we recommend lubricating the splines of the input shaft and the outer surface of the clutch release bearing guide sleeve with a thin layer of high-melting consistent grease.
- Check the alignment of the clutch driven disc using a special mandrel (see "Removal and installation the clutch").
43. Fill the gearbox with oil (see "Checking the level and adding oil to a manual transmission").