Contents: Removal gears 🠛 Checking the details 🠛 Installing a group of gears 🠛 Installation of bushings 🠛
Cut off the plastic capsule located in the center of the bearing at the base.
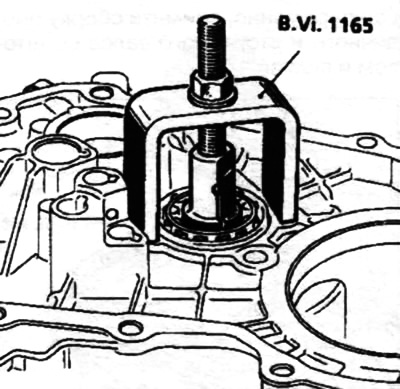
Install tool B. Vi. 1165 and remove the bearing.
Install the deflector and then press the bearing in, aligning it with the inside of the crankcase.
Caulk the bearing with a chisel.
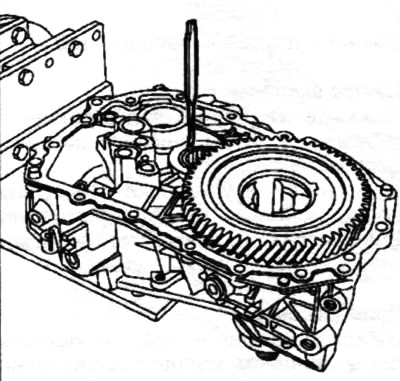
Remove the input shaft centering bearing using a 38 mm diameter bushing.
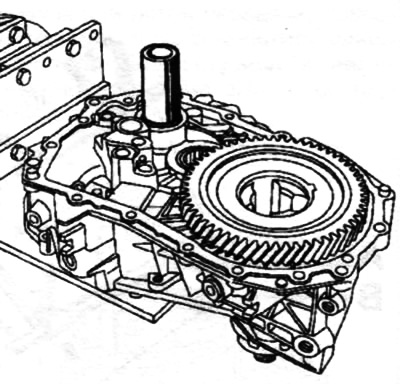
Install the centering bearing using tool B. Vi. 1601.
Removal gears
The bushings under the 2nd, 3rd and 4th gears are installed with tension.
They must be systematically replaced during assembly.
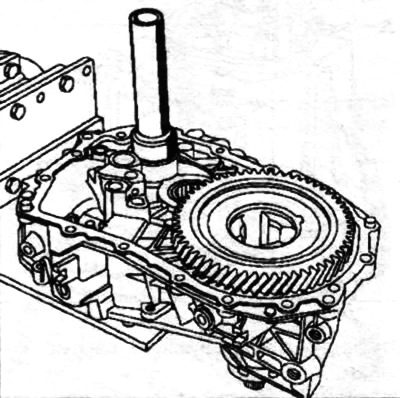
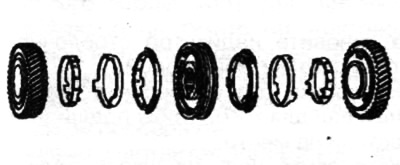
Using a press, remove the "ring, hub and third gear" assembly. Support yourself with the third gear clutch teeth.
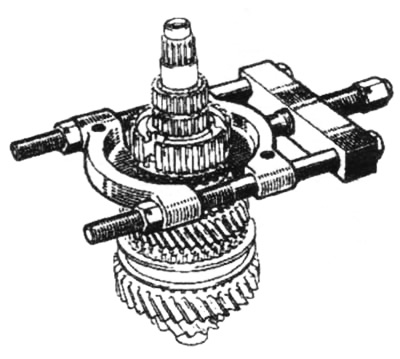
Using a press, remove the assembly "1st and 2nd gear bushings and pinions, hub, toothed clutch". Lean on the first gear pinion.
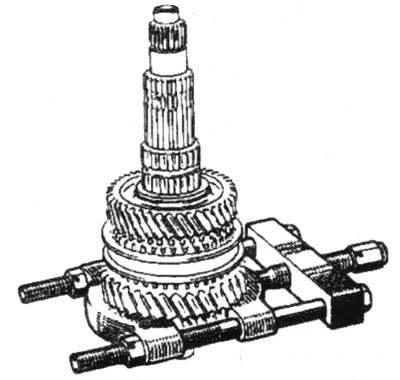
Checking the details
The teeth of the gears and couplings must not be too worn and must not have any nicks.
Also, make sure that the shaft surfaces and the inner surfaces of the gears do not show signs of friction or excessive wear. It is recommended to mark the position of the gear couplings relative to the hubs.
Installing a group of gears
For assembly, it is necessary to use a heating plate with a mode of 150°C.
(Article reprinted from the website www.RENAULTBOOK.ru)
Place the new bushings on a cold heating plate. Warm them up for 15 minutes with the thermostat set to 150°C.
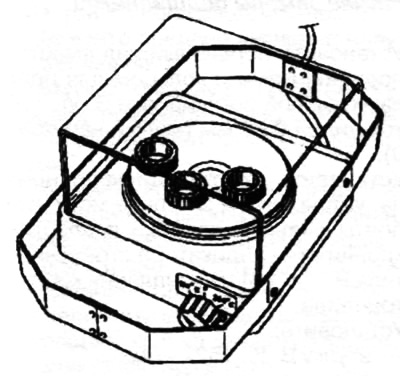
Installation of bushings
Remove the bushing from the heating plate with pliers and install it on the shaft using a bushing with an internal diameter of 33 mm. Push it until it rests against the hub.
Note: The 1/2 gear synchronizer is a double cone type, align the projections of the synchronizer rings with the grooves of the hubs and gears.