



Warning: Clutch wear dust deposited on clutch components may contain asbestos, which is harmful to health. DO NOT blow it out with compressed air or inhale it. DO NOT use gasoline or mineral solvents to remove dust. Only a special cleaner or methyl alcohol are suitable for this. After cleaning, wipe the clutch components with a clean cloth.
Removal
1. Access to the clutch can be gained in one of two ways. Or remove the gearbox separately (see Section 7A), or remove the powertrain (Section 2E) and separate the transmission from the engine on a workbench. If the gearbox is removed separately on E-series engines, it only needs to be moved to the side to gain access to the clutch.
2. Loosen and remove the clutch housing mounting bolts. Work in a diagonal pattern and loosen the bolts no more than a few turns at a time. Lock the flywheel by placing a screwdriver on the pin on the cylinder block and inserting it into the flywheel teeth (see illustrations).
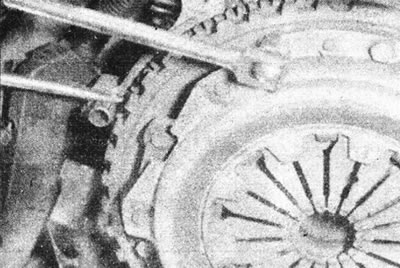
4.2a. Loosen the clutch housing mounting bolts, locking the flywheel with a screwdriver.
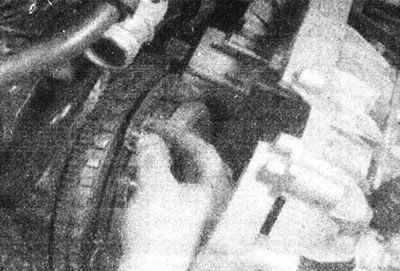
4.2b. Remove the clutch housing bolts (the gearbox is not removed, but only shifted).
3. Remove the clutch cover from the mounting pins. Be prepared to catch the friction disc that will fall out once the housing assembly is removed. Remember the orientation of the disk (see illustration).
This article is taken from the website www.RENAULTBOOK.ru
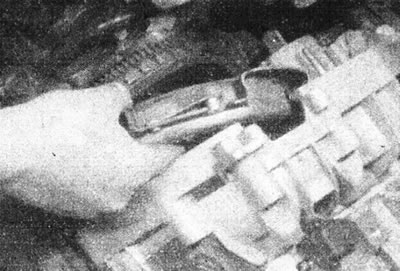
4.3. Remove the clutch cover and disc from the flywheel.
Inspection
4. Clean the clutch housing assembly, friction disc and flywheel with a dry cloth. Do not inhale dust, it may contain asbestos, which is harmful to health.
5. Inspect the friction disc linings for signs of wear and broken rivets, and the hub and disc edges for deformation, cracks, broken damper springs, and groove wear (see illustration).
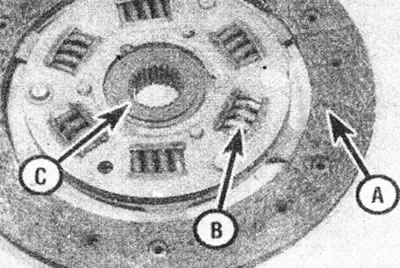
4.5. Inspect the friction disc linings (A), springs (B) and grooves (C).
The surface of the friction linings may be worn, but as long as the texture of the lining is visible, its condition is considered satisfactory. If there is any sign of contamination with oil or grease (shiny black spots), the disc must be replaced and the source of contamination found and eliminated. Most likely it will be a leaking crankshaft seal or transmission input shaft seal. Replace the crankshaft oil seal (see Section 2); replacing the transmission shaft seal should be left to a Renault dealer, as this requires disassembling the gearbox and replacing the release bearing guide bush using a press. The disc also needs to be replaced if the friction lining is worn down to the rivet heads.
6. Inspect the working surfaces of the flywheel and pressure plate. If they are badly scratched or worn, they need to be replaced. The pressure plate should also be replaced if it is cracked or if the diaphragm spring is damaged or weak. Pay special attention to the ends of the spring sectors (see illustrations).
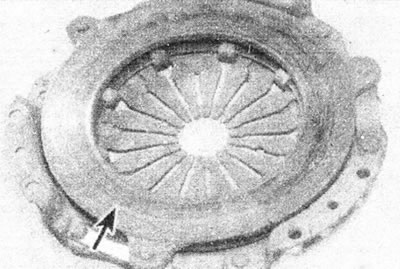
4.6a. Check the working surface of the pressure plate (marked with an arrow)...
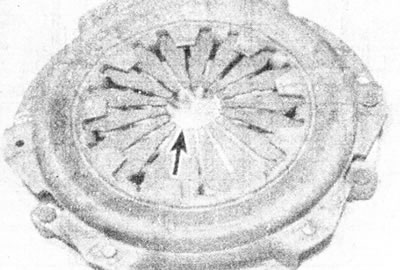
4.6b.... and the diaphragm spring, especially the ends of its sectors (marked with an arrow).
7. Check the condition of the release bearing (see Chapter 5).
8. It is recommended to replace the friction disc assembly with the pressure plate and release bearing.
9. The Renault clutch repair kit for F-series engines contains a special auxiliary sleeve that is installed in the crankshaft bore to allow the use of a centering tool (it is also included in the kit). Before installing this bushing, clean the hole in the end of the crankshaft and apply a blocking compound to the outer surface of the bushing. Drive the bushing completely into the crankshaft (open end outward), using a tube with an outer diameter of 38 mm (see illustration).
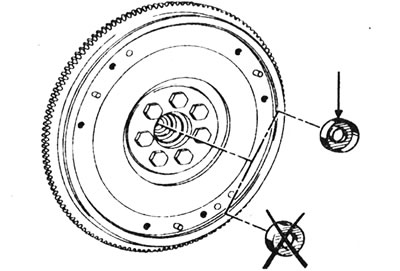
4.9. Install the auxiliary sleeve into the crankshaft with the open end facing outward.
Installation
10. Before installation, apply a small amount of high temperature grease to the gearbox input shaft grooves. Distribute the grease by sliding the friction disc over the grooves several times. Remove the disc and wipe off excess grease.
11. It is important to prevent oil or grease from getting on the friction disc linings or the working surfaces of the pressure plate and flywheel. Install the clutch assembly with clean hands, after wiping the surfaces of the pressure plate and flywheel with a clean, dry cloth.
12. Press the friction disc against the flywheel, orienting it with the protruding part away from the flywheel (see illustration).
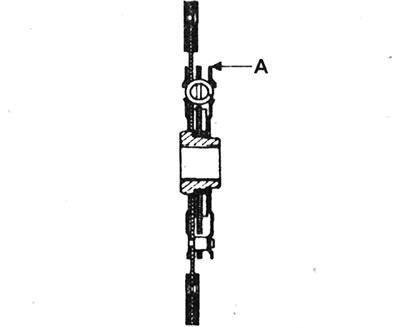
4.12. The friction disc must be oriented with the protruding part (A) away from the flywheel.
13. Place the clutch cover on the pins. Install the mounting bolts and tighten them by hand until the clutch disc is engaged but still able to slide.
14. The friction disc must be centered so that when the engine is connected to the transmission, the grooves of the gearbox input shaft align with the grooves of the disc hub.
15. Insert a suitable round rod through the clutch disc hub until the end of the rod rests against the recess in the end of the crankshaft. Please note that Renault repair kits come with a plastic centering tube that replaces this rod (see illustration).
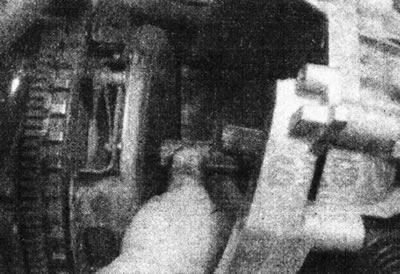
4.15. Center the friction disc using the special tube included in the Renault repair kit.
16. Move the rod in the desired direction so that the hub of the friction disc is centrally located relative to the recess in the end of the crankshaft.
17. If a non-original (Renault) clutch is being installed, an alternative and more accurate method of centering is to use a special alignment tool available commercially (see illustration).
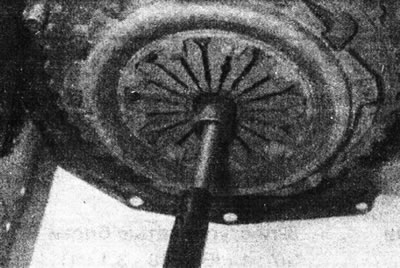
4.17. Use a special tool to center the clutch friction disc.
18. When the clutch is centered, gradually tighten the clutch housing bolts in a diagonal sequence to the tightening torque specified in the Specifications (see illustration).
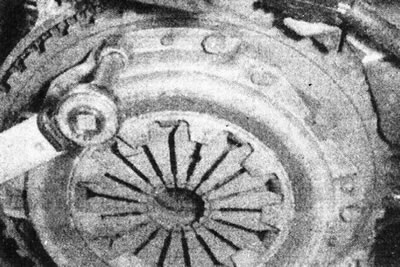
4.18. Tighten the clutch housing bolts.
Remove the centering tool.
19. Install the gearbox on the engine (see Section 7A). Check the operation of the clutch pedal as described in Chapter 2.