



1. Lubricate the stems and insert the valves into their original positions (see illustration).
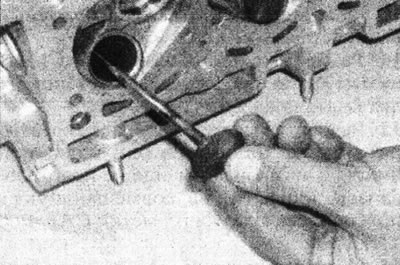
9.1. Install the valve.
If new ones are installed, they must be installed in the same places where they were ground.
2. Dip the new valve stem seal in engine oil, then carefully place it on the valve and guide. Using a suitable socket or metal pipe, place the cap onto the guide. Please note that on some engines the cap may be integral with the spring seat (see illustrations).
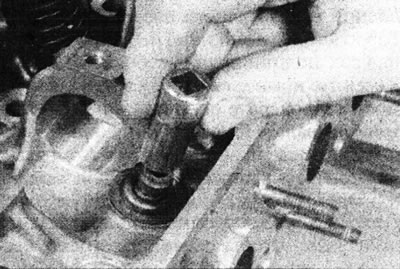
9.2a. Place the valve stem seal onto the valve guide.
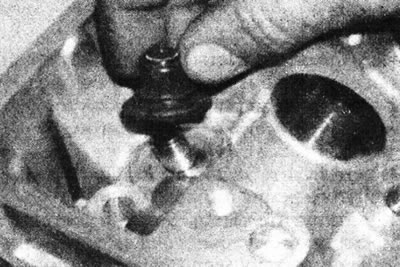
9.2b. Install the spring seat/valve seal - D-series engine.
3. Place the spring support on the guide, then the spring and cover (see illustrations).
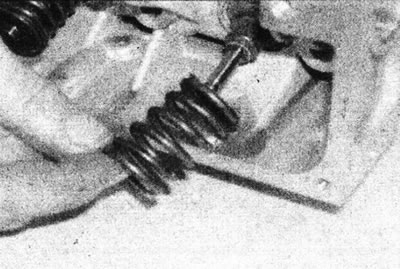
9.3a. Install the spring...
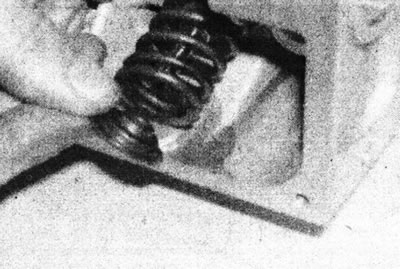
9.3b....and its support.
The spring is installed with closed coils towards the head.
4. Compress the valve spring and insert the crackers into the recess in the stem (see illustration).
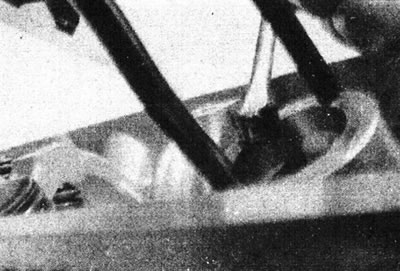
9.4 Using a screwdriver and a little grease, install the valve keepers.
Release the puller, then repeat the procedure with the remaining valves.
5. Once all the valves are installed, place the cylinder head on a work bench and use a mallet to tap the end of each valve stem to seat the components.
6. On the F7P engine (with 16 valves), install the hydraulic lifters into the sockets from which they were removed.
7. On F3P engines, lubricate the lifters and insert them into the appropriate locations as noted during removal. Make sure that a shim of the correct thickness is inserted into each tappet, with the marked surface facing down.
8. On D- and E-series engines, install the rocker arm shaft and mounting plate.