



Note: Since special tools are required to remove and inspect the head, it is recommended that you purchase a new or remanufactured component from an engine rebuild specialist. In the end, this may work out cheaper than rebuilding the head yourself.
D- and E-series engines
1. Remove the rocker arm shaft and mounting plate if not already done.
F3P engines
2. Remove the tappets together with the adjusting washers. Place them on a piece of cardboard with numbered compartments. It is recommended to sign the washer thickness next to each tappet. The size is engraved on the bottom of the washer.
F7P engine (with 16 valves)
3. Remove the hydraulic lifters (if not already done). Place them on a piece of cardboard or in a box with numbered compartments.
All engines
4. Using a puller, compress the valve springs one by one and remove the crackers. Then release the puller and remove the cover, spring and spring seat (see illustrations).
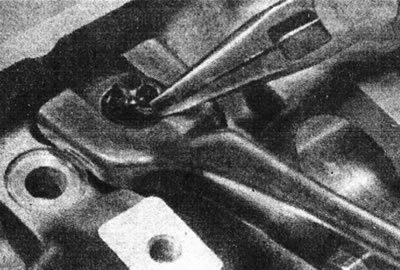
7.4a. Remove the valve crackers.
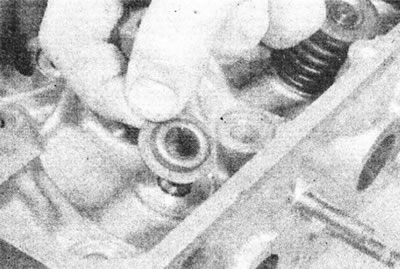
7.4b. Remove the valve spring support.
5. Remove the valve stem seal from the top of the valve guide, then remove the valve through the combustion chamber (see illustration).
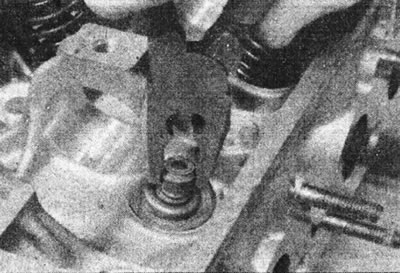
7.5 Remove the valve stem seal from the top of the valve guide.
6. It is very important to store valves and related components together in the correct sequence if they are to be used again. To do this, place them in labeled plastic bags (see illustrations).
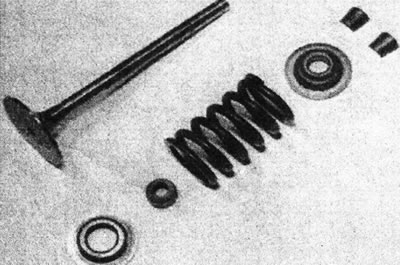
7.6a. Valve components.
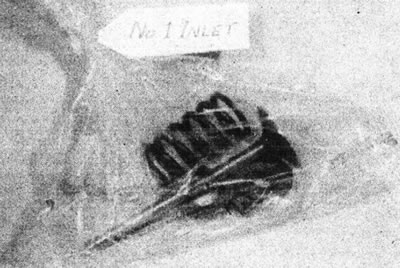
7.6b. Store the valve components in a labeled plastic bag.
[Original publication on the website: renaultbook.ru]