
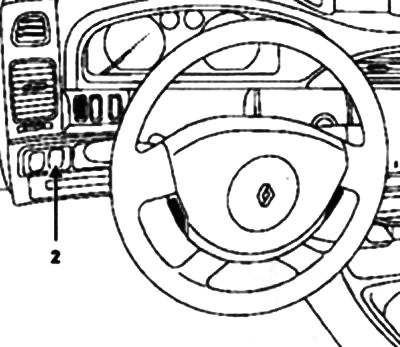
Removal / installation of the control unit
Open the cover of the fuse box so that you can put your hand in there and press the tabs 1. Disconnect the control box holder.
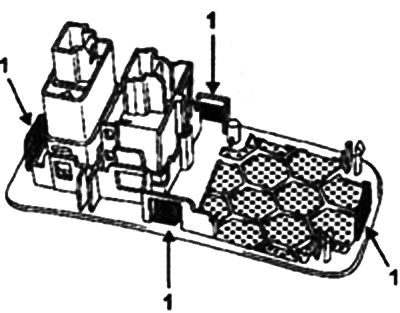
Disconnect the connector and then disconnect the control unit from the holder.
Removing the actuator
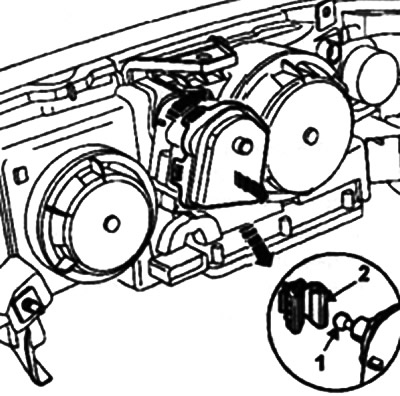
Disconnect the headlight range control actuator and headlight connector.
Tighten the adjusting screw (no more than six turns).
Rotate the actuator one eighth of a turn towards the outer edge to disengage it from the headlight assembly.
Slightly rocking the actuator, disconnect the ball joint from the parabolic reflector.
Note. It is not necessary to remove the headlight to remove the actuator.
Installation
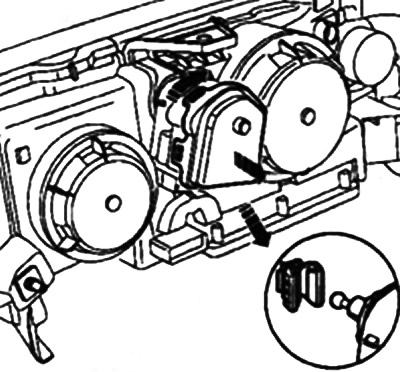
When installing a new part, tighten the actuator adjusting screw approximately six turns.
Holding the bulb by the base, slide the parabolic reflector back away from the headlamp.
Clip the ball joint 1 into the fixture 2 of the headlight.
Install the actuator into the headlamp.
Rotate the actuator one-eighth of a turn inward to lock it into the headlight assembly.
Reconnect the connector and install the sealed covers.
Loosen the adjusting screw (for six turns).
Adjust the headlights.