
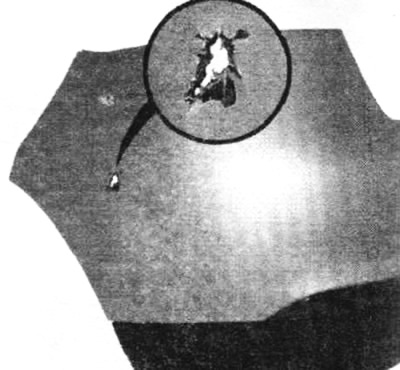
Clean the area to be repaired with a lint-free cloth soaked in antistatic solvent.
Wipe the surface with a clean, dry, lint-free cloth.
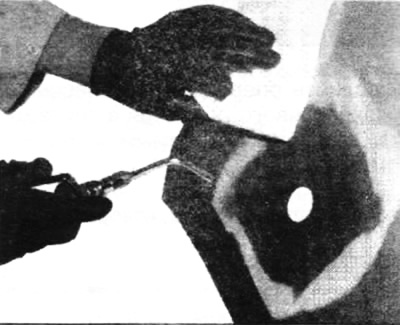
Make chamfers on the outside with an angle grinder or a belt cleaner equipped with a P 120 matting attachment.
 |  |
Polish the inner and outer areas with a sander using the P 150 attachment.
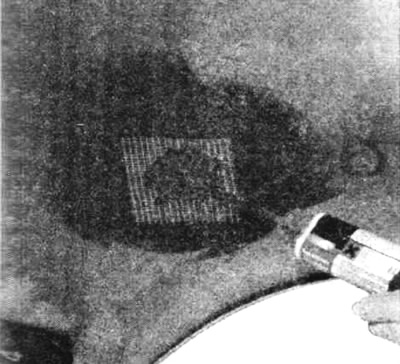
Blow out the element with compressed air and clean the area to be repaired with the cleaner included in the plastic repair kit.
Apply the adhesive base included in the plastic repair kit to the inside and outside areas.
Let the adhesive dry (see technical product documentation).
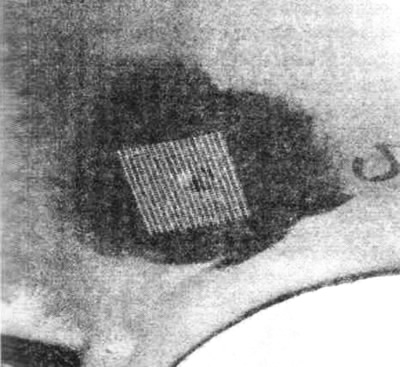
Apply a piece of reinforcing tape (fabrics), The needed to repair the interior of the element.
Prepare a two-component repair theme.
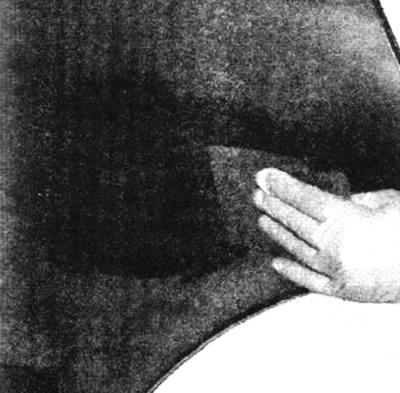
Extrude a narrow bead of adhesive along the areas to be repaired from the inside of the element and apply a reinforcing film (textile).
Squeeze a thick bead of glue onto the reinforcement fabric at the hole.
Level the adhesive with a spatula.
Squeeze a thick bead of glue onto the reinforcing fabric at the hole on the outside.
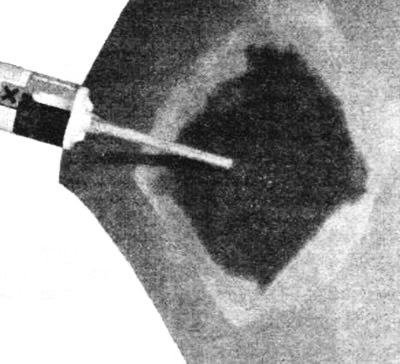
Level the adhesive with a spatula.
Let the two-component repair putty dry (see technical product documentation).
Polish the outside first with the P 150, then with the P 240.
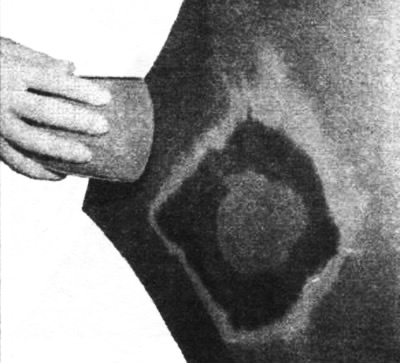
Apply finishing coat if necessary (see technical product documentation).
Sand the finishing putty first with the P150, then with the P240.
Carry out the painting operation according to the material being processed.