



Note: It is recommended to use new flywheel mounting bolts during installation. Coat the bolt threads with locking compound.
Removal
1. Remove the gearbox as described in Section 7A.
2. Remove the clutch as described in Section 6.
3. Mark the position of the flywheel relative to the crankshaft.
4. To loosen the mounting bolts, the flywheel must be locked. Screw a long bolt into one of the transmission mounting holes, use a wide screwdriver or a piece of metal rod to hook onto the ring gear. Alternatively, a suitable tool can be screwed to the cylinder block (see illustration 16.8). Do not insert a rod or tool into the engine speed sensor teeth on the flywheel (where available).
5. Loosen the mounting bolts and remove the flywheel from the crankshaft (see illustrations). Be careful not to drop it.
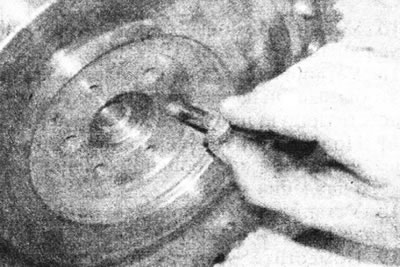
16.5a. Unscrew the mounting bolts...
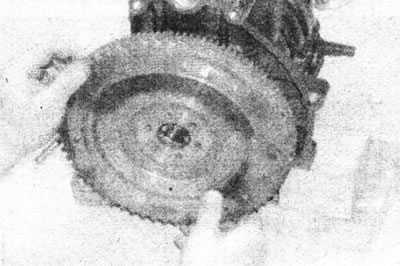
16.5b....and remove the flywheel from the crankshaft.
Inspection
6. Inspect the flywheel ring gear. If the ring gear is worn or damaged, it can be replaced, but it is best to leave this work to a Renault dealer or auto repair shop. Carefully inspect the drive disc for warping, cracks around the bolt holes, or other damage. If damage is found, the drive disc must be replaced.
Text published on the website (RENAULTBOOK)
Installation
7. Clean the contact surfaces of the flywheel and crankshaft, then position the flywheel on the crankshaft, aligning all previously made marks. Please note that the mounting bolt holes are offset, so the flywheel can only be installed in one position.
8. Apply a few drops of locking compound to the threads of the new flywheel bolts. Insert and tighten the bolts in a diagonal sequence to the torque specified in the Specifications. Lock the flywheel from rotating using the method used during removal (see illustration).
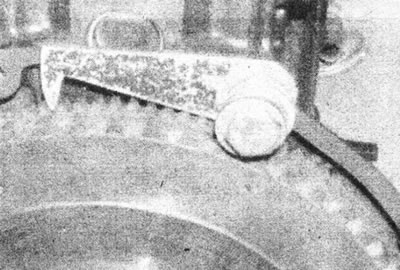
16.8 Using a suitable tool, lock the flywheel from rotating.
9. Install the clutch as described in Section 6.
10. Install the gearbox as described in Section 7A.