



Contents: Removal 🠛 Installation 🠛
Note: Installation will require a new oil pan gasket and CAF 4/60 THIHO paste.
Removal
1. Disconnect both cables from the battery (always start with the negative).
2. Jack up the front of the vehicle and place it on axle stands.
3. Unscrew the two bolts, marking the position of the spacer gasket, and remove the engine stabilization rod.
4. Drain the engine oil as described in Section 1A or 1B, then install and tighten the drain plug using a new washer.
5. Unscrew the bolts and remove the flywheel protective cover from the clutch housing (see illustration).
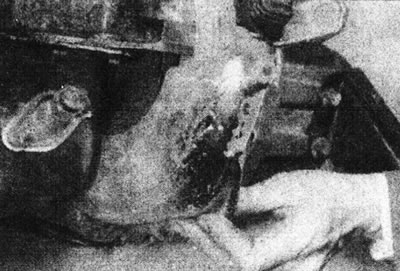
7.5. Remove the flywheel protective cover.
(Original publication on the portal www.RenaultBook.ru)
6. Where available, disconnect the two wires from the oil level sensor on the front of the pan.
7. Loosen and remove the bolts securing the oil pan to the crankcase (see illustration).
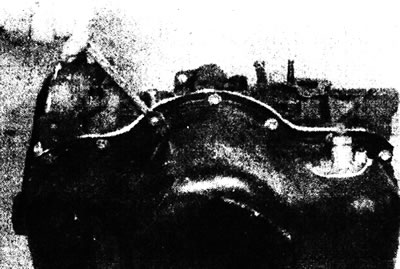
7.7. Unscrew the pan mounting bolts.
8. Tap the oil pan with a mallet to release the seal between the oil pan flange, crankcase, and drive cover. Lower the pan and remove the gaskets and rubber seals (where available). Please note that some models do not use a gasket, but only a sealant.
Installation
9. Make sure the mating surfaces on the oil pan, drive cover and cylinder block are completely clean and dry.
10. If there are gaskets, first install the rubber seals into the curved parts of the tray. These seals are installed on the front drive cover and the rear main bearing cover. Apply a small amount of CAF 4/60 THIXO paste to the ends of the side gaskets, then place them on the tray so that their ends touch the rubber seals.
11. If shims are not used, apply 3mm diameter CAF 4/60 THIXO paste to the pan as shown (see illustration), add sealant to each corner. If a rubber gasket is used instead of a cork gasket, do not apply the paste to the shaded areas. Do not use excessive amounts of paste as it may enter the lubrication circuit and cause engine damage.
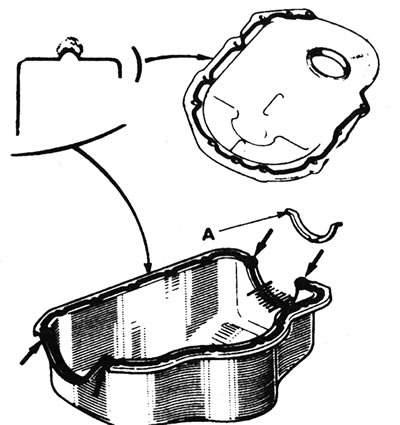
7.11 Apply sealant to the areas of the tray shown. A - Alternative Rubber Seal - If used, do not apply sealant to the shaded area.
12. If gaskets are not used, it is important to position the pan correctly the first time and not to move it after the paste has touched the crankcase. Long bolts or pins can be temporarily installed as guides.
13. To prevent oil from leaking from the pump and crankcase, wipe these areas clean before installing the pan.
14. Raise the pallet to the working position. Insert the bolts and tighten them gradually.
15. Connect the two wires to the oil level sensor on the front side of the pan (if any).
16. Install the flywheel cover onto the clutch housing and tighten the bolts.
17. Fill the engine with oil as described in Section 1A or 1B.
18. Install the engine stabilizer rod and tighten the bolts.
19. Lower the car to the ground.
20. Connect the wiring to the battery (start with the positive).