



Removal
1. Remove the tray as described in Chapter 7.
2. Loosen the mounting bolts and remove the oil pump from the crankcase (see illustration).
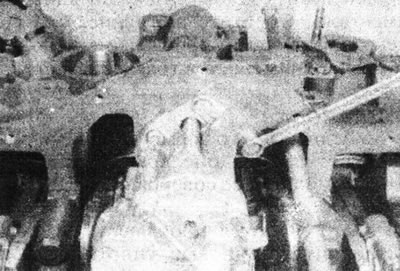
8.2. Loosen the oil pump mounting bolts.
Inspection
3. Clean the outside of the oil pump.
4. Unscrew the four mounting bolts and remove the pump cover, being careful not to lose the components of the pressure reducing oil valve, which may pop out under the spring pressure (see illustration).
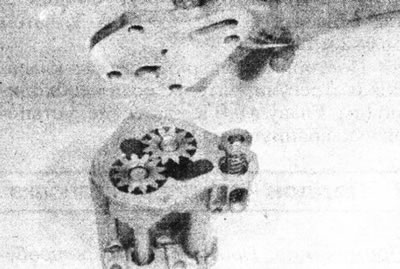
8.4 Remove the oil pump cover.
5. Remove the relief valve ball seat, the ball itself, the spring and its support from the pump body (see illustrations).
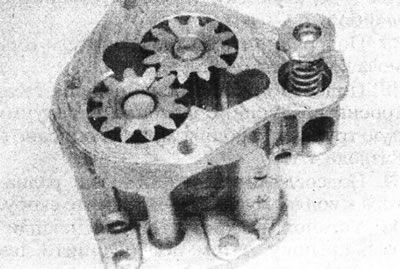
8.5a. Remove the relief valve ball seat and the ball itself...
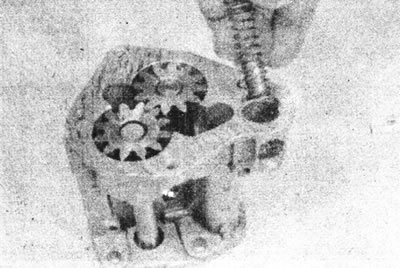
8.5b....the spring and its support cup.
6. Remove the intermediate and driving gears and shaft (gear pump) or the drive gear and rotors (rotary pump).
7. Clean the components and inspect them carefully for burrs and signs of wear. Replace the pump if its components are in poor condition. The only spare parts available are the wastegate components.
8. If the pump components are serviceable, use a feeler gauge to measure the clearance between the pump body and the gears (see illustration), or between the inner and outer rotors. If the gap exceeds that specified in Specifications meaning, the pump must be replaced.
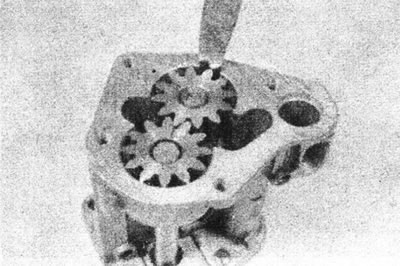
8.8 Measure the clearance between the pump body and the gears.
9. If the pump is OK, reassemble the components in the reverse order of removal, fill the pump with oil and install the cover. If installing a new pump, flush it with oil before installation.
Installation
10. Insert the pump shaft into the hole in the cylinder block and engage it with the distributor drive gear (see illustration).
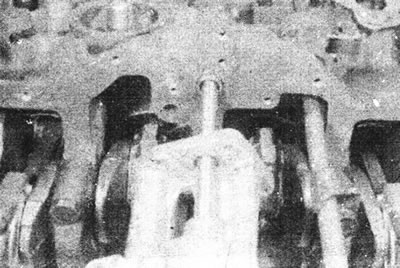
8.10. Install the oil pump back into the cylinder block.
11. Press the pump onto the block, then install and tighten the three mounting bolts. Please note that no gasket is used.
12. Install the tray, see Chapter 7.