



Note: If the radiator must be removed for more than 48 hours, take precautions against internal corrosion. Either rinse the component with clean water and dry it with compressed air, or fill the radiator with coolant and plug the pipes.
Removal
1. Disconnect the negative cable from the battery.
2. Remove the fan as described in Chapter 6.
3. Drain the cooling system by separating the lower hose from the radiator. Collect the coolant in a clean container if it is reusable.
4. Loosen the clamps and disconnect the remaining hoses from the radiator (see illustration).
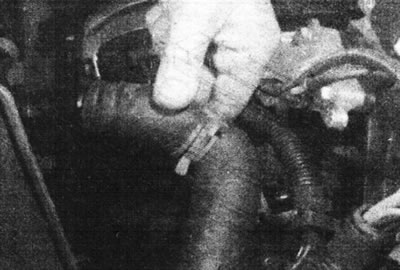
3.4. Disconnect the upper radiator hose.
5. Remove the two radiator mounting bolts from the upper crossmember. Remember the position of each of the fasteners (they are not the same) and take them off (see illustrations).
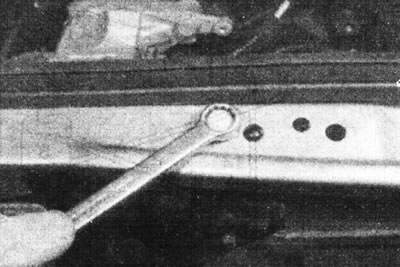
3.5a. Remove the radiator mounting bolt.
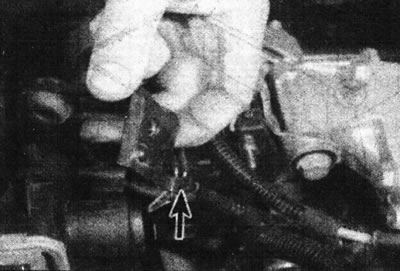
3.5b. The right bracket has a mounting tab (marked with an arrow)...
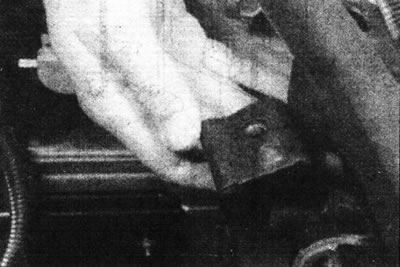
3.5s... which is not on the left bracket.
6. If necessary, remove the hood and upper crossmember to facilitate access (see Section 11). On models with the F7P engine, this is simply necessary, since the intake manifold there does not allow the radiator to be moved enough to bypass the crossmember (see illustration).
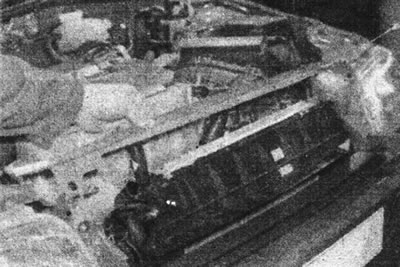
3.6. On models with F7P engine (with 16 valves) remove the top cross member.
7. On models with air conditioning, separate the condenser from the radiator by removing two screws. Do not disconnect the refrigerant pipes.
8. Where present, remove the bolts securing the plastic air duct/shield to the radiator and leave the air duct/shield in its operating position in the engine bay.
9. Carefully lift the radiator out of the lower mountings and remove it. Remove the fasteners and replace them if they are damaged (see illustrations).
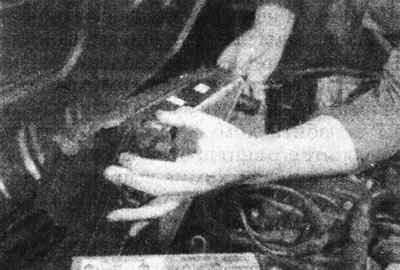
3.9a. Carefully lift the radiator...
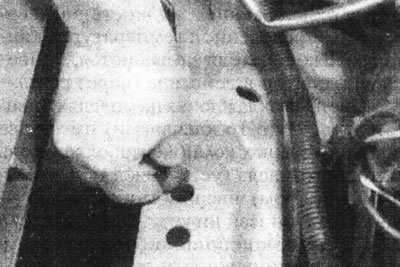
3.9b.... and remove the lower fasteners.
Inspection and cleaning
10. It is best to leave radiator repair to a specialist. However, minor damage (minor leaks) can be eliminated using a special sealant without removing the radiator. The area of the leak is usually visible as a rusty or clear growth.
11. Clean the radiator core of dead insects and leaves with a soft brush or a jet of water from a hose.
Original publication on the portal (www.RENAULTBOOK.ru)
Installation
12. Install in reverse order, paying attention to the following:
- Be careful not to damage the radiator fins.
- Where necessary, install the upper cross member and hood (see Section 11).
- Finally, fill the cooling system (Section 1).