



Removal
1. Loosen the clamp and disconnect the vacuum hose from the check valve on the booster (see illustration).
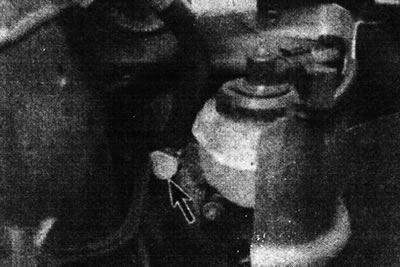
4.1. Vacuum booster check valve (marked with an arrow).
If the hose still has the original Renault clamp, cut it - it needs to be replaced; when installing, use a standard worm-type clamp.
2. Remove the valve from its rubber sealing ring using a twisting motion. Remove the sealing ring from the amplifier.
Checking the serviceability
3. Inspect the check valve for damage and replace it if necessary. Direct a stream of air through the valve first in one direction and then in the other. Air should only pass when it is supplied from the end of the valve facing the booster. Replace the valve if this is not the case.
4. Inspect the rubber sealing ring and flexible vacuum hose for damage and replace as necessary.
Installation
5. Install the sealing ring into the amplifier.
6. Place the check valve in the operating position, being careful not to displace or damage the sealing ring.
Connect the vacuum hose to the valve and tighten the clamp securely.
7. Finally, start the engine and check that the component joints are tight.