



Perform work on an inspection pit, overpass or, if possible, on a lift.
You will need: all the tools needed to disconnect the downpipe from the exhaust manifold (see "Replacement of exhaust system components") and removing the subframe (see "Removal and installation the subframe"), as well as keys "13", TORX E8, screwdriver.
1. Drain the engine oil (see "Changing engine oil and oil filter").
Note. The procedure for replacing the oil pan gasket is shown using the K7J and K7M engines as an example. The oil pan gasket for the K4M engine is replaced in a similar manner.
2. Remove the mudguards and engine crankcase protection (see "Removal and installation mudguards and engine crankcase protection").
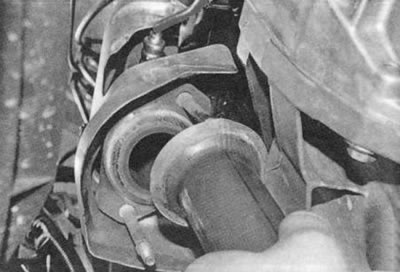
3. Disconnect the inlet pipe from the exhaust manifold (see "Replacement of exhaust system components").
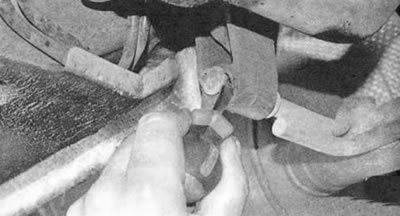
4. Using a screwdriver, pry off the front exhaust system suspension cushion...
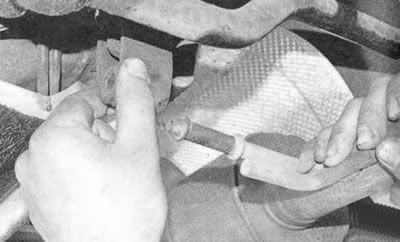
5. ...disconnect the system bracket from the cushion...
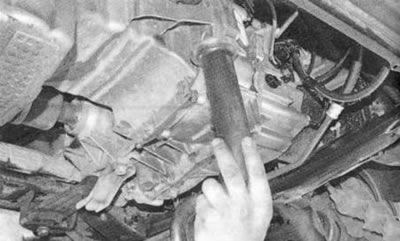
6. ...and, moving the intake pipe down...
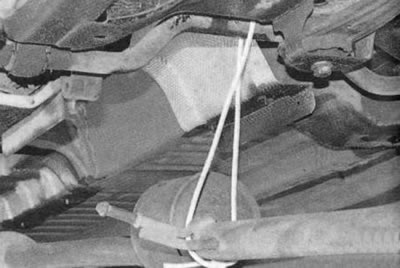
7. ...secure the system in this position by any available means (for example, by tying it with wire).
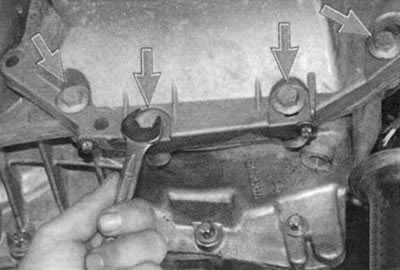
8. Remove the four bolts securing the oil pan to the clutch housing...
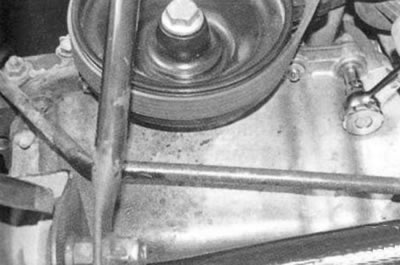
9. ...five bolts securing to the cylinder block at the front...
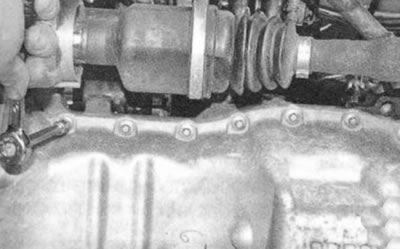
10. ...seven bolts on the right...
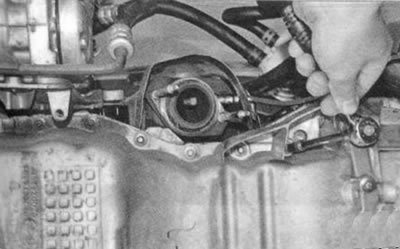
11. ...and on the left...
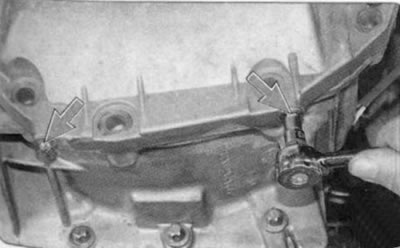
12. ...and also two bolts at the back.
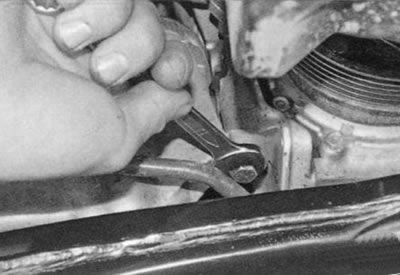
13. On the right front side of the engine, unscrew the bolt securing the additional equipment bracket to the oil pan.
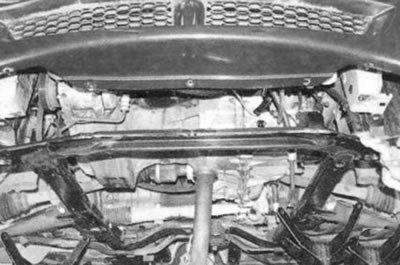
14. Disconnect the front bumper fastenings to the subframe, the front fastenings of the subframe to the body, remove the connecting rods of the subframe, loosen its rear fastenings (see "Removal and installation the subframe"), lower the front of the subframe down enough to remove the oil pan and place supports under the subframe.
Note: The subframe must be removed because it prevents the oil pan from being removed.
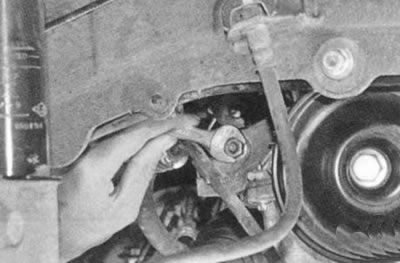
15. Remove the bolt securing the pipeline holder to the engine...
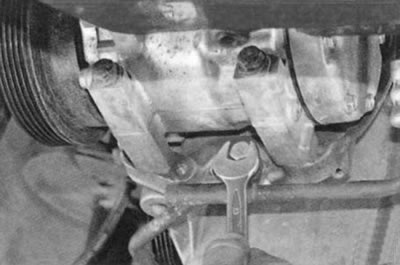
16. ... bolt securing the air conditioning compressor bracket to the oil pan, which simultaneously secures the second pipeline holder...
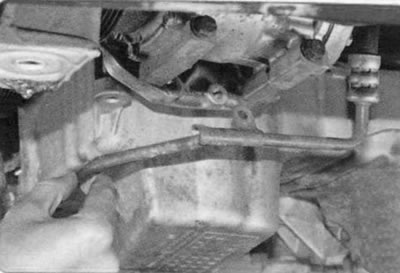
17. ... move the pipeline to the side...
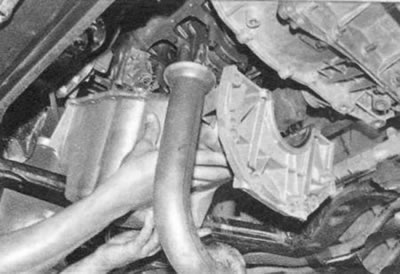
18. ...and remove the oil pan.
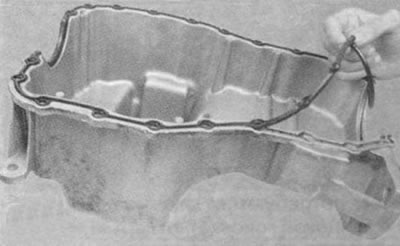
19. Remove the gasket from the crankcase grooves.
20. Clean and degrease the crankcase grooves and place a new gasket in them.
21. Clean off any remaining old gasket and degrease the mating surface of the cylinder block.
22. Install the oil pan, screw in the twenty bolts securing it to the cylinder block, without tightening completely. Screw in the four bolts securing the oil pan to the clutch housing until they stop (see operation 8), without tightening them completely. Tighten the oil pan to cylinder block mounting bolts in the order shown in Fig. 5.11, first to 8 N·m (0.8 kgf·m), and then finally to 14 N·m (1.4 kgf·m). Then tighten the four oil pan to clutch housing mounting bolts to 27 N·m (2.7 kgf·m).
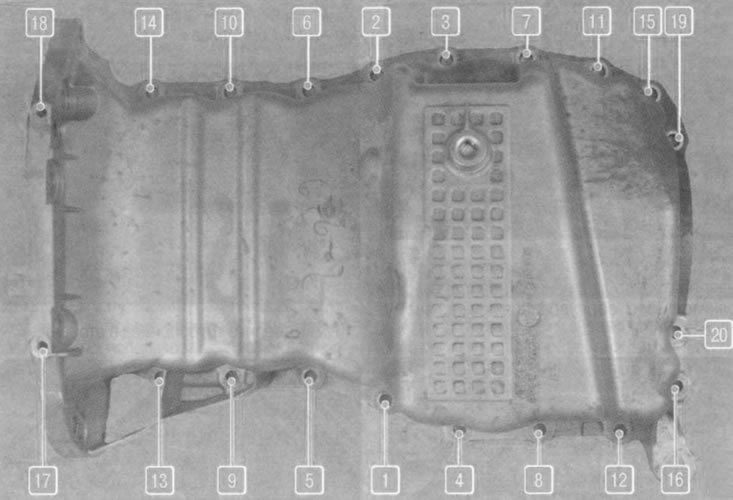
Fig. 5.11. The order of tightening the bolts securing the engine oil pan.
Note: The order of tightening the oil pan mounting bolts is shown on the removed pan for clarity.
23. Install all removed parts and assemblies in the reverse order of removal.
24. Fill the engine with oil (see "Changing engine oil and oil filter").