



The optimal operation of the engine during its operation depends on the choice of the correct and reliable spark plug. An important criterion in choosing a spark plug when buying it is the heating range, which characterizes the amount of heat that the spark plug can conduct through itself to the cylinder head (heat rating).
Premature (glow) ignition occurs when the electrodes and insulator overheat. In other words, if the spark plug is too "hot", it will not be able to cool down enough before the next portion of the fuel-air mixture enters the cylinder. As a result, glow ignition occurs - the mixture ignites not from the spark, but from contact with the heated areas of the plug. The glow number of the selected plug must strictly correspond to the one recommended for your engine. Short-term use of plugs with a slightly higher glow number is allowed, but it is strictly forbidden to use plugs with a lower value, as this can lead to the most serious consequences, up to and including a breakdown of the cylinder head gasket, burnout of pistons, valves, etc.
If the spark plug is too "cold", carbon deposits will contaminate the electrodes and insulator of the spark plug. This malfunction will cause spark leakage along the insulator, from the central electrode to the skirt of the spark plug insulator. Such a malfunction leads to spark misfires, i.e. the fuel-air mixture does not ignite and, as a consequence, to uneven engine operation at idle, jerks and dips during acceleration, problems with starting the engine in winter and increased fuel consumption. Long-term operation of the car with systematic spark misfires and, therefore, an incompletely combustible fuel-air mixture leads to a decrease in engine power, increased fuel consumption, failure of the catalytic converter, a decrease in the environmental safety of the car, increased oxidation of oil in the engine and damage to the car's transmission.
Self-cleaning ability is a conditional characteristic that cannot be quantified. During the operation of any engine, part of the combustion products of the fuel-air mixture is deposited on the surface of the combustion chamber, pistons and the thermal cone of the spark plug.
Almost all manufacturers claim that their spark plugs have a high self-cleaning ability, but the veracity of such statements can only be verified in practice, which shows that the glow number of the spark plug meets the requirements of the manufacturer, but in fact does not meet the declared characteristics and the spark plugs fail at the most crucial moment. Ideally, a spark plug that has warmed up to operating temperature should not be covered with carbon deposits at all. However, in real conditions, only those manufacturing companies that have extensive experience and knowledge in the field of automotive electronics can achieve this parameter.
The ideal operating temperature for self-cleaning of the spark plug is over 400°C. To increase the service life of the spark plug, the operating temperature should be maintained at approximately 850°C. At the same time, there should be sufficient temperature reserve to prevent pre-ignition, which leads to damage to the spark plug and the engine. To optimally combine the above conditions, manufacturers use various composite materials and their combinations, as well as advanced developments in this area.
You will need a special 21 mm wrench to remove the spark plugs (with a rubber sleeve to hold the spark plug to remove the spark plug from the well).
The engines use Champion RYCLC87 or Sagem RFN58LZ spark plugs. The gaps between the spark plug electrodes are given in Appendix 3. The operation is shown using the K7J (K7M) engine as an example.
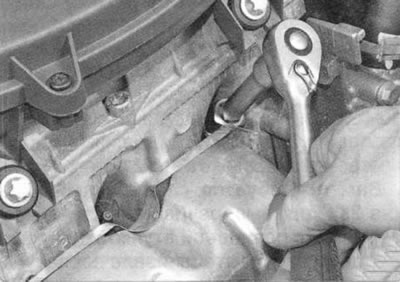
1. Remove the high-voltage wire tip from the spark plug being replaced.
Note.
- The K4M engine has four separate ignition coils (one for each cylinder), which are directly controlled by the ECU. There are no high-voltage wires, and the ignition coils are attached directly to the spark plugs. The procedure for removing them is shown in the subsection "Checking, removing and installing ignition coils of the K4M engine".
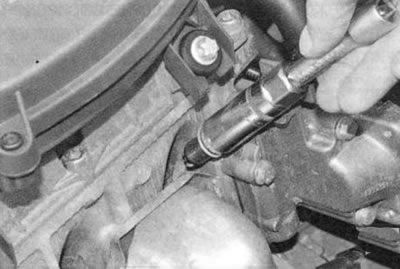
2. Blow out the spark plug wells with compressed air to prevent dirt from getting into the engine cylinder when removing the spark plug.
3. Remove the spark plug...
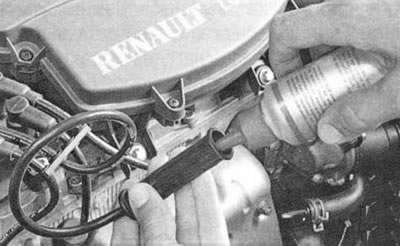
4. ...and remove it from the spark plug well.
Note: Inspect the spark plug and assess its condition by its appearance (see "Diagnosis of engine condition by the appearance of spark plugs").
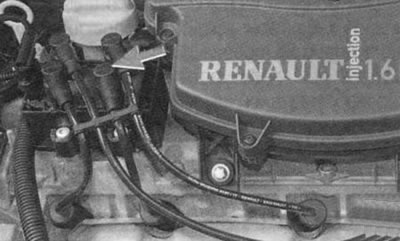
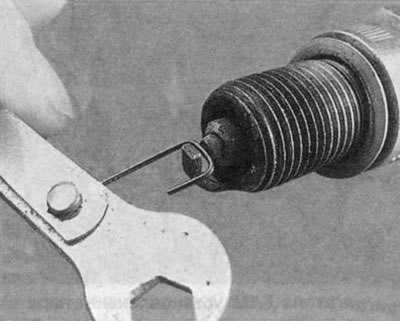
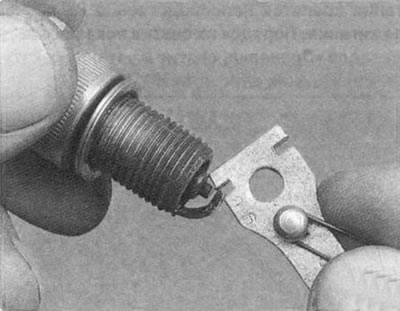
5. Check the gap between the spark plug electrodes with a feeler gauge (see appendix 3).
Article reprinted from the website: RenaultBook
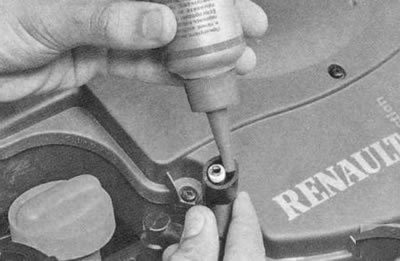
6. If the gap is not as specified, adjust it by bending the side electrode.
7. When installing spark plugs, screw them in by hand first (without a collar), and then tighten with a wrench to a torque of 25-30 N·m (2.5-3 kgf·m).
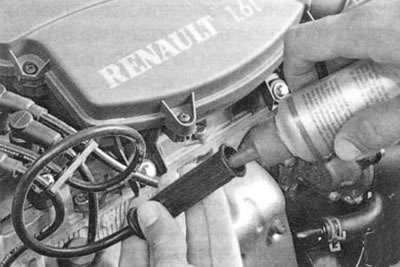
8. Before installation, lubricate the high-voltage wire tips with consistent grease. The manufacturer recommends FLUORINE GREASE (No. 8200168855 in the Renault catalog), but technical petroleum jelly can also be used.
Note: When connecting high-voltage wires, please note that the engine cylinders on Renault vehicles are numbered from the flywheel side.