



Removal
1. On models with F7P engine (with 16 valves), remove the top engine cover to access the spark plug wires.
2. On F3P engines with a distributed fuel injection system, proceed as follows: (see illustrations).
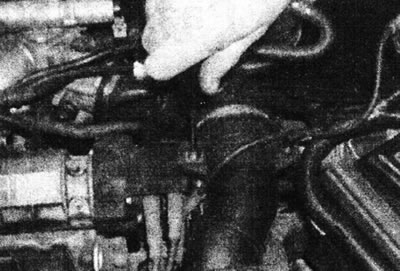
3.2a. Remove the screw securing the air intake duct to the distributor cap...
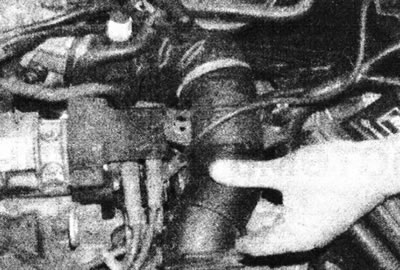
3.2b....and move the air intake duct to the side.
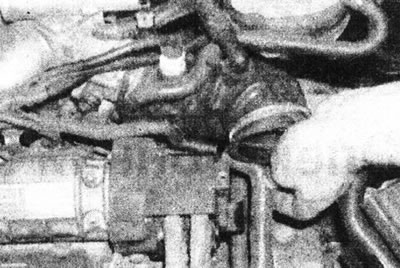
3.2s. Disconnect the breather hose from the air duct connection.
- Release the high tension wire from the clamp on the intake air duct, then remove the screw securing the air duct to the top of the distributor cap.
- Loosen the clamp, then move the pipe away from the distributor cap.
- Disconnect the breather hose from the air duct fitting, then release the breather hose from the distributor cap.
3. On all models, mark the spark plug wire locations on the distributor cap to aid installation. Disconnect the wires from the spark plugs or cover. Loosen the mounting screws and move the distributor cap and wiring to the side (see illustrations).
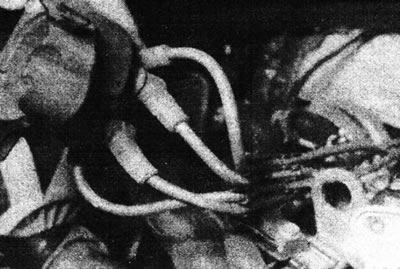
3.3a. Remove the distributor cap. Number the spark plug wires...
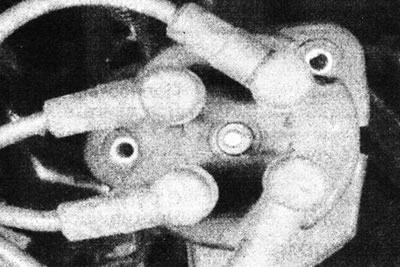
3.3b....according to the numbers on the lid.
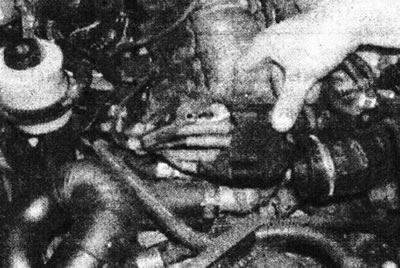
3.3s. Remove the distributor cap together with the housing - F3P engine with a distributed fuel injection system.
E-series engines
4. Remove the rotor from the distributor shaft and remove the plastic shield. Remove the two mounting bolts and separate the distributor from the cylinder head. Please note that the position of the distributor cannot be adjusted. Remove the seal from the distributor base (see illustrations).
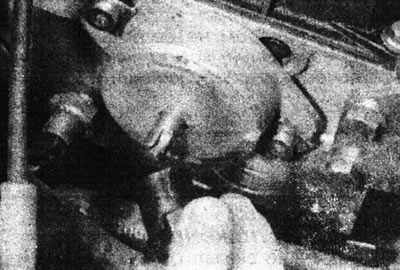
3.4a. Remove the distributor rotor - E-series engine.
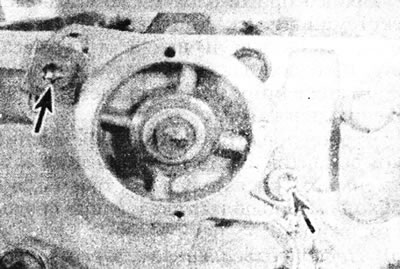
3.4b. Distributor mounting bolts (marked with arrows) - E-series engine.
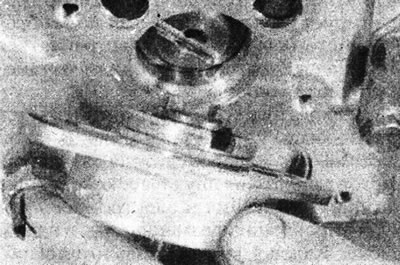
3.4s. Remove the distributor - E-series engine.
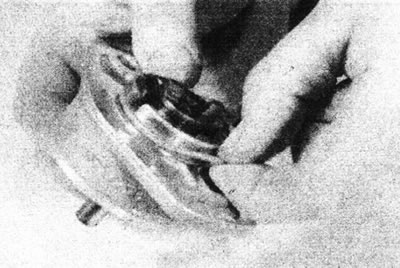
3.4d. Remove the seal from the distributor base.
F3P engines
5. The runner is mounted directly on the camshaft. It can be secured with a snap ring or glued. To remove the slider, gently push it out with a screwdriver or pliers. (The runner can be easily damaged in this process, so have a spare one ready just in case.) Remove the plastic shield (see illustrations).
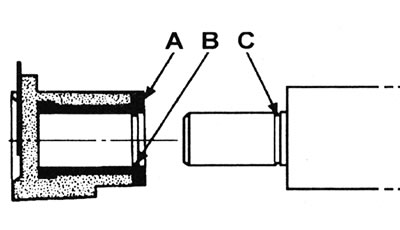
3.5a. Distributor rotor location on the camshaft - some F3P engines: A - Insert; B - Retaining ring; C - Groove in the camshaft.
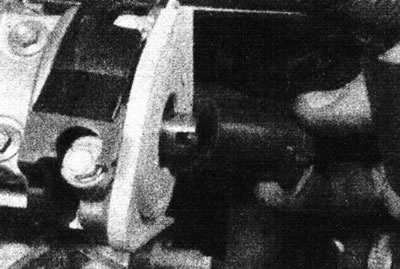
3.5b. Remove the distributor rotor...
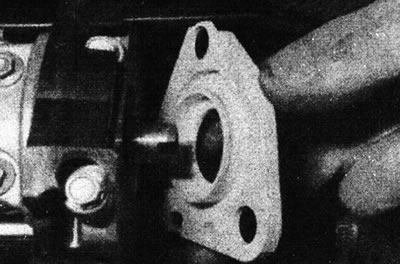
3.5 sec....and a plastic shield - F3P engine.
F7P engines (with 16 valves)
6. The procedure is similar to that described previously for F3P engines. The distributor rotor is mounted on the exhaust camshaft.
Bulkhead
All models
7. Check the rotor and distributor cap as described in Section 1, and replace them if necessary. Please note that some models have a cover on the distributor cap (see illustration).
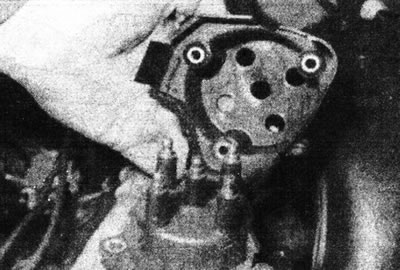
3.7. Separate the casing from the distributor cap.
E-series engines
8. Measure the clearance between the distributor shaft and the housing. It should not be too large, otherwise the distributor should be replaced.
9. Check the condition of the seal at the base of the distributor and replace it if necessary.
Installation
10. Install in reverse order.