
English Русский
Български
Беларускі
Український
Српски
Hrvatski
Română
Polski
Slovenský
Magyar
Bookmark Contacts Articles Sitemap
Company vehicles Peugeot Company vehicles Opel Company vehicles Skoda Company vehicles Land Rover Company vehicles Mitsubishi Company vehicles Volkswagen Company vehicles Honda
RenaultBook.ru


Duster   Fluence   Kangoo   Laguna   Logan   Megane   Sandero   Scenic   Symbol   Clio   Other
Clio 1 (1990-1998)

Air filter housing assembly — removal and installation (Renault Clio 1)

  • Main
  • Clio
  • Clio 1 (1990-1998)
  • Power unit
  • Distributed fuel injection
  • Air filter housing assembly — removal and installation
0
Contents: D-series engine 🠛 F3P engine - models with a round air…🠛 F3P engine - models with air filter…🠛 F7P engines (with 16 valves) 🠛

D-series engine


Removal


1. Disconnect the wiring connector from the intake manifold pressure sensor on the top of the air cleaner housing (see illustration).
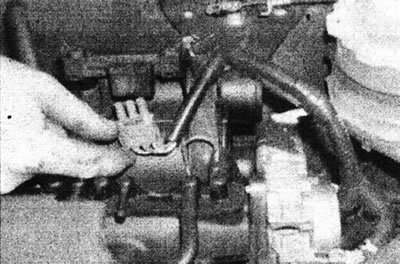
2.1. Disconnect the electrical wiring from the intake manifold pressure sensor...

2.1. Disconnect the electrical wiring from the intake manifold pressure sensor...


2. Disconnect the vacuum hose of the pressure sensor from the intake manifold (see illustration).
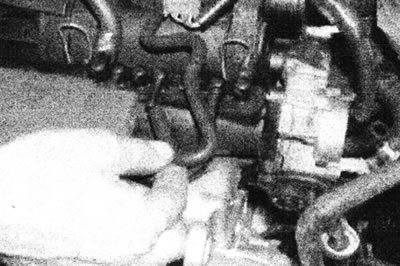
2.2. ...then disconnect the pressure sensor vacuum hose from the intake manifold - D-series engine.

2.2. ...then disconnect the pressure sensor vacuum hose from the intake manifold - D-series engine.


3. Release the wire harness from the clip on the air cleaner housing.

4. Where applicable, loosen the clamps and disconnect the air intake duct from the air cleaner and air intake pipe, then loosen the air intake duct mounting screw, disconnect the breather hoses from the air duct, and remove the air duct. In the same way, remove the air duct connecting the air filter to the intake manifold (see illustrations).
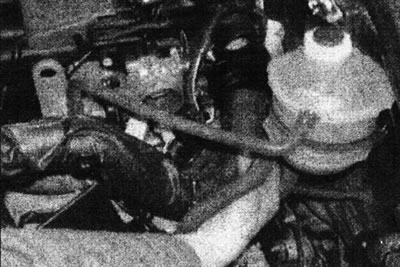


2.4a. Remove the air intake duct...
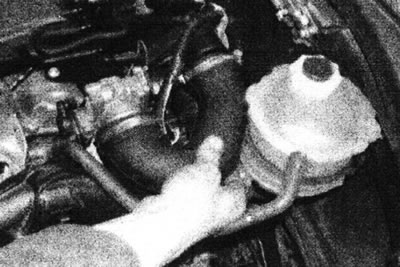
2.4a. Remove the air intake duct...


2.4b....and the air duct connecting the air filter to the intake manifold - D-series engine.

2.4b....and the air duct connecting the air filter to the intake manifold - D-series engine.


5. Release the two rubber straps and remove the air cleaner assembly from the engine (see illustrations).
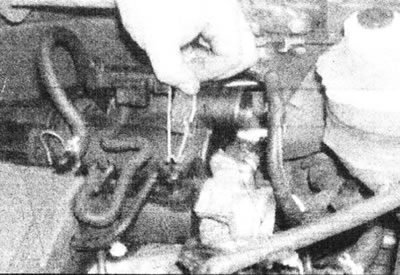
2.5a. Release the rubber straps...
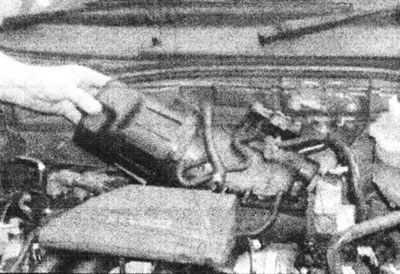
2.5a. Release the rubber straps...


2.5b....and remove the air filter - D-series engine.

2.5b....and remove the air filter - D-series engine.


Installation


6. Install in reverse order.

F3P engine - models with a round air filter next to the battery


Removal


7. Disconnect the high voltage wire from the distributor cap.

8. Loosen the clamp and disconnect the hot air hose from the elbow pipe on the cylinder head. Also disconnect the outlet hose from the air cleaner housing.

9. Disconnect the temperature control vacuum hose from the valve on the air intake housing.

10. Remove the two bolts securing the air filter to the battery platform.

11. Lift the air cleaner assembly and disconnect the cold air hose from it.

12. If it is necessary to remove the cold air hose, you can access it by removing the front wheel arch mudguard.

Installation


13. Install in reverse order.

F3P engine - models with air filter behind left front fender panel


14. Apply the handbrake, then jack up the front of the car and place it on axle stands. Remove the left front wheel.

15. Unscrew the mounting screw and brackets, and remove the wheel arch liner (see illustration).
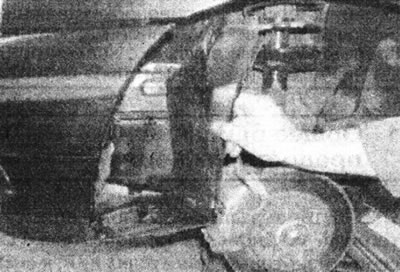
2.15. Remove the wheel arch liner...

2.15. Remove the wheel arch liner...


16. Release the mudguard from the transmission (see illustration).
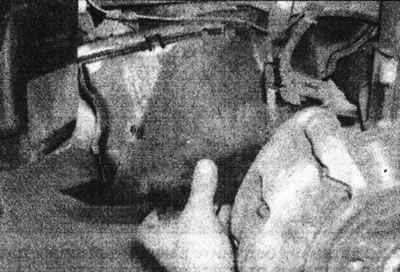
2.16. ...and transmission mudguard - F3P engine.

2.16. ...and transmission mudguard - F3P engine.


17. Working in the engine compartment, remove the screws and nut securing the pipe connecting the air filter to the throttle body, then disconnect the end of the pipe from the air filter and move it to the side (see illustration).
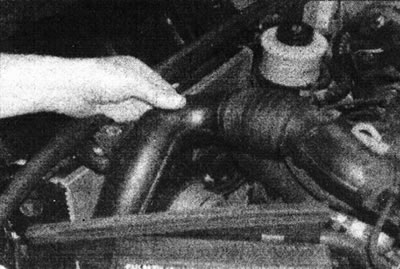
2.17. Move the air duct pipe between the air filter and the throttle body to the side - F3P engine.

2.17. Move the air duct pipe between the air filter and the throttle body to the side - F3P engine.


18. Disconnect the air intake from the air filter.

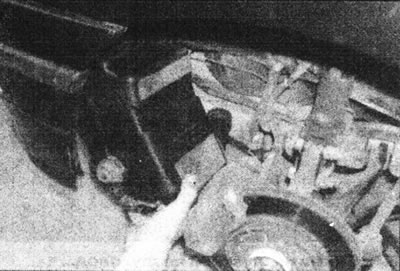
19. Release the rubber strap under the front fender, then remove the air filter from under the fender(see illustrations).
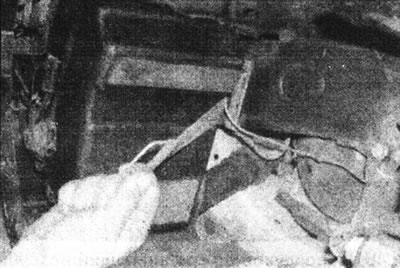
2.19a. Release the rubber belt...
2.19a. Release the rubber belt...


2.19b....and remove the F3P engine air filter.

2.19b....and remove the F3P engine air filter.


F7P engines (with 16 valves)


Removal


20. Remove the air filter element as described in Section 1.

21. Unscrew the air filter housing mounting nut. Release the casing from the air intake and remove it.

Installation


22. Install in reverse order.

You can find the original at this link (RenaultBook.ru)
This article is available on: russian, bulgarian, belarusian, ukrainian, serbian, croatian, romanian, polish, slovak, hungarian
Article has been reviewed by editor: Fedoseev Denis
Share with friends:
Previous
Clio 1: Distributed fuel injection
Next

General description and precautions
Fuel and Emission System Specifications — multiport injection models
Throttle Pedal Cable — removal, installation, and adjustment
Gas pedal — removal and installation
Unleaded gasoline — general description
Fuel Injection System — general description and troubleshooting
Fuel system — pressure check
Other articles on other Renault models

➽ Air filter housing Renault Duster 1 (2009-2017)
➽ Removal and installation the air filter housing (K4M engine) Renault Laguna 2 (2001-2007)
➽ Removal and installation the air filter housing Renault Megane 1 (1995-2002)
➽ Replacing the air filter Renault Fluence 1 (2009-2020, petrol)
➽ Fuel filter Renault Kangoo 1 (1997-2007)
Link to this article in different formats
Reviews and comments of visitors
No comments yet


Add two numbers 47 + 25


Clio 1 (1990-1998) 
  • General information
  • Maintenance
  • Troubleshooting
  • Power unit
  • Petrol engines 1.1 l (C)
  • Petrol engines 1.2 l (D)
  • Petrol engines 1.2/1.4 l (E)
  • Petrol engines 1.8 l (F)
  • Diesel engines
  • Overhaul of engines
  • Cooling and heating
  • Fuel system (carburetor)
  • Central fuel injection
  • Distributed fuel injection
  • Fuel system (diesel)
  • Starting and charging system
  • Ignition system (transistor)
  • Ignition system (electronic)
  • Pre-heating of diesel engines
  • Transmission
  • Clutch
  • Manual gearbox
  • Automatic gearbox
  • Drive shafts
  • Chassis, running gear
  • Brake system
  • Car suspension
  • Steering system
  • Body and interior
  • Exterior (external elements)
  • Doors, locks and windows
  • Electrical equipment
  • Equipment and devices
  • Electrical circuits
RenaultBook.ru © 2018–2026 | Mobile version | News and articles | Sitemap: EN BG BY UA RS HR RO PL SK HU | Administration | Site search | Bookmark
Duster 1 (2009-2017) | Fluence 1 (2009-2020, petrol) | Kangoo 1 (1997-2007) | Laguna 2 (2001-2007) | Logan 1 (2004-2012, petrol) | Logan 2 (2012-2020) | Megane 1 (1995-2002) | Megan 2 (2002-2009, petrol) | Sandero 1 (2007-2012, petrol) | Scenic 1 (1996-2003) | Symbol 1 (1999-2008, petrol) | Symbol 2 (2008-2013, petrol) | Renault 19 (1988-1996) | Espace I and II (1984-1996) | Espace III (1996-2002) | Clio 1 (1990-1998) |
We want your visit to be comfortable 😌 and use cookies 🍪 to do so.