



Contents: C-series engine 🠛 E-series engines 🠛 F3P engines with flat air filter…🠛 F3P engine - models with air filter…🠛 F7P engine (with 16 valves) 🠛 All models 🠛
C-series engine
1. Release the spring clips and remove the wing nut from the air cleaner cover (see illustration).
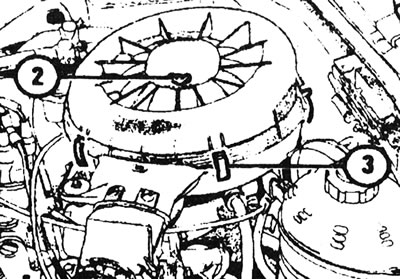
21.1 Remove the air cleaner cover - C-series engine: 2 - Wing nut; 3 - Spring clamp.
E-series engines
2. Unscrew the four screws from the top of the cover and release the spring clips (see illustration).
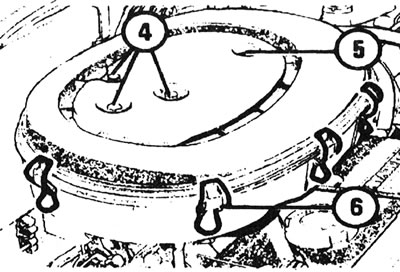
21.2 Remove the air cleaner cover E-series engine: 4 - Screws; 5 - Screw; 6 - Spring clamp.
F3P engines with flat air filter next to the battery
3. Unscrew the five screws around the perimeter of the air filter cover (see illustration).
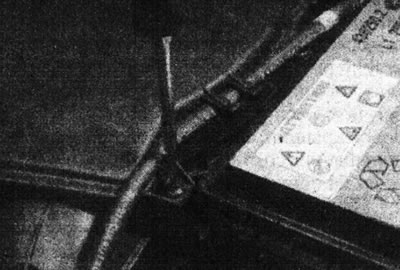
21.3 Remove the air filter cover screw - F3P engine with flat air filter. Release the vacuum hose that is stapled to the cover.
Release the vacuum hose from the clips on the cover.
F3P engine - models with air filter behind left front fender panel
4. Apply the handbrake, then jack up the front of the car and place it on axle stands.
5. Working in the front left corner of the engine compartment, remove the two mounting screws and lower the air cleaner cover (see illustration).
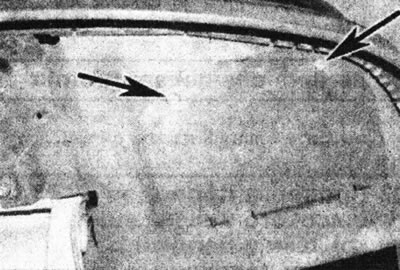
21.5 Remove the two screws securing the air filter cover (marked with arrows) - R3R engine with an air filter behind the front wing panel.
6. Rotate the mounting bracket 90°, then fold the air filter pad down and remove the filter from under the vehicle (see illustrations).
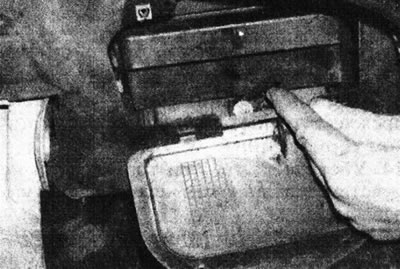
21.6a Rotate the mounting bracket 90°...
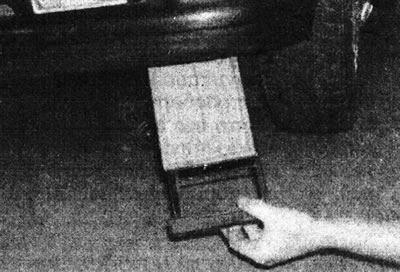
21.6b...then fold the filter platform down.
F7P engine (with 16 valves)
7. Release the seven spring clips and remove the three screws from the air filter housing (see illustration).
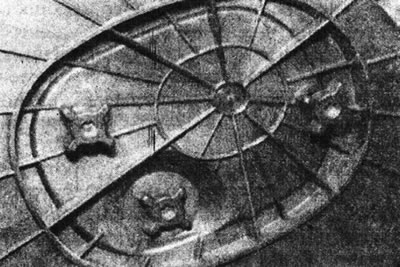
21.7 Three screws securing the air filter housing - F7P engine (with 16 valves).
All models
8. Remove the air cleaner cover, or separate the housing parts if possible.
9. Remove the element from inside the air filter housing (see illustrations).
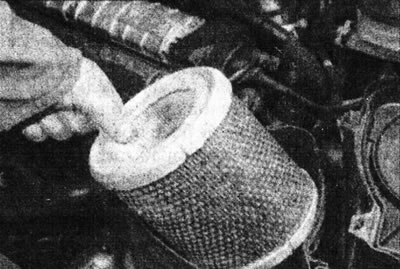
21.9a Remove the air cleaner element - F3P engine with flat air cleaner...
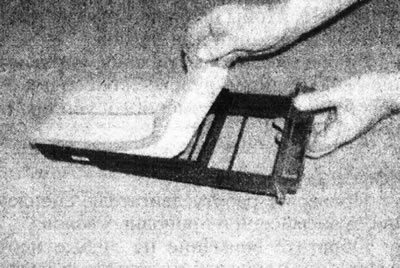
21.9b... F3P engine with air filter behind the front fender panel...
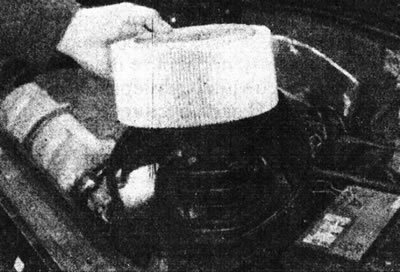
21.9s...and the F7P engine (with 16 valves).
10. Clean the inside of the casing. Install a new filter element.
11. Install the cover, or assemble the housing and secure it with screws or wing nuts and spring clips.
12. On models with F3P engine and air cleaner behind left front fender panel, install the element/pad assembly as follows.
- Separate the two parts of the site.
- Slide the top of the platform (with a filter element installed) into the air filter housing.
- Push the bottom of the platform into the working position, then secure it with the bracket.
- Install the air cleaner cover, then lower the vehicle to the ground.