



Removal
1. Disconnect the negative cable from the battery.
2. Disconnect the high-pressure fuel lines from the fuel pump and injectors.
3. Unscrew the nuts from the glow plug terminals and remove the washers. Disconnect the wiring (see illustration).
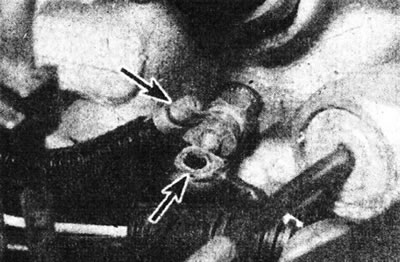
2.3. Disconnecting the wiring from the glow plug terminal.
Note that the main supply wire is connected to two spark plugs.
[Text of the original source on this website RenaultBook.ru]
4. Carefully move the tubes or wires to the side to improve access to the glow plugs.
5. Unscrew the glow plugs and remove them from the cylinder head (see illustrations).
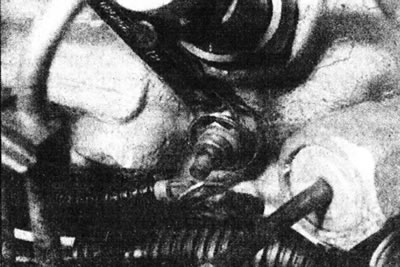
2.5a. Unscrew the glow plug...
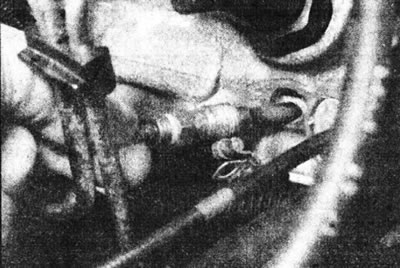
2.5b....and remove it from the cylinder head.
Inspection
6. Inspect each glow plug for physical damage. Burnout or destruction of the glow plug tip can be caused by poor fuel atomization by the injector. Check the injectors if you find this type of damage.
7. If the glow plugs are in good physical condition, check them as described in previous chapter.
8. Glow plugs can be powered by applying 12 volts to them. Observe the following precautions when working with glow plugs.
- Hold the glow plug in a vice or self-locking pliers. Remember that it gets very hot.
- The power supply or test lead must contain a fuse or overload indicator to protect against short circuits.
- After checking the serviceability, allow time for the pump plug to cool down.
9. A glow plug tip in good condition glows red-hot within 5 seconds. If the glow plug glows more slowly, or if the center glows hot rather than the tip, it needs to be replaced.
Installation
10. Install in reverse order. Apply a small amount of copper anti-lock compound to the spark plug threads and tighten the glow plugs to the specified tightening torque Specifications. Do not overtighten, as this may damage the spark plug heating element.