



Contents: Front door glass 🠛 Fixed rear door glass 🠛 Sliding rear door glass 🠛 Front door window lifter 🠛 Rear door window lifter 🠛 Power window components 🠛
Front door glass
Removal
1. Remove the door trim panel.
2. Lower the window completely. On models with power windows, temporarily connect the negative cable to the battery and connect the wiring harness connector to the window switch to lower the window.
3. Carefully use a screwdriver to pry the seal away from the inner lower edge of the window opening.
4. Working at the rear of the glass, release the spacer tabs and remove the plastic clip securing the glass to the guide block (see illustration).
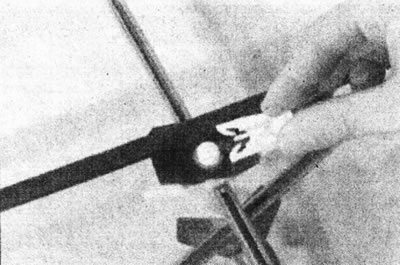
13.4 Remove the plastic clip securing the glass to the guide block - the assembly has been removed for clarity.
5. Carefully pull the guide block back to remove the tab from the hole in the glass, then support the glass.
6. Working inside the door at the rear edge, carefully unhook the guide plate (riveted to the rear edge of the glass) from the lower end of the seal/guide channel inside the door (see illustration).
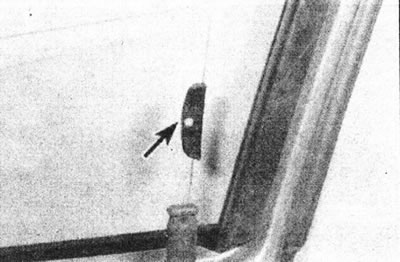
13.6. Guide plate (marked with an arrow) on the front door glass.
7. Carefully pull the glass up, tilt its rear edge forward and remove the glass from the window opening (see illustration).
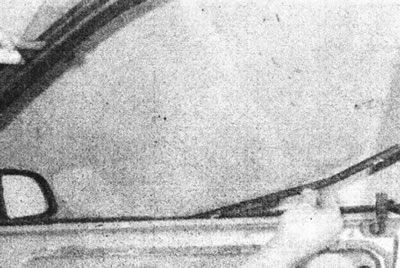
13.7. Remove the front door glass.
Installation
8. Install in reverse order, paying attention to the following.
9. Make sure the guide plate on the rear top edge of the glass fits into the seal/guide channel inside the door.
10. When installing the seal in the lower edge of the window opening, orient it with the slot for the lock button facing backwards (see illustration).
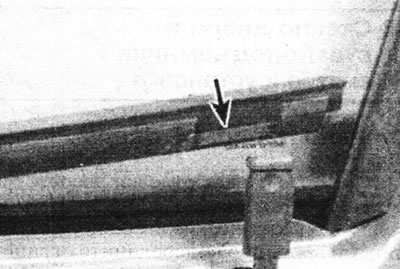
13.10. Slot for the lock button (marked with an arrow) should be located closer to the back of the door.
11. Before installing the door trim panel, check the operation of the window regulator by connecting the battery and the window regulator switch, or by installing the window regulator handle (depending on the model).
12. Install the door trim panel.
Fixed rear door glass
Removal
13. Remove the door trim panel.
14. Lower the main window completely.
15. Carefully use a screwdriver to pry the inner and outer seals from the bottom edge of the window opening.
16. Temporarily install the window lift handle. Lift the main glass to access the screws that secure the glass to the window regulator bracket.
17. If the lowering glass cannot be replaced, mark the positions of the screws securing the glass to the window regulator bracket, then remove the screws and carefully lower the glass into the door (see illustration).
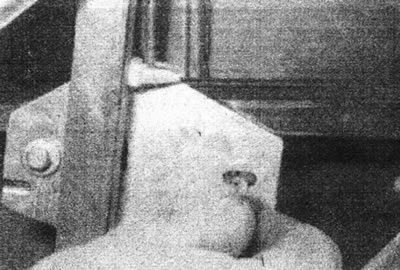
13.17. Remove the screw securing the rear door glass to the window regulator bracket.
18. Remove the top Phillips screw, the middle bolt and the bottom nut that secure the rear window track to the door. Support the fixed glass and carefully remove the guide rail through the window opening (see illustrations).
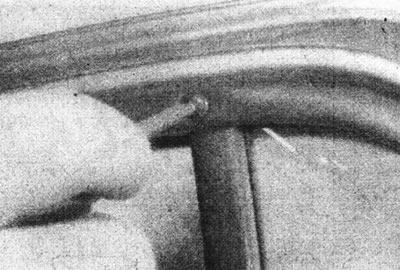
13.18a. Remove the top Phillips-head screw...
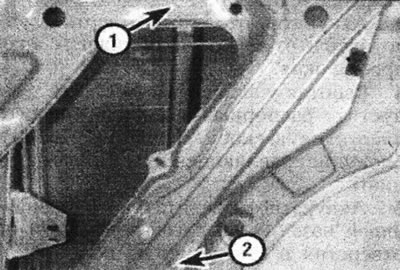
13.18b.... middle bolt (1) and lower nut (2)...
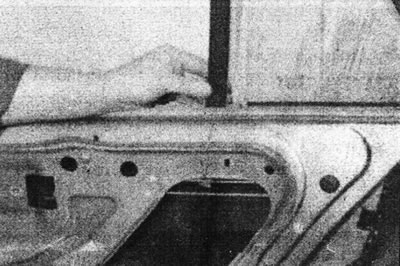
13.18s.... then remove the glass guide.
19. Carefully slide the fixed glass out of its working position (see illustration).
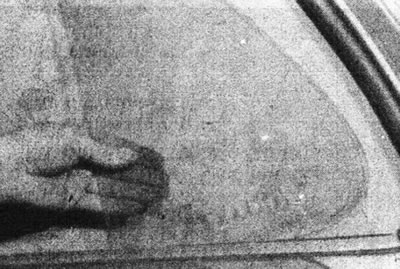
13.19. Remove the fixed rear door glass.
Installation
20. Install in reverse order, paying attention to the following.
21. When installing a fixed glass, make sure that it fits correctly into the window opening seals.
22. Where present, install the screws securing the sliding glass to the window regulator bracket.
23. Make sure that the seals are installed correctly at the bottom edge of the window opening (see illustrations).
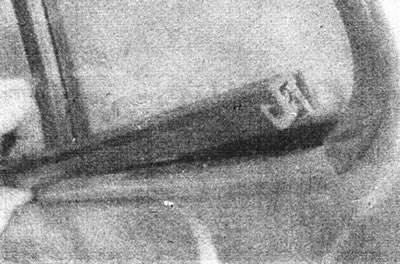
13.23a. Make sure the internal...
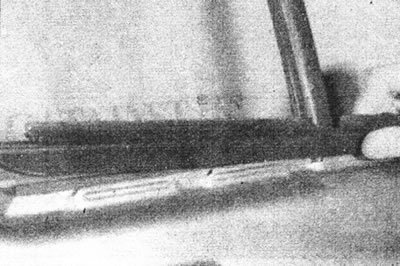
13.23b.... and the outer seals are installed correctly.
24. Before installing the door trim panel, temporarily install the window lift handle and check the operation of the window lift. If necessary, adjust the position of the glass by changing the location of the screws that secure the glass to the window regulator bracket.
25. Install the door trim panel.
Sliding rear door glass
Removal
26. Remove the fixed glass as described above.
27. Carefully lift the sliding glass out of the window opening (see illustration).
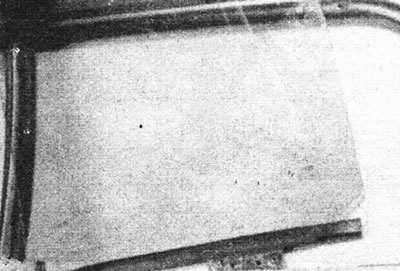
13.27. Raise the sliding glass from the rear door.
Installation
28. Lower the glass into the door, then install the fixed glass as described above.
Front door window lifter
Removal
29. Remove the door trim panel.
30. Separate the inner door handle drive rod from the window regulator assembly.
31. Lower the window completely. On models with power windows, temporarily connect the negative cable to the battery and connect the wiring harness connector to the window switch.
32. Proceed as described in points 4 and 5.
33. Lift the glass from the window regulator and fix it securely (for example, by attaching it with adhesive tape to the top edge of the window opening).
34. On models equipped with power windows, disconnect the wiring connector from the window motor.
35. Remove the five screws securing the window regulator assembly to the door (three window regulator screws and glass guide screws) (see illustration).
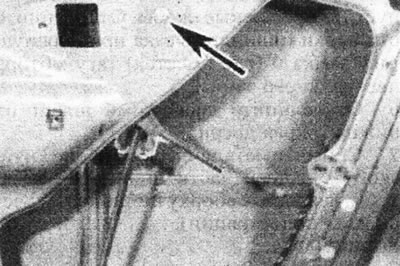
13.35. Remove the front door glass guide screws - the top screw of the guide rail is marked with an arrow.
36. Carefully guide the window regulator assembly through the opening in the door (see illustration).
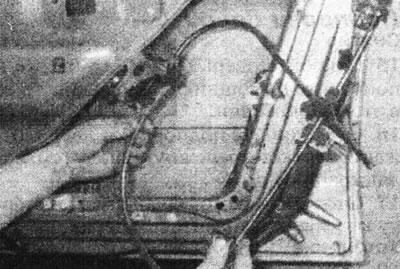
13.36. Remove the front door window regulator assembly.
Installation
37. Install in reverse order, paying attention to the following.
38. Before installing the door trim panel, check the operation of the window regulator by connecting the battery and the window regulator switch or by installing the window regulator handle (depending on the model).
39. Install the door trim panel.
Rear door window lifter
Removal
40. Remove the door trim panel.
41. Temporarily install the window lift handle. Lower the glass to access the screws that secure the glass to the window regulator bracket.
42. Mark the positions of these screws, then remove them and lift the glass. Fix the glass securely in the fully raised position (for example, using sticky tape).
43. Reach inside the door (up) and separate the lock drive rod from the lock button mounting bracket at the front of the door. Remember how the rod is routed.
44. Remove these four mounting screws (two window regulator screws and guide screws), then carefully guide the window regulator assembly through the door opening (see illustrations).
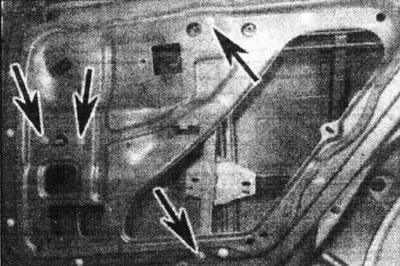
13.44a. Rear door window regulator assembly mounting screws (marked with arrows).
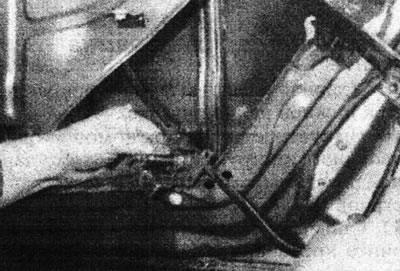
13.44b. Remove the rear door window lift mechanism.
Installation
45. Install in reverse order, paying attention to the following.
46. When connecting the drive rod to the mounting bracket, make sure the rod is routed correctly.
47. Make sure the screws securing the sliding glass to the window regulator bracket are installed in the positions noted before removal.
48. Before installing the door trim panel, temporarily install the window lift handle and check the operation of the mechanism. If necessary, adjust the position of the glass by sliding the screws that secure the glass to the window regulator bracket in their elongated slots.
49. Install the door trim panel.
Power window components
50. See Chapter 17.