



Contents: Internal door lock actuator handle 🠛 Front door exterior handle 🠛 External rear door handle 🠛 Front door lock 🠛 Rear door lock 🠛 Front door lock cylinder 🠛 Lock strike plate 🠛 Central locking components 🠛
Internal door lock actuator handle
Removal
1. Remove the screw securing the inner handle of the lock actuator to the door, then remove the handle and disconnect the drive rod from it by releasing the mounting bracket (see illustrations).
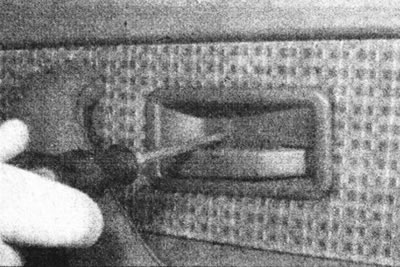
12.1a. Remove the screw securing the inner handle of the lock drive...
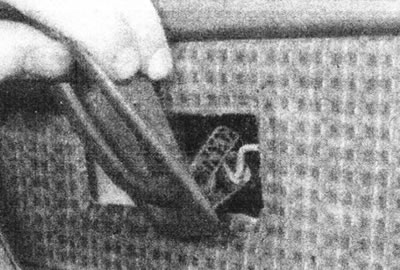
12.1b.... then disconnect the drive rod
2. Remove the handle from the door.
Installation
3. Install in reverse order.
Front door exterior handle
Removal
4. Remove the door trim panel.
5. Working from inside the door, release the brackets and separate the outer handle drive rod from the lock and handle.
6. Unscrew the two fastening nuts of the outer handle in the door opening (see illustration), then tilt the handle and remove it.
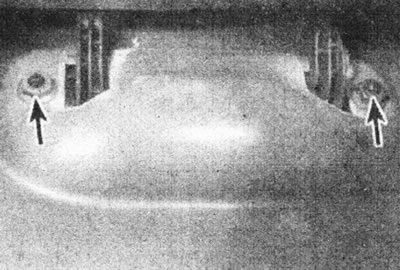
12.6. Front door outer handle mounting nuts (marked with arrows).
Installation
7. Install in reverse order.
External rear door handle
Removal
8. Remove the door trim panel.
9. Remove the door lock as described later in this Chapter.
10. Carefully pry the two plastic plugs out of the door with a screwdriver to gain access to the outer handle mounting nuts (see illustration).
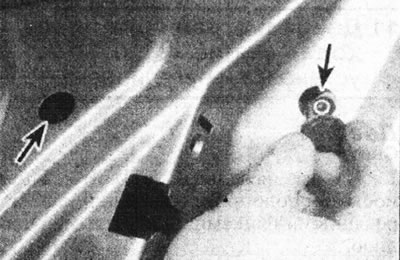
12.10. Rear door outer handle fastening nut (marked with an arrow).
11. Working inside the door, release the retaining clip and disconnect the drive rod from the outside handle.
12. Unscrew the two mounting nuts of the outer handle in the door opening, then tilt the handle and remove it.
Installation
13. Install in reverse order.
Front door lock
Removal
14. Remove the door trim panel.
15. Working inside the door, release the retaining clips and separate the drive rods of the outer handle, lock cylinder and lock button from the lock. Remove the lock button and its drive rod from the door.
16. On models equipped with central locking, disconnect the negative cable from the battery and disconnect the wiring connectors from the lock motor (see illustration).
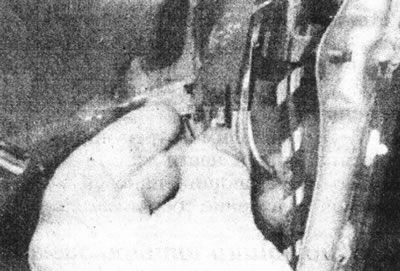
12.16. Disconnect the driver's door lock motor connectors.
17. Unscrew the three lock screws from the rear edge of the door and remove the washers.
18. Remove the lock assembly through the door opening together with the drive rod of the inner handle of the lock drive (see illustration).
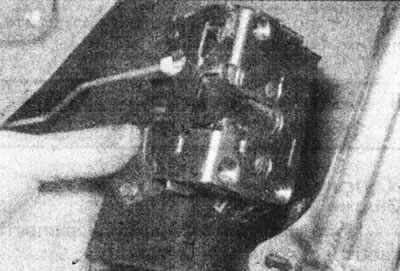
12.18. Remove the front door lock.
Installation
19. Install in reverse order.
Rear door lock
Removal
20. Remove the door trim panel.
21. Working inside the door, release the mounting brackets and disconnect the outer handle and the lock button drive rods from the lock.
22. On models equipped with central locking, disconnect the negative cable from the battery and disconnect the wiring connector from the lock motor (see illustration).
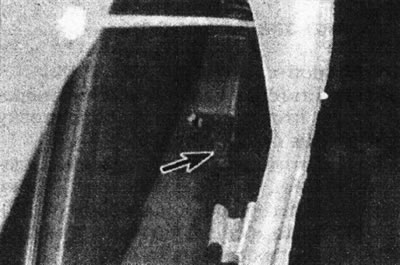
12.22. Disconnect the wiring connector (marked with an arrow) lock motor.
23. At the rear edge of the door, unscrew the three lock mounting screws and remove the washers (see illustration).
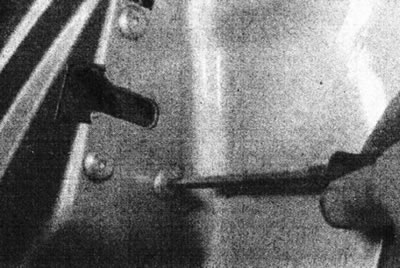
12.23. Loosen the rear door lock mounting screw.
24. Working inside the door, remove the lock assembly together with the inner handle drive rod (see illustration).
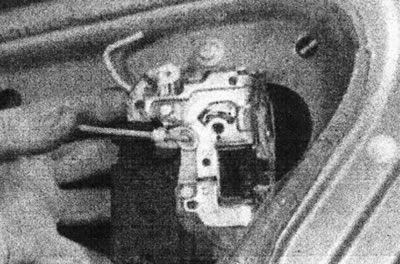
12.24. Remove the lock from the rear door.
Installation
25. Install in reverse order.
Front door lock cylinder
Removal
26. Remove the door trim panel.
27. Working inside the door, disconnect the drive rod from the lock cylinder.
28. Slide the metal retaining clip away from the lock cylinder, then remove the cylinder (see illustrations).
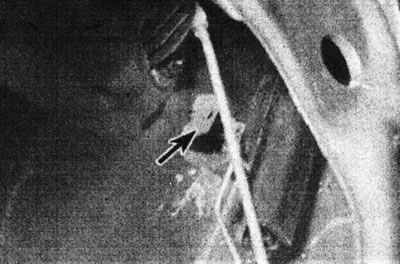
12.28a. Remove the metal mounting bracket (marked with an arrow)...
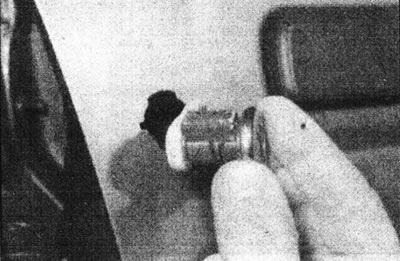
12.28b.... and remove the lock cylinder.
Installation
29. Install in reverse order, paying attention to the following.
30. When installing the lock cylinder, make sure that the protrusions on its assembly fit into the corresponding slots in the door panel.
31. Install the door trim panel.
Lock strike plate
Removal
32. The lock strike plate is attached to the body pillar.
33. Before removing the plate, mark its position so that the plate can be installed in the same position later.
34. To remove the plate, simply unscrew the mounting screw using a suitable end-face adapter.
Installation
35. Install in reverse order. If necessary, adjust the position of the strike plate to ensure the door closes easily.
Article reprinted from the website: RenaultBook.ru
Central locking components
36. See Chapter 16.