
Removing
1. Open the door.
2. Unscrew the bolt on the door frame (see arrow in illustration).
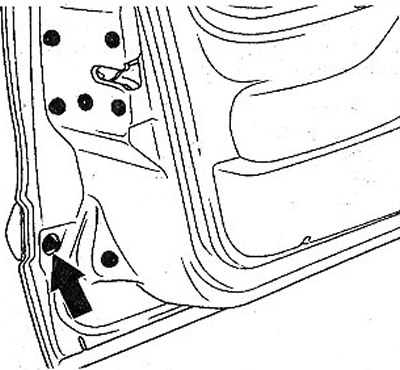
13.2 Unscrew the bolt on the door frame (see arrow)
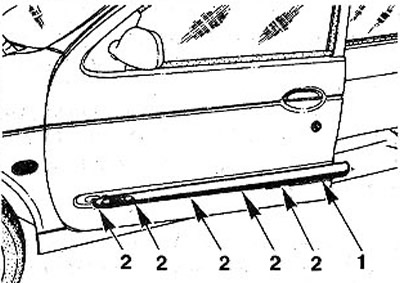
3. Move the molding forward in the direction of the arrow I (see illustration), and then remove, see arrow 2. This applies to the moldings of the front and rear doors. On the front door, before removing the molding, paste over the adjacent space with foil or tape so that when the molding is displaced, the paintwork is not damaged.
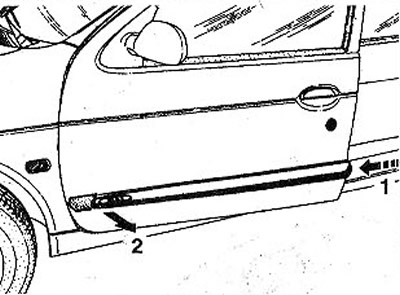
13.3 Push the molding forward in the direction of arrow 1 and then remove it, see arrow 2
Installation
4. Remove the molding retainers by turning them 1/4 turn with pliers (see illustration). Clips can be reinstalled, replacing only damaged ones.
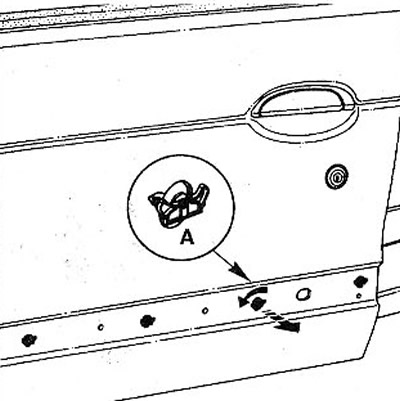
13.4 Remove the molding retainers by turning them 1/4 turn with pliers
5. Put the clips in their original places on the molding (see illustration). The red lock is placed next to the mounting bolt.
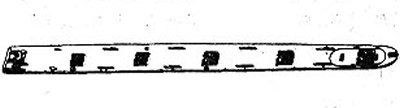
13.5 Replace the clips on the molding
6. Attach the molding to the installation site and insert the red retainer into terminal I first, and then the other five 2 (see illustration).
13.6 Attach the molding to the place of installation and insert the red clamp into terminal 1 first, and then the other five 2