



Contents: Special tool required 🠛 Tightening torques, Nm 🠛 Checking the clearances in the valve…🠛 Replacing the adjusting washers 🠛
Special tool required
- Mot. 1366-01 Tool for replacing valve adjusting tappets (from the Mot. 1366 kit).
Tightening torques, Nm
- Manifold mounting studs on cylinder head: 10.
- Nut of the stud securing the manifolds to the cylinder head.
- Intake manifold bracket mounting bolt: 25.
- Bolt for fastening bracket to cylinder block: 25.
1. Install a two-post lift on the vehicle
2. Disconnect the battery.
Checking the clearances in the valve drive mechanism
3. Remove the air filter and the cylinder head cover.
4. Set the valves of the cylinder being tested to the "end of the exhaust stroke - beginning of the intake stroke" position and check the clearance between the camshaft cams and the adjusting washers.
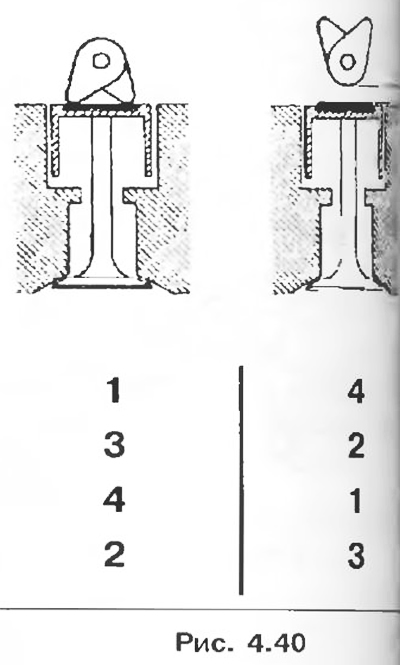
5. Compare both obtained values with the nominal values, replace the corresponding adjusting washers.
Adjustment values of clearances on a cold engine, mm:
- intake valves: 0.20;
- exhaust valves: 0.40.
Replacing the adjusting washers
6. Remove the intake and exhaust manifolds.
7. Set the valve being tested to the fully open position by turning the crankshaft in the direction of rotation.
8. Insert tool Mot. 1366-01 into the channel of the valve to be tested.
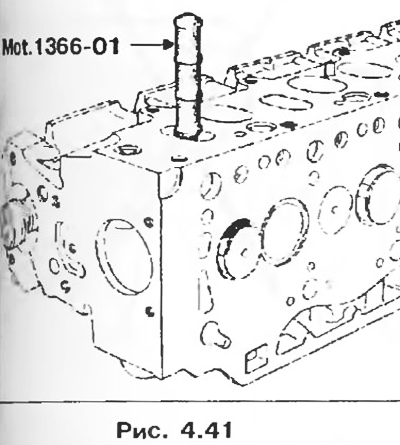
9.1 For inlet valves.
Turn the crankshaft in the rotation control until the valve rests against the Mot. 1366-01 device (turning the camshaft at an angle of 90° from the fully open position).
9.2 For exhaust valves.
Caution! Turn the crankshaft only in the direction opposite to the operating direction of rotation (to prevent the engine from seizing), until the valve rests against the Mot. 1366-01 device (turning the camshaft at an angle of 90° from the fully open position).
10. Remove the adjustment washer using a screwdriver and a magnetic rod.
Caution: When installing the adjusting washer, remove any oil that has accumulated at the bottom of tappet bore C.
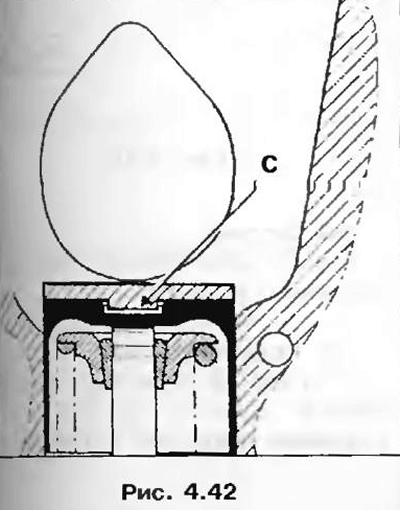
11. Perform installation in the reverse order of removal.