



You will need: a flat-blade screwdriver, an awl, a knife, a glass gluing kit, and a steel string.
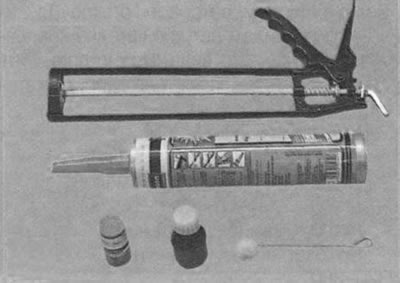
This is what a glass gluing kit looks like. It consists of a tube of glue, a tube tip, an activator/cleaner, a primer, and a set of stops.
Note: There may be minor differences in the instructions for use of kits from different manufacturers. Therefore, when performing this operation, please refer to the instructions for the kit you purchased.
Helpful advice.
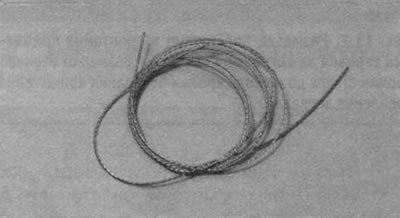
- To remove glued glass, it is convenient to use a steel wire.
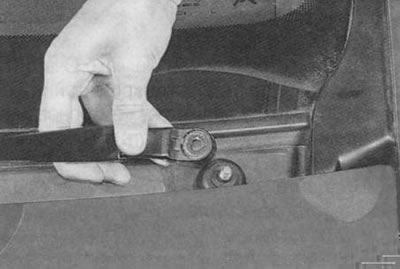
1. Remove the windshield wiper arms (see "Windshield wiper gear motor replacement").
2. Remove the screws securing the decorative trims...
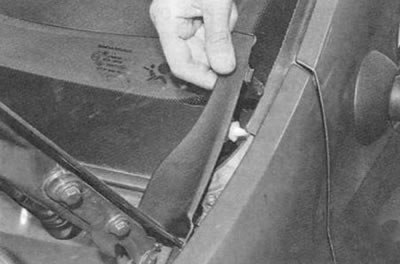
3. ...and remove the decorative trims from the front fenders.
4. Open both front doors.
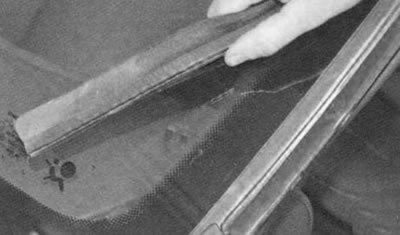
5. Remove the roof trims from the front pillars and move them to the sides.
6. Remove the front pillar trims (see "Removal and installation of interior trim").
7. Remove the interior rearview mirror (see "Removal and installation the interior mirror").
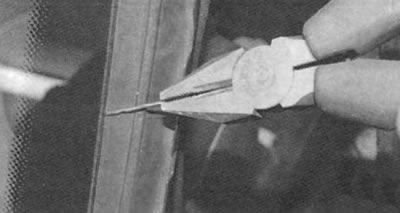
8. Pierce the glue seam with a pointed tool (for example, with an awl) and pull the string through the hole.
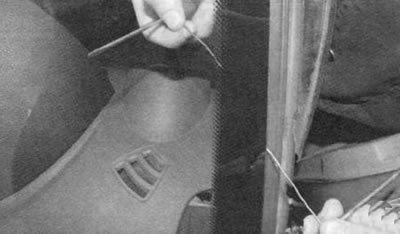
9. For ease of use, screwdrivers can be attached to the ends of the string to serve as handles.
10. Use a string to cut the glue seam along the entire perimeter of the glass (you may need an assistant to perform this operation).
11. Remove the glass from the car.
Warning: Use caution when handling glass. Damaged glass may break unexpectedly.
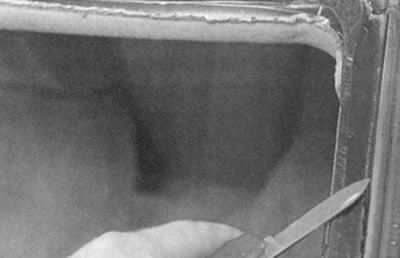
12. Cut off the old seam, leaving a thin layer of glue (1.0-2.0 mm).
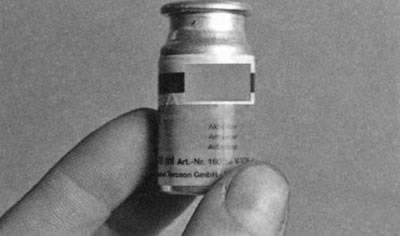
13. Apply activator...
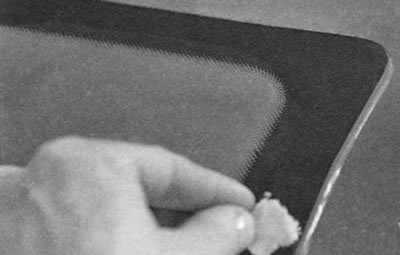
14. ...on the edge of the glass and the window opening along the entire perimeter.
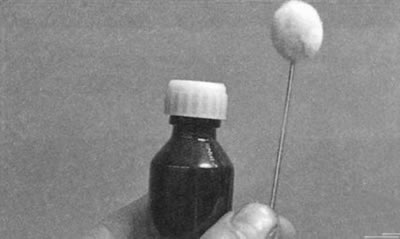
15. Apply primer around the perimeter of the glass and the window opening.
Warning: Do not apply primer over old adhesive residue.
16. Install rubber pads of the same thickness around the entire opening to prevent contact between the glass and body elements.
17. Within 30 minutes after applying the primer, apply the glue evenly to the window opening (layer thickness 0.5 cm) and around the perimeter of the glass.
18. Install the glass on the car.
19. Reinstall the roof trims.
20. Press and fix the glass in any available way (for example, using masking tape). The polymerization period of the glue is at least 2-3 hours. During this time, the car must not be exposed to any external influences. Even a sharp closing of the door can lead to an increase in air pressure in the cabin and, as a result, to the glass tearing off. It is advisable to start using the car no earlier than 24 hours after gluing the glass.
21. Install the front pillar trims.
22. Install the decorative trims on the front fenders and the interior rearview mirror.
23. Install the windshield wiper arms together with the blades.
24. Replace the rear door window glass in the same way.
If for some reason the new windshield does not have a rearview mirror mounting bracket, you can glue the bracket to the glass yourself. To do this, you will need:
- loctite brand glue;
- mirror mounting bracket;
- glass-graph pencil or chalk;
- alcohol for rinsing;
- clean paper towel;
- fine-grained sandpaper No.320-360.
The markings on the windshield for installing the mirror mounting bracket are shown in Fig. 11.2.
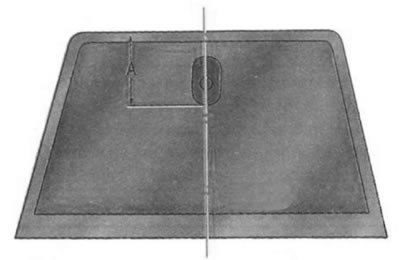
Fig. 11.2. Marking the position of the mirror mounting bracket on the windshield: A - the size from the top edge of the glass to the bottom edge of the base of the mirror mounting bracket
1. Measure on the inner surface of the glass along the axis of symmetry the distance A from the upper edge of the glass to the lower edge of the bracket base, equal to 125 mm.
2. Place the bracket base on the outer surface of the glass, aligning its lower edge with the marking line. Mark the contour of the bracket base on the glass with a glass graphite or chalk. Draw a circle near the bracket installation location that is slightly larger in diameter than the bracket base to limit the cleaning area of the inner surface of the glass.
3. Wash the inside surface of the glass with soapy water and dry with a paper towel.
4. Wipe the inside surface of the glass with a paper towel soaked in alcohol.
5. Sand the circled surface on the inside of the glass with 320-360 grit sandpaper, wipe with a paper towel soaked in alcohol, and let dry.
6. Apply glue to the glass surfaces and the bracket base, following the instructions of the glue manufacturer.
7. Apply the bracket to the inner surface of the glass according to the markings and press it firmly for 30-60 seconds.
8. After 5 minutes, remove excess glue from the glass with a paper towel soaked in alcohol.