



Note: All information on adjustment values for the front door is given in the chapter "Gaps between car body parts".
Follow the adjustment order for zones (1), (2), (3), (4), (5), (6), (7) and (8).
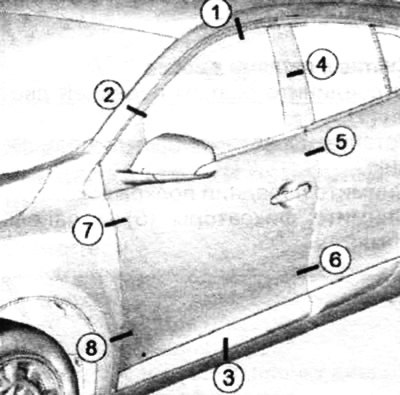
Note: Adjustment of zones (4), (5) and (6) is only possible if the rear door is adjusted correctly.
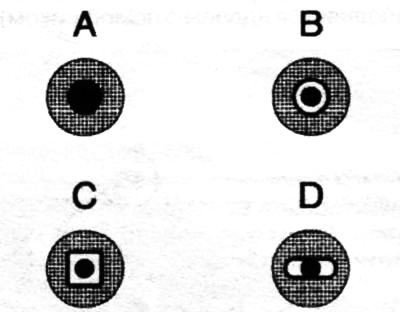
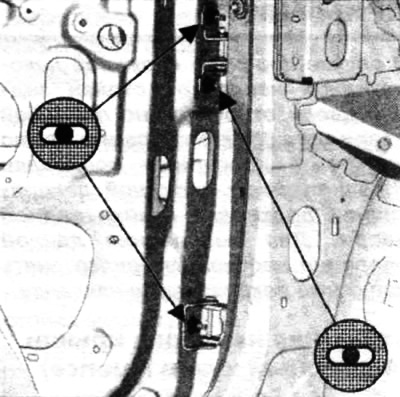
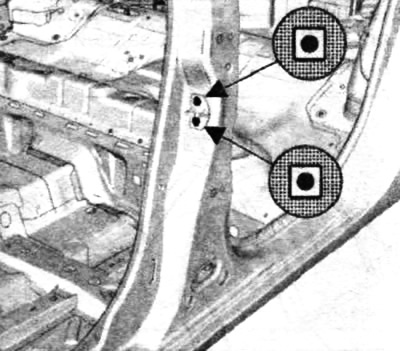
Symbols A, B, C, D show how adjustment can be made. The black dot in the center indicates the bolt body.
The grey part of the symbol represents the adjustable element.
The white part of the symbol indicates the adjustment zone.
Height and length adjustment
Remove the front fender panel.
Adjust in the following order:
- height of zones (1), (2) and (3);
- the length of zones (4), (5), (6), (7) and (8).
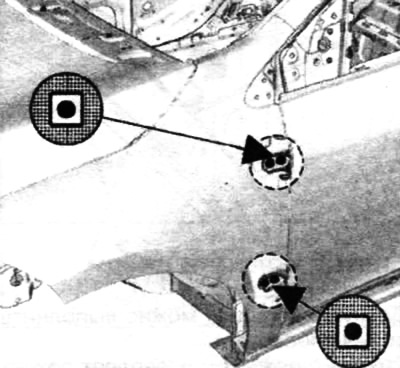
Depth adjustment
Note: Factory hinge mounting plates are attached to the door frame.
To make the adjustment, you need to remove the plate using a wooden block and a hammer.
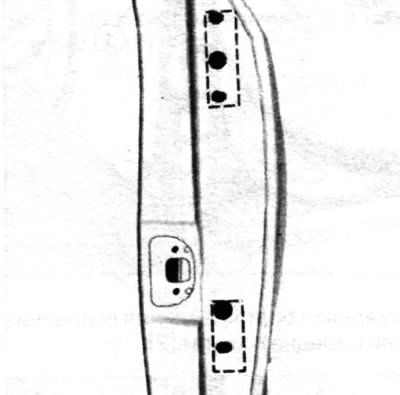
Adjust the depth of zones (1), (2), (3), (7) and (8).
Please follow the following adjustment procedure:
- adjust the height of the lock retainer relative to the lock to prevent them from touching;
- adjust the depth of zones (4), (5) and (6).
Note: The door lock retainer plate is spot welded to the reinforcement on the inside of the B-pillar.
 |
 |