



Contents: Front bumper - models of versions…🠛 Front bumper - model version "3" 🠛 Rear bumper - models of versions "1"…🠛 Rear bumper - version "3" models 🠛
Front bumper - models of versions "1" and "2"
Removal
1. On models equipped with fog lights, disconnect the negative battery cable.
2. Remove the radiator grille panel (see Chapter 7).
3. Remove the front license plate. If the license plate is attached with self-tapping screws, be careful not to damage the threads in the bumper.
4. Remove the now accessible bumper mounting nut and remove the washer (see illustration).
This article is taken from the website renaultbook.ru
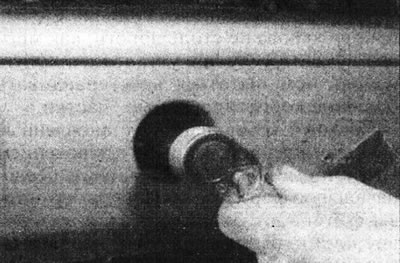
6.4. Unscrew the front bumper mounting nut - models of versions "1" and "2".
5. To facilitate access, jack up the front of the vehicle and support it securely on axle stands.
6. Working under the right side of the vehicle, unscrew the mounting screw and nut and separate the wheel arch mudguard from the bumper (see illustration).
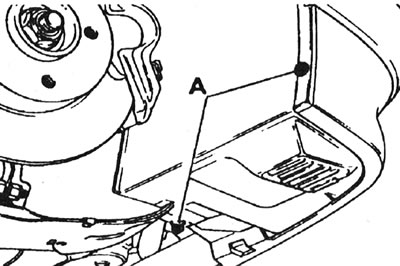
6.6. Front wheel arch mudguard fastenings (A).
7. Carefully pull the mudguard back to gain access to the side and lower bumper mountings.
8. Loosen the side bumper mounting screw and remove the washer (see illustration).
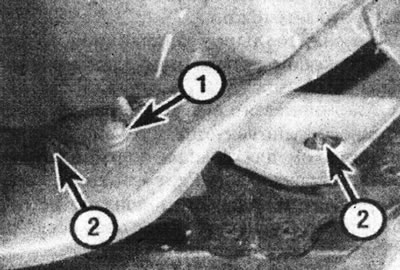
6.8. Front bumper side mounting screw (1) and bumper mounting clips (2) - wheel arch mudguard removed.
9. Loosen the lower bumper mounting nut (there is no need to remove it) (see illustration).
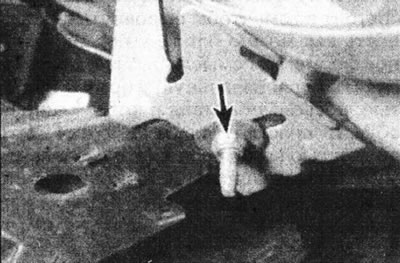
6.9. Front bumper lower mounting nut (marked with an arrow) - models of versions "1" and "2".
10. Reach behind the mudguard and locate the fog light wiring connector (see illustration).
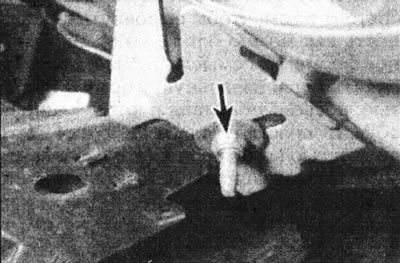
6.10. Fog lamp wiring connector (marked with an arrow) - the wheel arch mudguard has been removed for clarity.
Separate the connector halves from each other.
11. Repeat the procedure (points 6-9) on the left side of the car.
12. Have an assistant support the bumper, then pull the side sections of the bumper away from the front fenders.
13. Carefully remove the bumper.
Installation
14. Install in reverse order.
Front bumper - model version "3"
Removal
15. Remove the hood (see Chapter 9).
16. Working on the side sections of the bumper, remove the plastic retainer and remove the screw securing the wheel arch liner to the bumper.
17. Unscrew the now accessible bumper mounting bolts (two on each side) (see illustration).
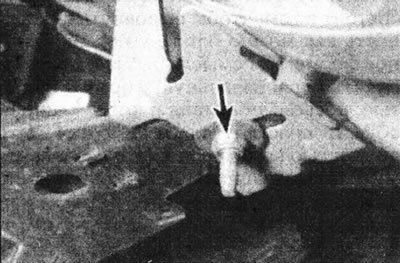
6.17. Side bumper mounting bolts (one is marked with an arrow) - models of version "3".
18. Working under the car, unscrew the two lower bumper mounting nuts, which also secure the mud flaps (see illustration).
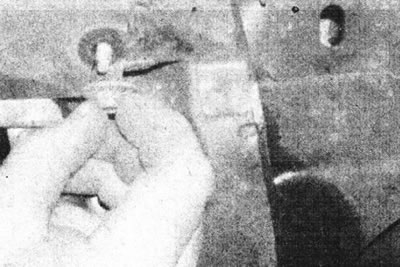
6.18. Remove the lower bumper mounting nut - version "3" models.
19. Remove the two upper bumper mounting screws (see illustration).
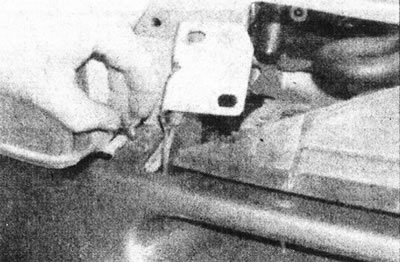
6.19. Remove the upper bumper mounting screw - version "3" models.
20. Carefully release the clips on the side sections of the bumper, then pull the bumper forward and remove it from the car (see illustration).
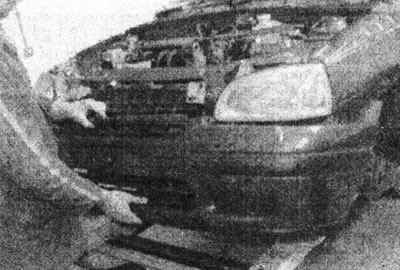
6.20. Remove the front bumper - version "3" models.
Please note that on some models, a bumper retaining nut is installed behind the license plate (remove the license plate to gain access), which must be unscrewed before pulling the bumper forward.
21. On models equipped with fog lights, disconnect the negative battery cable, then disconnect the front/fog light wiring connector on the right side of the vehicle. Remove the bumper.
Installation
22. Install in reverse order.
Rear bumper - models of versions "1" and "2"
Removal
23. Disconnect the negative cable from the battery.
24. To facilitate access, block the front wheels, then jack up the rear of the vehicle and support it securely on axle stands.
25. Working on the right side of the vehicle, loosen the screw and nut securing it and remove the wheel arch mudguard.
26. Remove the now accessible side bumper mounting screw and its washer.
27. Unscrew the two screws and nut and remove the left wheel arch mudguard (see illustrations).
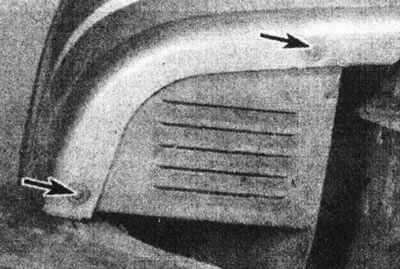
6.27a. Left rear wheel arch mudguard mounting screws (marked with arrows).
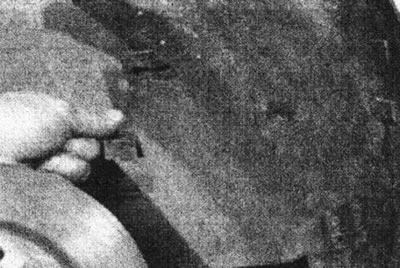
6.27b. Remove the rear wheel arch liner.
28. Remove the now accessible side bumper mounting screw and its washer.
29. Working under the car, remove seven nuts (four upper and three lower), fastening the bumper to the body (see illustration).
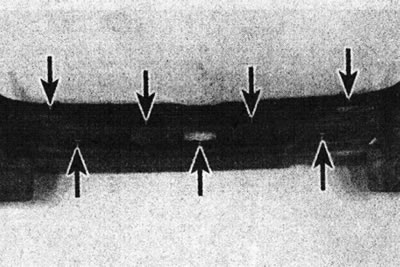
6.29. Rear bumper mounting locations (marked with arrows).
30. Supporting the bumper, separate its side sections from the rear fenders (see illustration).
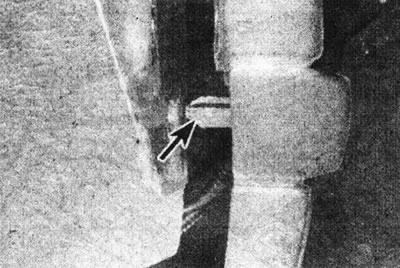
6.30. Rear bumper retainer (marked with an arrow), released from the wing.
31. Lower the bumper. Disconnect the rear license plate light wiring harness, which is stapled to the body panel below the left tail light assembly (see illustration).
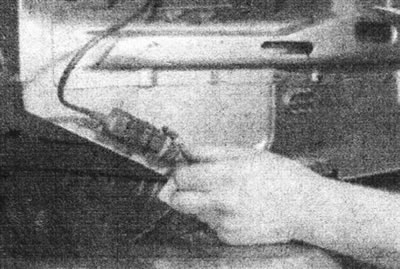
6.31. Separate the halves of the rear license plate light wiring connector.
32. Remove the bumper from the car.
Installation
33. Installation is carried out in reverse order.
Rear bumper - version "3" models
34. The procedure is the same as described above for models of versions "1" and "2", except that there are four nuts (two upper and two lower) instead of seven, attaching the bumper to the body (see illustrations).
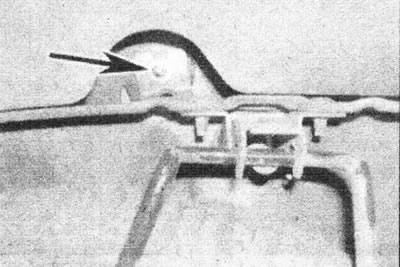
6.34a. Upper rear bumper mounting nut (marked with an arrow) - models of version "3".
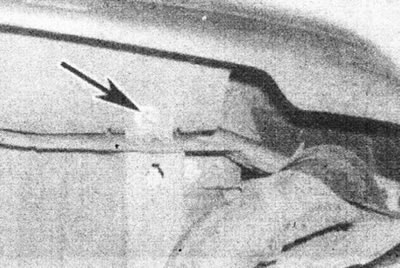
6.34b. Rear bumper lower mounting nut (marked with an arrow) - models of version "3".