



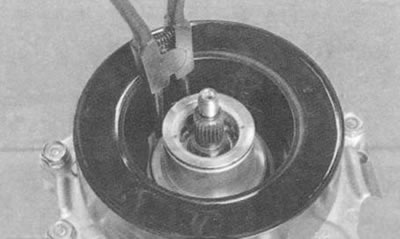
2. Remove the drive pulley (see "Replacing the drive pulley bearing").
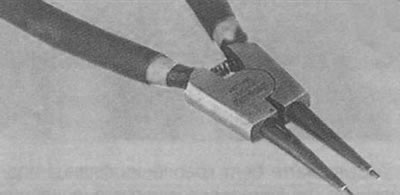
3. Using a release tool, remove the solenoid retaining ring.
Note.
- To remove the retaining ring, use a special expanding puller.
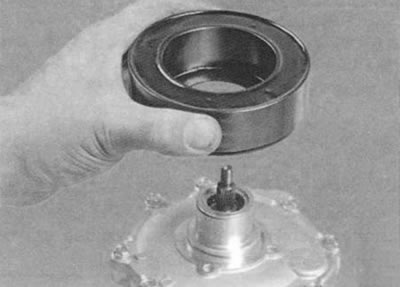
4. Remove the screw securing the wire harness to the compressor body.
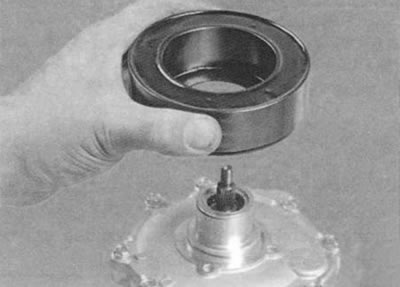
5. Loosen the screw securing the wiring harness connector holder and remove the electromagnet from the mounting belt of the compressor front cover.
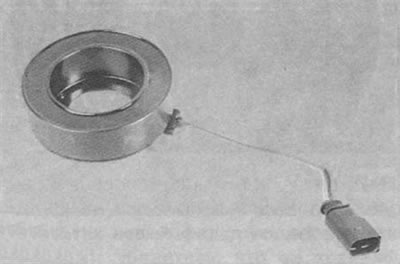
6. Using an ohmmeter, check the electrical resistance of the electromagnet coil winding and the absence of a short circuit to the housing. The resistance of a serviceable coil should be 3.6-3.8 Ohms.
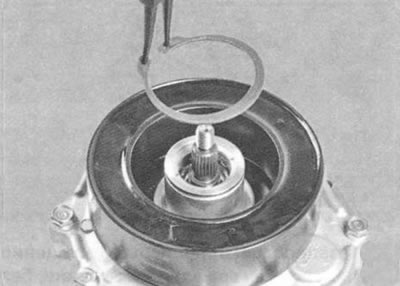
7. Place the coil on the front cover of the compressor. Install the retaining ring.
Note.
- When installing the coil on the compressor, the locking protrusion A on the rear surface of the coil housing...
- must fit into the corresponding recess B on the compressor cover.
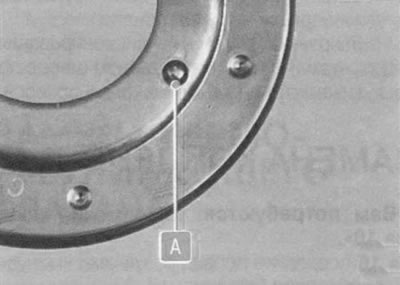
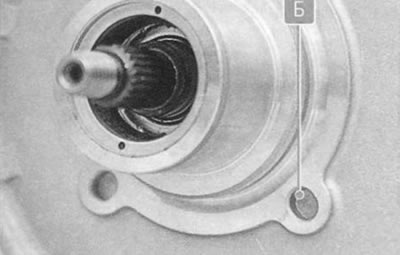
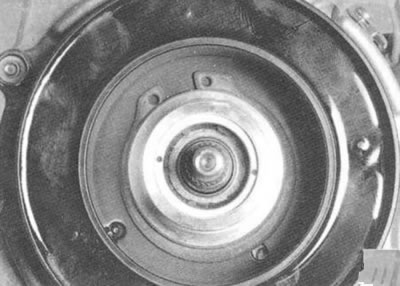
8. Make sure the retaining ring is fully seated in the groove on the compressor cover.
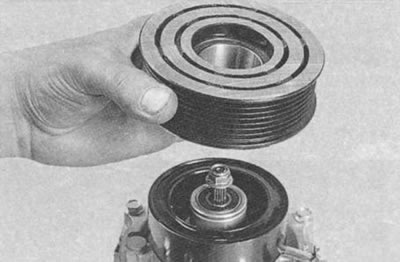
9. Press the pulley on. When pressing, apply force only to the inner bearing race.
Warning. After pressing, check the rotation of the pulley. It should rotate silently, without jamming, evenly. There should be no contact with the electromagnet housing. If during the check it is found that the pulley is touching the magnet, eliminate it.
10. Install the compressor and other parts in the reverse order of removal.
11. Have the air conditioning system refilled with refrigerant at a specialist car air conditioning service centre.