



Contents: Removal 🠛 Installation 🠛 Adjustment 🠛 Removal the upper guide fasteners 🠛 Removal the center guide fasteners 🠛 Removal the lower guide fasteners 🠛 Internal handle of sliding door lock…🠛 Sliding door lock button 🠛 External sliding door handle 🠛
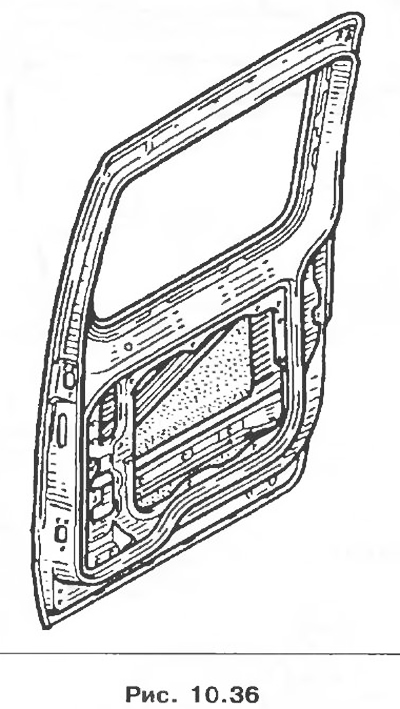
Removal
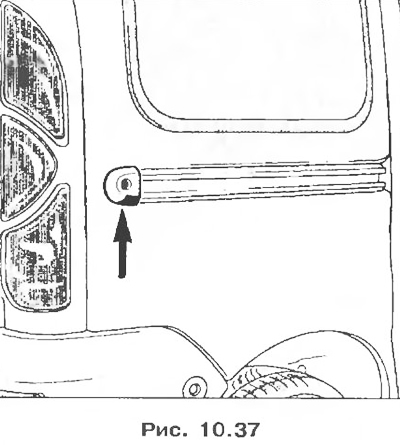
1. Remove the back stop.
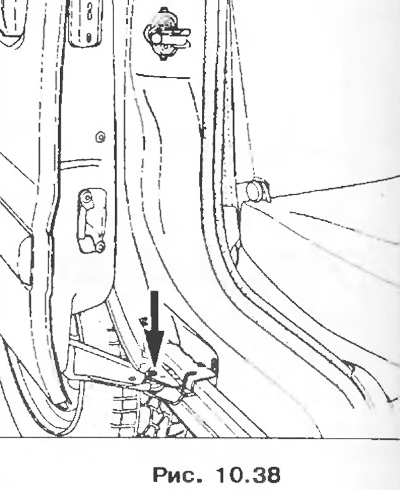
2. Remove the axle.
Installation
The door is installed in the reverse order of removal, and the door must be adjusted.
Adjustment
1. To ensure clearances B and D, adjust the position of the lower support.
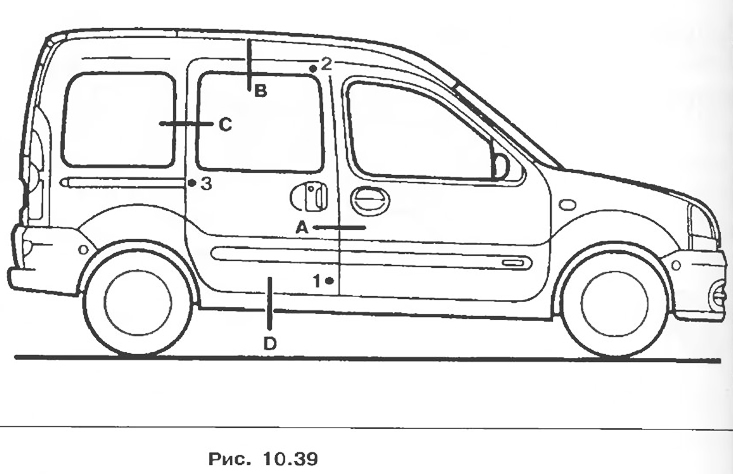
Gaps:
A = 4.5 mm;
B = 4 mm;
C = 4 mm;
D = 6 mm.
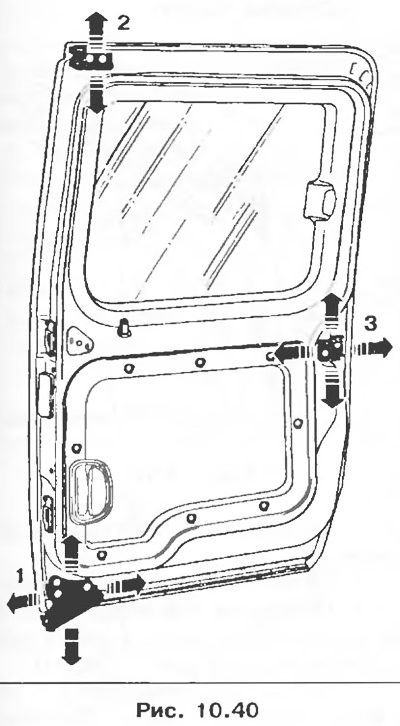
2. To ensure uniform clearance A, adjust the position of the upper support.
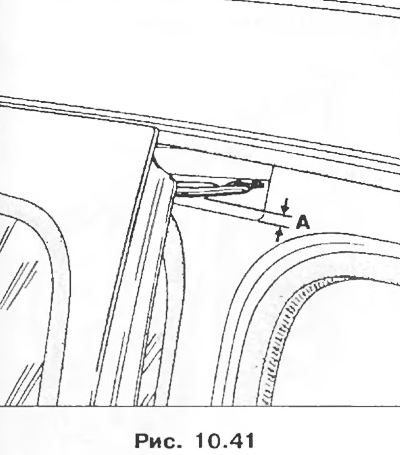
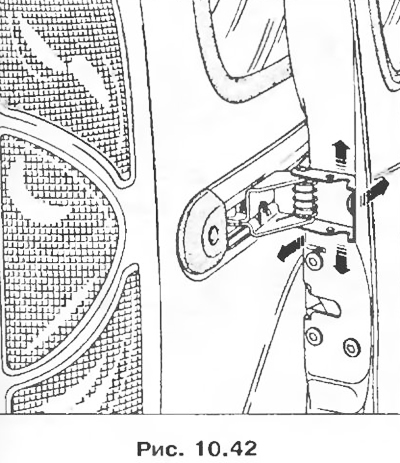
3. To ensure clearances A and C, adjust the position of the intermediate support.
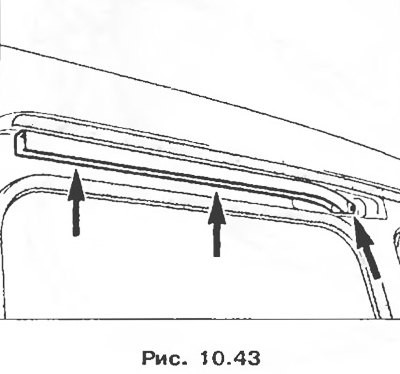
Removal the upper guide fasteners
Removal the center guide fasteners
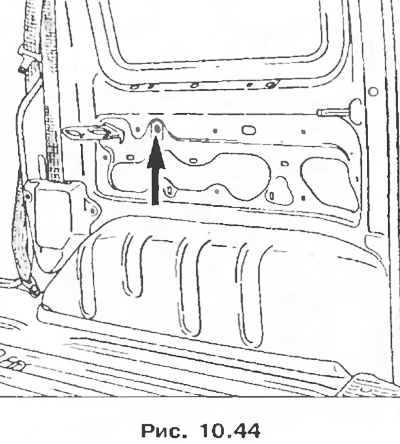
Remove the interior door trim.
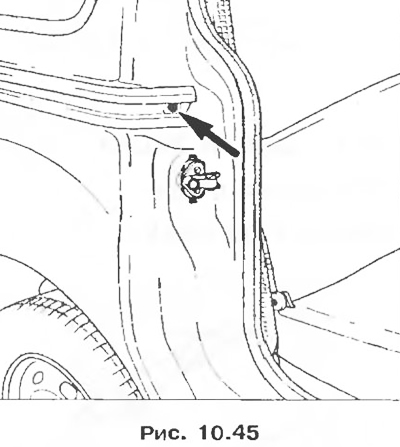
Removal the lower guide fasteners
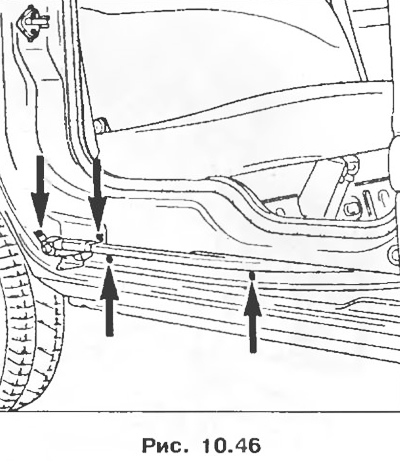 |
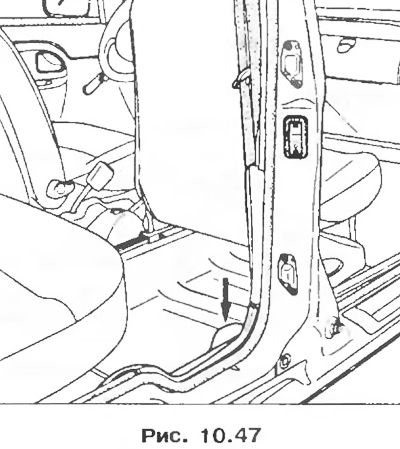 |
The lower trim is installed and removed in accordance with the vehicle configuration.
Internal handle of sliding door lock actuator
Removal
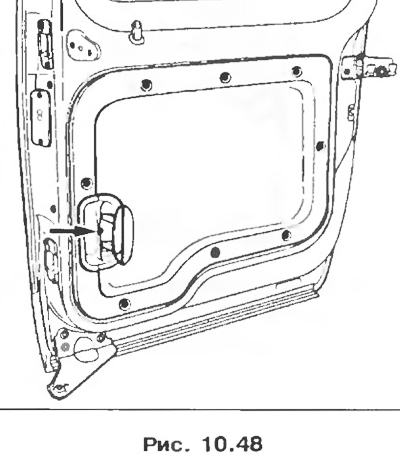
1. Remove the mounting screw.
2. Release the opening mechanism drive cable.
Sliding door lock button
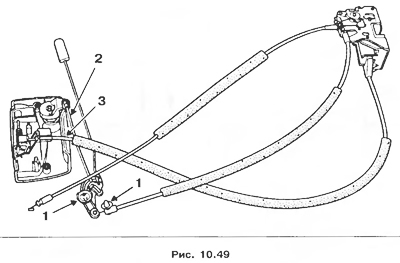
Removal
1. Remove the upholstery.
1. Disconnect lock washers 1, rod 2, cable 3 of the lock drive mechanism.
2. Remove the mounting screw.
3. If your vehicle is equipped with a power steering mechanism, disconnect the wiring harness.
4. Disconnect the lock drive mechanism cable.
External sliding door handle
Removal
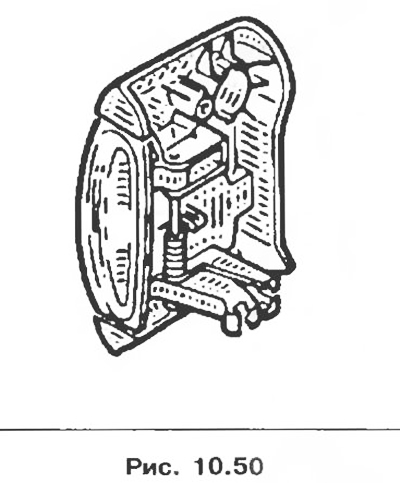
1. Release the lock button rod 1.
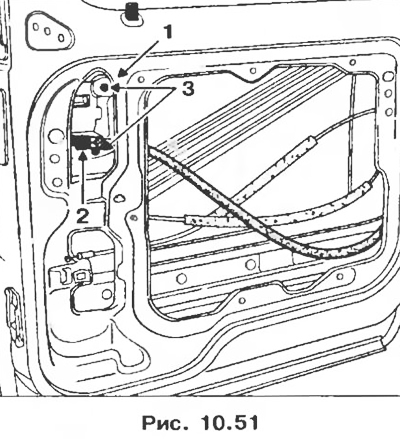
2. Disconnect the opening mechanism drive cable 2.
3. Remove the mounting screw 3.