



Attention! Before performing work, read the safety precautions regarding seat belt tensioners. Considering that the RENAULT company requires that before connecting a disconnected belt tensioner, it is necessary to check it using a special control and measuring device, then the removal and installation of tensioners should be entrusted to a specialized workshop.
Removal
1. Disconnect the negative (-) battery terminal from the battery terminal and insulate the terminal.
After disconnecting the terminal, wait 5 minutes to allow the capacitors in the airbag and seat belt pretensioner control unit to discharge.
2. Place the vehicle on jack stands.
3. Unscrew the bolts securing the front seat guide rails (see illustration).
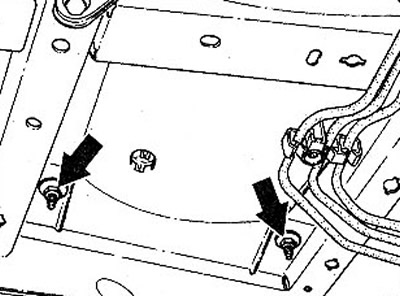
31.3 Unscrew the bolts securing the front seat guide rails
4. Tilt the front seat back slightly, disconnect the purple multi-pin connector 1 and remove the seat (see illustration).
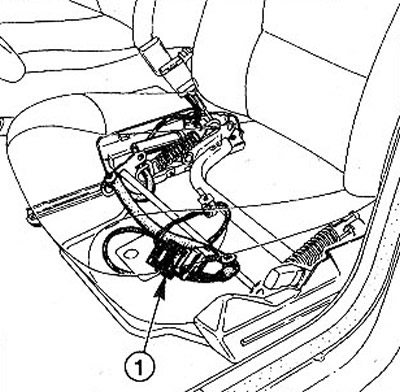
31.4 Tilt the front seat back slightly, disconnect the purple multi-pin connector 1 and remove the seat
Attention! Disassembly of the seat and removal of the seat belt tensioner must be performed by a workshop.
Installation
Important! RENAULT requires that the belt tensioner control unit be checked using a special tester "XR Bag" (E1e 1288) before connecting it. The procedure for performing this check is not given in this manual.
5. Install the front seat and connect the multi-pin plug, making sure it locks into place.
6. Secure the slide rails with four new bolts, tightening to 20 Nm.
7. Connect the negative (-) terminal of the battery wire to the negative terminal.
8. Set the clock and enter the security code into the radio.
The airbag and seat belt tensioner system indicator light should come on when the ignition is turned on and go out after about three seconds. If this is not the case, there is a malfunction. Contact a workshop immediately.
SCENIC cars
Removal
9. Disconnect the negative (-) cable terminal from the battery terminal and insulate the terminal.
After disconnecting the terminal, wait 5 minutes to allow the capacitors in the airbag and seat belt pretensioner control unit to discharge.
10. Remove plug 1 from the side of the front seat and unscrew the seat belt mounting bolt (see illustration).
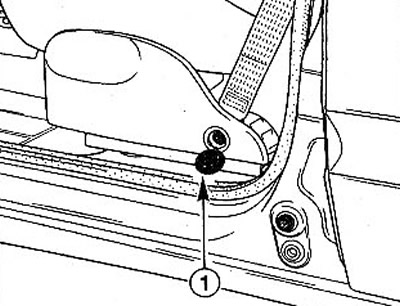
31.10 Remove plug 1 from the side of the front seat and unscrew the seat belt mounting bolt
11. Unscrew the rear seat rail mounting bolts (see illustration).
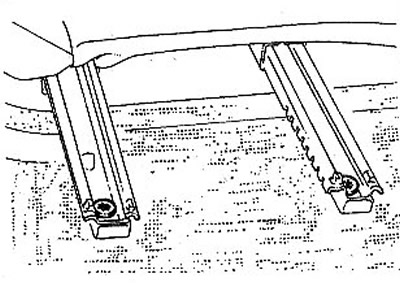
31.11 Unscrew the rear seat rail mounting bolts
12. Move the seat back and unscrew both front bolts securing the guide rails.
13. Open the cover under the seat and disconnect the belt tensioner plugs.
14. Remove the front seat.
Installation
15. Make sure that the negative (-) cable terminal is disconnected from the battery terminal.
16. Install the front seat on the runners.
17. Connect the seat belt tensioner plugs.
18. Screw in the guide rail mounting bolts. First screw in the bolts in the front of the rail, then the rear ones. Do not use the old mounting bolts, replace them with new ones. Tighten the bolts by hand, and tighten them finally only after all four bolts have been screwed in.
19. Secure the seat belt to the seat by tightening the fastening bolt to 25 Nm (see illustration 31.10).
20. Connect the negative (-) battery terminal to the negative battery terminal.
21. Set the clock and enter the security code into the radio.
The airbag and seat belt tensioner system indicator light should come on when the ignition is turned on and go out after about three seconds. If this is not the case, there is a malfunction. Contact a workshop immediately.